
Discover smart speaker stand ideas and settings to optimize your sound. Proper placement reduces vibrations, enhances clarity, and creates a richer audio experience, making your speakers sound their best without breaking the bank.
Ever find yourself fiddling with your speakers, hoping for that perfect sound? You’ve got great speakers, but something just isn’t clicking. The bass might be muddy, the highs might be a bit harsh, or the overall sound feels… flat. Often, the secret sauce isn’t in the speakers themselves, but in how they’re positioned. Speaker stands are amazing tools for this. They lift your speakers off surfaces that can cause unwanted vibrations and place them at the ideal listening height. Getting the settings and placement right can make a huge difference, turning good sound into great sound. This guide is here to help you unlock that potential. We’ll walk through simple, effective speaker stand ideas and settings that will make your audio sing.
Why Speaker Stand Settings & Ideas Matter
Think of your speakers like tiny musicians. They need the right stage to perform their best. Placing them directly on a floor, desk, or shelf can be a problem. These surfaces can vibrate along with the speaker’s sound waves. This is called “resonance,” and it can muddle the sound, particularly the bass. It’s like trying to listen to a concert through a wobbly table – things get distorted!
Speaker stands do a few crucial things:
- Isolate Vibrations: They create a barrier between your speakers and the surface, preventing unwanted shaking.
- Optimize Height: Most speakers sound best when their tweeters (the small drivers that produce high frequencies) are roughly at ear level when you’re in your primary listening position. Stands help achieve this.
- Improve Imaging: Proper height and distance can create a more focused “soundstage,” making it sound like the music is coming from specific points in front of you, not just from the speakers themselves.
- Reduce Interference: Keeping speakers away from walls and corners can prevent excessive bass buildup, leading to a cleaner sound.
It might seem like a small detail, but these adjustments can be a game-changer for your audio setup, whether for music, movies, or gaming. Let’s explore some fantastic ideas and settings for your speaker stands.
Choosing the Right Speaker Stands
Before we get to settings, let’s talk about the stands themselves. The “best” stand depends on your speakers, your room, and your budget. Here are some common types and what to consider:
Types of Speaker Stands
- Bookshelf Speaker Stands: These are perhaps the most common. They are typically designed to support smaller to medium-sized bookshelf speakers. They can be made of wood, metal, or a combination.
- Floorstanding (Tower) Speaker Stands: Less common, these are larger and sturdier, designed to support taller, heavier tower speakers and often to elevate them further off the floor.
- Adjustable Height Stands: These are incredibly versatile as you can fine-tune the height to match your listening position precisely.
- Subwoofer Isolation Stands: While not for full-range speakers, these are specialized stands designed to reduce the transfer of low-frequency vibrations from a subwoofer to the floor.
- DIY (Do-It-Yourself) Stands: For the crafty among us, building your own stands can be a cost-effective and highly customizable option.
What to Look For in a Stand
Regardless of the type, keep these factors in mind:
- Stability: The stand must be sturdy enough to hold your speakers securely without wobbling. A wobbly stand is a recipe for disaster!
- Weight Capacity: Ensure the stand can comfortably support the weight of your speakers. Check the manufacturer’s specifications.
- Material: Metal stands are often very rigid and durable, while wooden stands can offer a warmer aesthetic and potentially help with some resonance damping.
- Isolation Features: Look for stands with rubber feet, spikes (for carpet), or dedicated isolation pads to minimize vibration transfer.
- Height: Consider your listening position. The ideal tweeter height is usually at ear level.
- Size of Top Plate: Make sure the top plate of the stand is large enough to securely accommodate the base of your speakers.
Essential Speaker Stand Settings & Placement Tips
This is where the magic happens! Getting these settings and placements right will dramatically improve your listening experience.
1. Height Adjustment for Optimal Ear Level Contact
This is the golden rule of speaker placement. Your speakers’ tweeters (the small, usually metallic drivers responsible for high-frequency sounds) should be at the same height as your ears when you are seated in your primary listening position. This ensures that the high frequencies, which are more directional, reach your ears directly, creating a clearer and more detailed soundstage.
How to Set It:
- Set up your speakers and listening chair in their usual spots.
- Place your speakers on stands of a medium height and sit down.
- Measure the height of your speakers’ tweeters.
- Measure the height of your ears when seated.
- Adjust the stand height (if adjustable) or try different stands until these measurements match. If your stands aren’t adjustable, you might need to add or remove material underneath or on top of the stand to reach the right height.
Why it Matters: If tweeters are too low or too high, you’ll miss out on the intended high-frequency response, leading to a dull or piercing sound. This also significantly impacts stereo imaging, making sounds appear to come from a wider, more realistic space.
2. The “Equilateral Triangle” Rule for Stereo Imaging
For stereo setups (two speakers), the concept of the “equilateral triangle” is fundamental to achieving a coherent and immersive soundstage. This means the distance between your two speakers should be roughly the same as the distance from each speaker to your main listening position.
- Speaker to Speaker Distance: Measure this.
- Speaker to Listener Distance: Measure this for both speaker-to-listener relationships.
Ideally, all three distances should be equal or very close. This positioning “locks” the sound in the center between the speakers, creating phantom images and a sense of depth.
How to Set It:
- Place your listening chair.
- Position your speakers so they form a triangle with your listening position.
- Adjust the toe-in angle (see next point) to fine-tune the imaging.
Why it Matters: This setup is crucial for stereo reproduction. It helps create a focused center image and a realistic sense of space and instrument separation. Deviating too much can lead to a wide, diffuse sound or a narrow, cramped one.
3. Toe-In Angle: Directing Sound Where You Want It
“Toe-in” refers to how much you angle your speakers inward towards the listening position. This is a critical adjustment for fine-tuning stereo imaging and the tonal balance of your sound.
Common Angles:
- Pointing Directly at Listener: Full toe-in. This typically provides the sharpest center image and can enhance detail.
- Slightly Angled In (5-15 degrees off direct): A common starting point, offering a good balance of center image focus and stereo width.
- Slightly Pointed Forward (Minimal Toe-in): This can widen the stereo image but may soften the center focus.
- Pointing Straight Ahead (No Toe-in): Rarely ideal for stereo, can lead to a less focused image.
How to Set It:
- Start with the speakers pointing directly at your listening position.
- Play a piece of music with a clear vocal or lead instrument in the center.
- Gradually adjust the toe-in angle, listening for how the center image and stereo width change.
- Experiment until you achieve a balance that sounds best to you – a strong center image without sacrificing the width of the soundstage.
External Resource: For an in-depth look at speaker dispersion and how toe-in affects sound, you can explore resources from audio engineering societies. For example, the Audio Engineering Society (AES) publishes extensive research on acoustics and loudspeaker design, which underpins these placement principles. While their papers are technical, the fundamental concepts of directivity and dispersion are key to understanding why toe-in matters.
4. Distance from Walls: Taming Bass Boom
The area around your speakers significantly impacts their bass response. Walls and especially corners can reflect sound waves, causing bass frequencies to build up. This can lead to a “boomy” or indistinct bass that overwhelms the rest of the music.
General Guidelines:
- Rear Wall: Keep speakers at least 1-3 feet (30-90 cm) away from the wall behind them. The further away, the less bass reinforcement you’ll get.
- Side Walls: Try to place speakers at least 2-4 feet (60-120 cm) away from side walls.
- Corners: Avoid placing speakers directly in corners if possible. If you must, pull them out as much as space allows.
How to Set It:
- Start with your speakers pulled out significantly from the rear and side walls.
- Play bass-heavy music.
- Gradually move the speakers closer to the walls and listen for changes in bass. You’re looking for a balance – too far might make bass sound thin, too close will make it boomy.
- Use a tape measure for consistency!
Why it Matters: This calibration helps achieve a natural and accurate bass response. Over-boosting bass from wall reflections can mask details in the midrange and treble.
5. Adding Isolation Pads or Blu Tack
Even with good stands, some micro-vibrations can still transfer. Adding a layer of isolation between your speaker and the stand can further dampen these vibrations, leading to a cleaner sound with tighter bass and more clarity.
What to Use:
- Dedicated Isolation Pads: These are made of foam, rubber, or specialized materials designed to absorb vibrations.
- Blu Tack or similar Putty: A surprisingly effective and budget-friendly option. Small blobs (pea-sized) placed at the corners of the speaker’s base can create a secure and acoustically dampened connection.
- Wall-to-Wall Carpet Spikes: If your speakers are on carpet, the spikes on many stands are designed to pierce the carpet and rest on the subfloor, minimizing vibration transfer.
How to Set It:
- Choose your isolation material.
- For pads, simply place them on the top of the speaker stand.
- For Blu Tack, take small pieces and press them onto the bottom corners of your speaker before placing it on the stand.
- Ensure the speaker is still stable and not wobbling.
Why it Matters: This is a fine-tuning step. It can help reduce subtle muddiness and improve the resolution of low-frequency information.
6. Using a Measurement Microphone (Advanced)
For those who really want to get scientific, a measurement microphone and software like Room EQ Wizard (REW) can help analyze your room’s acoustics and speaker response. While this is more advanced, it can reveal subtle issues that even careful positioning might miss.
What You’ll Need:
- Measurement Microphone: Such as a Dayton Audio UMM-6 or Behringer ECM8000.
- Computer with Audio Interface: To connect the microphone.
- Acoustics Software: Room EQ Wizard (REW) is a popular free option.
How it Works: You place the microphone at your listening position, send test tones through your speakers (via the software), and the microphone captures the sound. REW analyzes the data to show you peaks and dips in frequency response and other acoustic anomalies in your room.
Why it Matters: This provides objective data to guide your placement and room treatment decisions. You can use it to confirm if your speaker stand height and distance from walls are creating the smoothest bass response.
External Resource: For an introduction to acoustic measurement and REW, sites like Acoustic Frontiers offer excellent, beginner-friendly tutorials on how to get started with REW and understanding the results.
Speaker Stand Ideas: Beyond the Basics
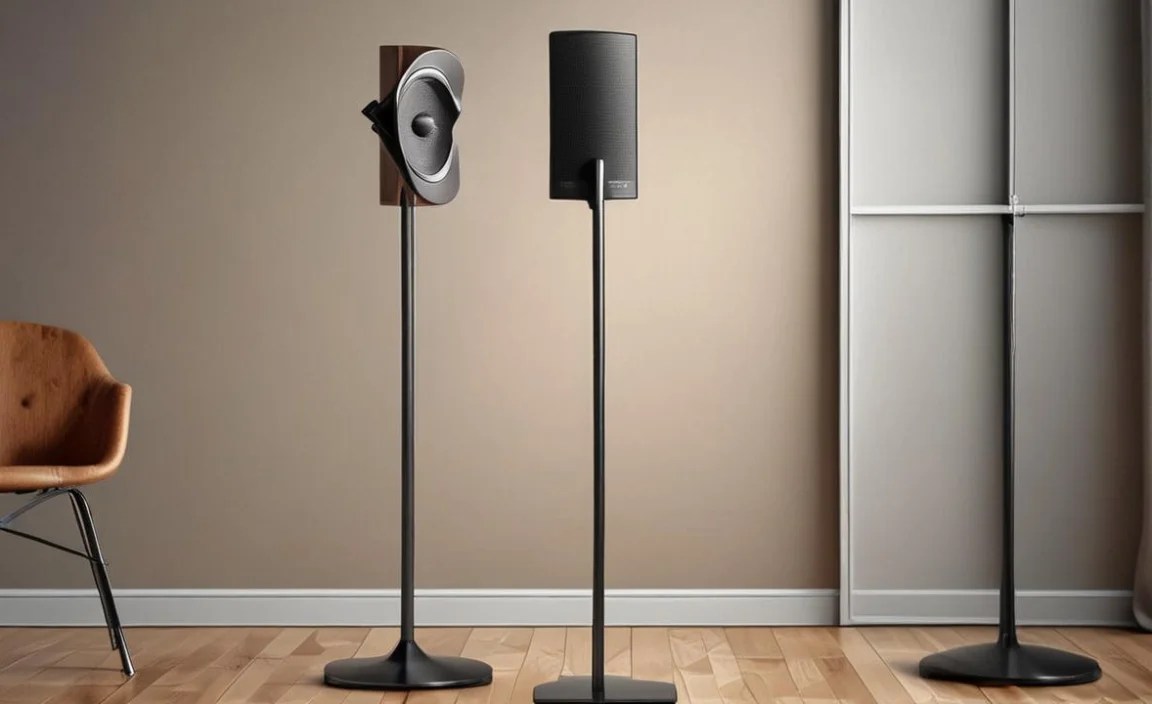
Once you’ve got the core settings sorted, let’s look at some creative speaker stand ideas that combine form and function.
DIY Speaker Stands: Budget-Friendly Brilliance
Don’t underestimate the power of DIY! You can create fantastic speaker stands with a bit of effort.
Simple Wood Block Stands
- Materials: Sturdy wooden blocks (e.g., 4×4 lumber cut to desired height), wood glue, screws, sandpaper, finish (paint, stain, varnish).
- Method: Cut lumber to equal lengths. Sand smooth. Glue and screw two pieces to create a thicker base for stability if desired. Finish to your liking. For a slight angle, you could cut the top surface at a very slight angle.
Repurposed Furniture Items
Look around your home or at thrift stores:
- Cinder Blocks and Wood: Stack cinder blocks and place sturdy planks of wood across them for a modern, industrial look. Ensure it’s stable.
- Small Side Tables: A sturdy, solid side table of the correct height can work. Ensure the top surface is flat and stable.
- Plant Stands: Some metal or wooden plant stands can be surprisingly robust and at the right height.
Using Existing Furniture Strategically
Sometimes, you don’t need dedicated stands. Get creative with what you have:
Floating Shelves
If you’re comfortable with DIY mounting, floating shelves can be installed at the perfect height and distance from walls, offering a clean, minimalist look. Ensure they are rated for the weight of your speakers.
Bookshelves as Stands
A low, sturdy bookshelf can act as a speaker stand, especially for larger bookshelf speakers. Place the speakers on the top surface and ensure they are not too close to the back wall.
Table of Stand Pros and Cons
Choosing the right approach has its trade-offs. Here’s a quick comparison:
| Stand Type | Pros | Cons |
|---|---|---|
| Store-Bought (Standard) | Convenient, usually well-designed, various styles. | Can be expensive, might not be perfect height. |
| Store-Bought (Adjustable) | Highly customizable height, good for different listening setups. | Can be pricier, adjustment mechanisms can be a weak point over time. |
| DIY (Wood/Metal) | Cost-effective, fully customizable, satisfying project. | Requires tools and skills, research needed for stability. |
| Repurposed Items | Very budget-friendly, unique aesthetic. | May require modification, stability and alignment can be tricky. |
| Floating Shelves | Clean look, flexible placement, good isolation from wall. | Requires wall mounting, can be permanent, need to ensure speaker stability. |
Acoustic Considerations for Your Room
Speaker placement setting advice would be incomplete without mentioning your room. Your room’s acoustics play a massive role. Stands help, but they don’t fix everything.
Dealing with Reflections
Besides speaker placement, the surfaces in your room contribute to the sound you hear. Hard surfaces like bare walls, glass, and laminate floors reflect sound, causing echo and reducing clarity. For a better listening experience, consider:
- Soft Furnishings: Rugs, curtains, couches, and upholstered chairs absorb sound.
- Acoustic Panels: Mounted on walls, these are specifically designed to absorb or diffuse sound waves, reducing reflections. You can buy pre-made panels or DIY them.
Room Modes (Loudspeaker/Room Interaction)
Bass frequencies (below about 100-200 Hz) are particularly sensitive to room dimensions. Certain frequencies can be reinforced or canceled out by the room’s size and shape, creating “room modes.”