
Choosing between a soundbar and traditional speaker settings depends on your space and how you use your audio. For simplicity and a significant upgrade over TV speakers, a soundbar is often best. For immersive, room-filling sound and customizability, a multi-speaker setup (like a home theater system) is superior. We’ll break down how to get the most from either choice.
Hey audio adventurers! Bob Riley here from Aimguider. Ever stare at your TV, wondering why the explosions sound like a distant whisper and the dialogue is lost in the sauce? It’s a common frustration! You’ve bought a great TV, but the sound just isn’t cutting it. You’re probably thinking, “Should I get a soundbar or a more traditional speaker setup?” The good news is, you’ve come to the right place. We’re going to untangle this audio puzzle, making it super simple to pick the right path for amazing sound, whether you choose a sleek soundbar or a more robust speaker system. Get ready to transform your listening experience!
Soundbar vs Speaker Settings: Unpacking Your Options

The world of home audio can seem a bit daunting at first. You’ve got soundbars promising big sound in a small package, and then there are those classic speaker systems that look like they mean business. What’s the big difference, and which one is right for your living room? Let’s dive in.
What is a Soundbar?
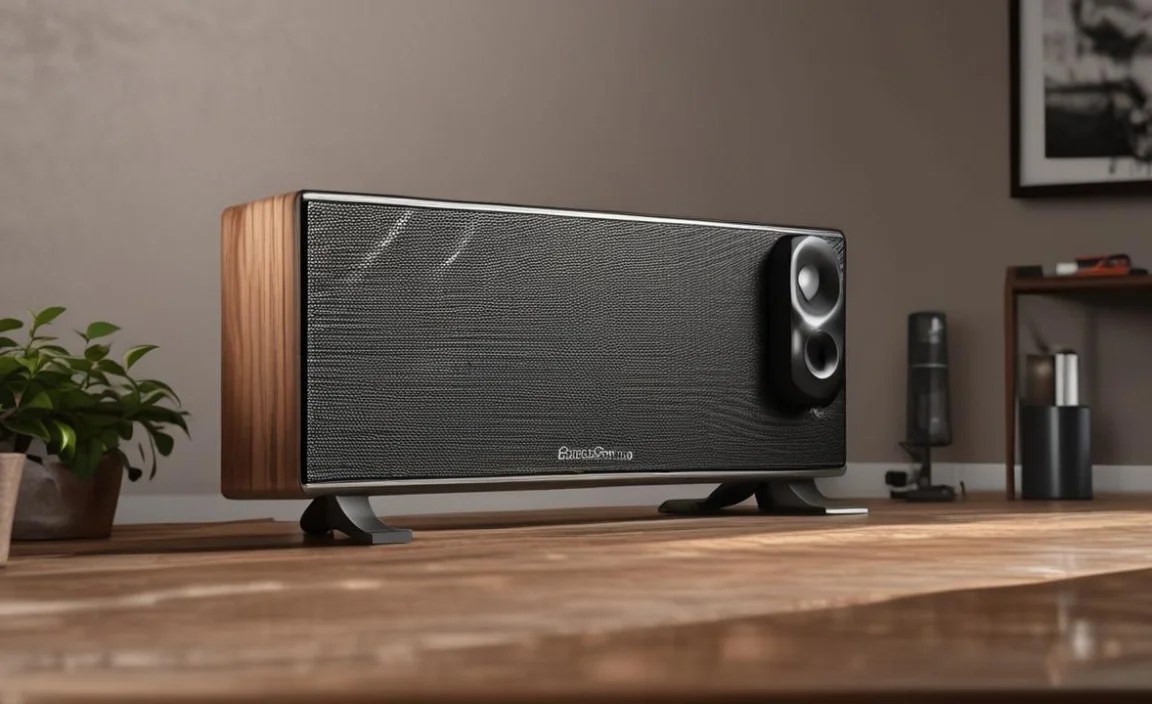
Think of a soundbar as an all-in-one audio solution. It’s a long, slim bar that typically houses multiple speaker drivers within it. You place this bar directly in front of or below your TV. Many soundbars also come with a separate wireless subwoofer for those deep bass notes. They are designed to be a massive improvement over your TV’s built-in speakers without the mess of wires and the space requirement of a full surround sound system.
Pros of Soundbars:
- Simplicity: Easy to set up and use, often just one or two cables.
- Space-Saving: Their slim design fits neatly under most TVs.
- Aesthetics: They look clean and modern, blending well with your entertainment center.
- Improved Dialogue: Many models have dedicated center channels to make voices clearer.
- Upgrade from TV Speakers: A significant step up in sound quality and volume.
Cons of Soundbars:
- Less Immersive: Can’t replicate true surround sound as effectively as discrete speakers.
- Limited Upgrade Path: You generally can’t add more speakers later.
- Soundstage: The sound can sometimes feel confined to the bar itself.
What is a Multi-Speaker (Traditional) System?
This usually refers to a home theater system, most commonly a 5.1 surround sound setup. It involves a separate AV receiver (the brains of the operation) and multiple individual speakers strategically placed around your room. A standard 5.1 system includes:
- Front Left and Right Speakers: For main stereo sound.
- Center Channel Speaker: Crucial for dialogue.
- Surround Left and Right Speakers: Placed to your sides or rear for ambient sound.
- Subwoofer: For deep bass frequencies.
More advanced systems can go up to 7.1, 9.1, Dolby Atmos (with upward-firing or ceiling speakers), and beyond for an even more enveloping experience. These systems offer the pinnacle of home theater audio immersion.
Pros of Multi-Speaker Systems:
- True Immersion: Incredible surround sound that puts you in the action.
- Customization: You can choose individual components and upgrade them over time.
- Wider Soundstage: Sound feels expansive and comes from all around you.
- Deeper Bass: Often paired with more powerful subwoofers.
- Best for Movies/Gaming: Unmatched for cinematic and gaming audio experiences.
Cons of Multi-Speaker Systems:
- Complex Setup: Involves more wiring and calibration.
- Requires More Space: You need room to place multiple speakers.
- Aesthetics: Can be visually intrusive if not managed well.
- Higher Cost: Generally more expensive than most soundbars.
Soundbar Settings: Getting the Best Sound

Even though soundbars are designed for simplicity, a few tweaks can make a world of difference. Think of it like tuning a guitar – you get a better sound with a little adjustment. Here’s how to get the most out of your soundbar.
1. Placement is Key
This is the MOST important step for any soundbar. For optimal sound performance, the soundbar should be placed at ear level and directly in front of your main listening position. Think of it as the main stage for your audio. If you place it too high, too low, or in a cabinet where sound can get muffled, you’re already losing out.
- Wall Mounting: If you mount your TV on the wall, consider mounting the soundbar below it. Many soundbars come with mounting kits, or you can purchase them separately.
- On a Stand: If your TV is on a stand, place the soundbar directly on the stand in front of the TV. Ensure it’s not blocking the TV’s infrared (IR) sensor for the remote.
- Avoid Enclosures: Don’t put your soundbar inside a closed cabinet. The sound needs to project freely into the room.
- Subwoofer Placement: For wireless subwoofers, placement is more flexible. Experiment with corners of the room for maximum bass impact, but be mindful of boomy or muddy sound. Sometimes, placing it closer to the center of the room or along a wall can sound cleaner. A good tip is to place the subwoofer where you’ll be sitting, play some bass-heavy music, and crawl around the room to find where the bass sounds best – then put the sub there.
2. Connect Properly
How you connect your soundbar to your TV matters for sound quality. Use the best available connection.
- HDMI ARC/eARC: This is the gold standard. ARC (Audio Return Channel) and eARC (Enhanced Audio Return Channel) allow audio to travel back from the TV to the soundbar over a single HDMI cable. eARC supports higher bandwidth, meaning better audio formats like Dolby Atmos. Make sure to use a compatible HDMI cable and enable ARC/eARC on both the TV and soundbar settings. You can find out more about HDMI ARC from official sources like HDMI.org.
- Optical Cable: If ARC isn’t an option on your TV or soundbar, an optical cable (also called TOSLINK) is the next best thing. It’s a digital connection that provides better sound than analog cables.
- Bluetooth: Convenient for streaming music from your phone, but generally offers lower audio quality for TV.
3. Explore Sound Modes
Most soundbars come with pre-set sound modes. These are designed to optimize audio for different types of content.
- Movie/Cinema Mode: Emphasizes dynamic range and surround effects to make movies more engaging.
- Music Mode: Aims for a balanced, clear audio profile for listening to tunes.
- Voice/Dialogue Mode: Boosts mid-range frequencies to make speech clearer, helpful for news or dialogue-heavy shows.
- Game Mode: May offer lower latency and more immersive positional audio for gaming.
Don’t be afraid to switch between these modes to see which sounds best for what you’re watching or listening to. Your soundbar remote or a companion app will usually let you cycle through these.
4. Adjust Volume Levels
Many soundbars have adjustable levels for the main channels, subwoofer, and sometimes even virtual surround or height effects (if applicable).
- Dialogue Enhancement: If you struggle to hear dialogue, try increasing the center channel volume or using a dedicated voice boost setting.
- Bass Control: If the bass is too boomy or not powerful enough, adjust the subwoofer’s volume.
- Surround Effect Level: If your soundbar simulates surround sound, you can often tweak how strong that effect is.
Start with all levels at their default or ‘0’ setting, and adjust incrementally. Small adjustments can have a big impact.
5. Enable Advanced Features (If Available)
Higher-end soundbars may offer features like:
- Virtual Surround/3D Audio: These technologies try to create a wider, more immersive soundfield using psychoacoustics. Experiment with these settings; they can be hit-or-miss depending on your room and the content.
- EQ Settings: Some soundbars have basic bass and treble controls or even a more advanced equalizer for fine-tuning.
- Night Mode: Compresses the dynamic range, making loud sounds quieter and quiet sounds louder. Great for late-night viewing without disturbing others.
Speaker Settings: The Art of Calibration

Setting up a multi-speaker system is where you can really dive deep into audiophile territory. It’s more involved, but the payoff is incredible. Calibration is the name of the game here.
1. Speaker Placement: The Foundation of Surround Sound
Correct speaker placement is paramount for achieving the intended surround sound experience. Imagine trying to enjoy a concert from backstage – that’s what bad placement is like for surround sound!
For a 5.1 System:
- Front Left/Right: Place these speakers at an equal distance from your TV and your main listening position, forming an equilateral triangle with the listener. They should be angled slightly inward (toed-in) towards the primary seat. Aim for them to be at ear level.
- Center Channel: This speaker is crucial for dialogue. Place it directly above or below your TV, as close to ear level as possible, and centered. Angle it slightly up or down if needed to point directly at the listener’s ears.
- Surround Left/Right: For a basic surround setup, place these speakers slightly behind and to the sides of your main listening position, also at about ear level or slightly higher. Many people find placing them about 90-110 degrees relative to the listening position works well.
- Subwoofer: As mentioned for soundbars, subwoofer placement is flexible and room-dependent. Start with the “crawl” method to find the best spot for smooth, even bass.
For Dolby Atmos/DTS:X (7.1.2 example):
In addition to the 5.1 setup, you’ll add height/overhead channels:
- Height Speakers: These can be upward-firing speakers placed on top of your front and surround speakers, or they can be in-ceiling or on-wall speakers positioned above and slightly in front of the listener. Dolby recommends specific angles for optimal overhead effects. For more details, consult Dolby’s official guide.
2. Connecting to Your AV Receiver
This is where the AV receiver (AVR) shines. It’s the central hub for all your audio sources (Blu-ray player, game console, streaming box) and your speakers.
- Speaker Wire: Use good quality speaker wire (e.g., 16-gauge or thicker for shorter runs) to connect each speaker to the corresponding terminals on your AVR. Ensure you maintain correct polarity (positive to positive, negative to negative) for all connections. Incorrect polarity can cause phase issues and weaken bass.
- HDMI: Connect your source devices to the HDMI inputs on your AVR, and then connect a single HDMI cable from the AVR’s HDMI output (often labeled ARC/eARC) to your TV. This setup ensures the AVR handles all audio processing and passes video to the TV.
3. The Calibration Process: Automatic vs. Manual
Most modern AVRs come with an auto-calibration system (like Audyssey, YPAO, or Dirac Live). This is highly recommended for beginners.
Automatic Calibration:
You’ll typically need a measurement microphone (often included with the AVR). Connect the microphone to the AVR and place it at your primary listening position (ear level). The AVR will then emit a series of test tones through each speaker.
- Room Measurement: The system measures the acoustics of your room, speaker distances, and levels.
- Automatic Adjustments: It automatically sets speaker distances (for timing), volume levels (for balance), and often applies equalization (EQ) to correct for room acoustics.
- Multiple Positions: For best results, run the calibration at several listening positions within the main seating area.
Manual Calibration (for the adventurous):
If auto-calibration isn’t perfect or you want to fine-tune, you can do it manually using a sound level meter and an SPL meter app on your smartphone (though a dedicated SPL meter is more accurate).
- Setting Distances: Measure the distance from each speaker to your primary listening position and input these values into the AVR.
- Setting Levels: Use the AVR’s built-in test tones and an SPL meter to adjust the volume of each speaker so they all read the same level (e.g., 75 dB) at the listening position.
- Setting Crossover Frequencies: The crossover point determines which frequencies are sent to the subwoofer versus the main speakers. A common starting point is 80 Hz, but this can be adjusted based on your speakers’ capabilities. Smaller speakers will need higher crossovers.
4. Understanding Sound Modes on AVRs
AV receivers offer a vast array of sound modes, far more than soundbars.
- Direct/Pure Direct: Bypasses all digital processing for the purest stereo sound from stereo sources.
- Surround Modes (Dolby Surround, DTS Neural:X): These can “upmix” stereo or 5.1 content to play through your entire speaker system, including height channels in Atmos setups, adding a sense of spaciousness.
- Specific Formats (Dolby TrueHD, DTS-HD Master Audio, Dolby Atmos, DTS:X): The AVR will automatically detect and play these formats when your source device provides them.
For movies, let the AVR automatically detect the best format (like Dolby Atmos or DTS:X). For music, consider Direct or Pure Direct for stereo sources, or specific stereo enhancement modes if available.
5. Tuning for Your Room
No two rooms are acoustically identical. Even with calibration, you might notice:
- Bass Boominess: Adjust subwoofer placement or use EQ settings to tame excessive bass.
- Harsh Treble: Absorption panels or acoustic treatments can help. You can also slightly dip higher frequencies in manual EQ.
- Dialogue Clarity: Ensure the center channel is correctly set and angled. Sometimes, placing it closer to ear level or using manual EQ to boost mids can help.
A great resource for understanding room acoustics is Audio Science Review’s section on room acoustics which offers in-depth technical guides.
Soundbar vs. Speaker Settings: Which is Truly “Best”?

The “proven best” isn’t a one-size-fits-all answer. It’s about matching the solution to your needs and space.
When is a Soundbar “Best”?
- Small to Medium Rooms: Perfect for apartments, bedrooms, or smaller living areas where space is limited.
- Simplicity Seekers: If you want a significant audio upgrade without complicated setup or wires.
- Limited Budget: Many excellent soundbars can be found at a lower price point than a comparable multi-speaker system.
- Minimalist Aesthetics: If you prefer a clean, uncluttered look.
When is a Speaker System “Best”?
- Dedicated Home Theater Rooms: Ideal for larger spaces where you can optimize speaker placement.
- Audiophiles & Cinephiles: If you crave the most immersive, detailed, and dynamic audio experience possible.
- Gamers: The precise positional audio of a surround system is a game-changer.
- Flexibility and Future-Proofing: If you want the ability to upgrade individual components over time.
Optimizing Settings: A Quick Comparison Table
Here’s a simplified look at what settings adjustments to prioritize:
| Feature | Soundbar – Top Priority Settings | Speaker System – Top Priority Settings |
|---|