
Quick Summary
Setting up your microphone for voiceover is simple! Choose your mic (USB or XLR), find a quiet space, use a pop filter, position it correctly, and adjust your software settings for clear, professional audio. Follow these steps for great sound.
Hey there, fellow audio adventurers! Bob E Riley here, from Aimguider. Ever tried recording your voice, only to end up with fuzzy, distant, or just plain bad sound? It’s a common hurdle for anyone diving into voiceovers, podcasts, or even just recording a quick message. The good news? Getting a clean, professional voiceover sound doesn’t require a studio costing thousands. It often comes down to a few key microphone setup steps. We’ll walk through everything you need to know, from picking the right gear to making those little tweaks that make a big difference. Ready to make your voice shine?
Why Your Microphone Setup Matters for Voiceover
Think of your voice as the star of the show. The microphone and its setup are like the stage, the lighting, and the sound crew – they all work together to present your star performance in the best possible way. A good setup ensures your voice is clear, warm, and engaging. A poor setup can hide your talent behind background noise, plosive “p” and “b” sounds, or an uneven recording level. For anyone looking to build an audience, sell a product, or share a story through their voice, clear audio is non-negotiable. It’s the first impression, and it can make or break your listener’s experience.
Choosing Your Voiceover Microphone: USB vs. XLR
The first big decision is your microphone. Don’t worry, it’s not as complicated as it sounds! The two main types for beginners are USB and XLR microphones. Each has its own pros and cons, and understanding them will help you pick the best fit for your needs and budget.
USB Microphones: Plug-and-Play Simplicity
USB microphones are fantastic for beginners because they are incredibly easy to use. You simply plug them directly into your computer’s USB port, and most operating systems will recognize them instantly. No extra equipment is usually needed to get started.
- Pros:
- Easy to set up – just plug in and go.
- Often more affordable for the basic setup.
- Great for beginners and casual use.
- Portable and convenient.
- Cons:
- Sound quality, while good, might not reach the same professional heights as a high-end XLR setup.
- Less flexibility for future upgrades or complex routing.
- Can sometimes pick up more computer noise if not positioned carefully.
Popular USB microphones for voiceover include the Blue Yeti, Rode NT-USB+, and Audio-Technica AT2020+. These are reliable workhorses that provide a significant step up from your computer’s built-in mic.
XLR Microphones: The Professional Standard
XLR microphones are what you’ll find in most professional studios. They offer a higher level of audio quality and flexibility but require a bit more equipment to get up and running.
- Pros:
- Generally offer superior sound quality and detail.
- More durable and built for long-term professional use.
- Highly flexible; can be paired with various preamps and interfaces for customized sound.
- Easier to isolate from computer noise.
- Cons:
- Requires additional equipment: an audio interface or mixer, and an XLR cable.
- Can be more expensive to set up initially.
- Slightly more complex setup process.
To use an XLR microphone, you’ll need an audio interface (like a Focusrite Scarlett Solo or Behringer U-Phoria) or a mixer. This device converts the microphone’s analog signal into a digital signal your computer can understand, and it also provides phantom power (usually 48V) that many condenser XLR mics need to operate. For a great starting point, consider an Audio-Technica AT2020 (XLR version), Rode NT1-A, or Shure SM58 (though the SM58 is more rugged and often used for live vocals, it can work for voiceover too).
Understanding Microphone Types: Condenser vs. Dynamic
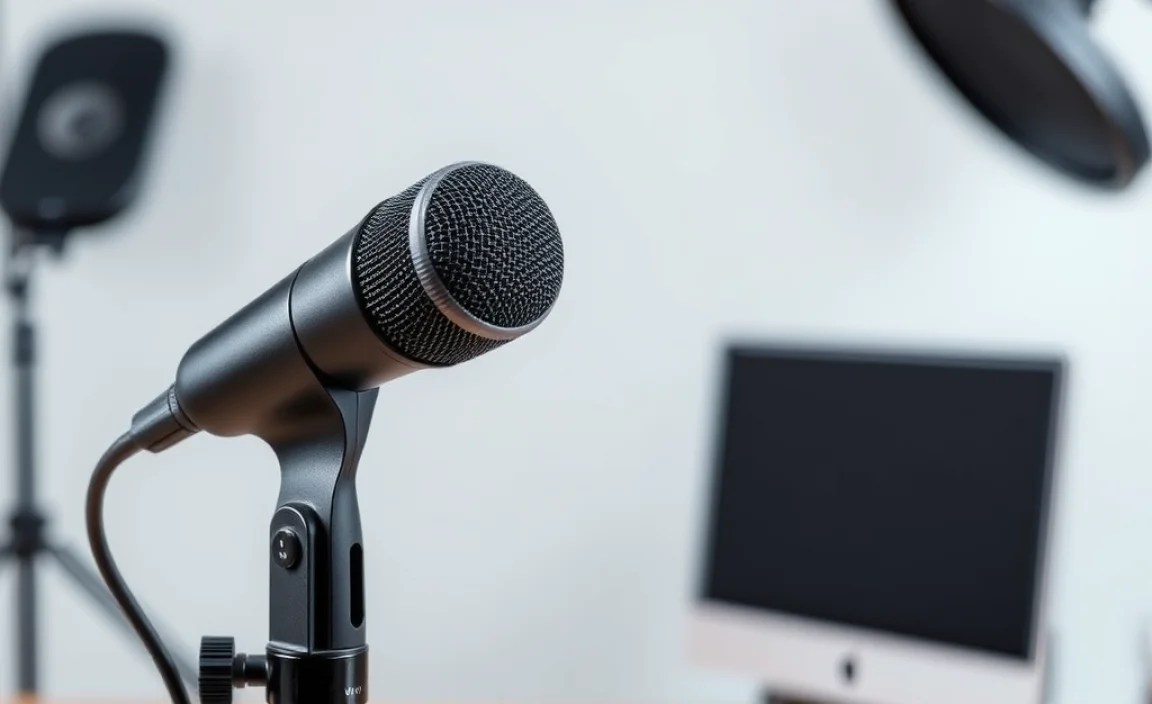
Within both USB and XLR categories, you’ll generally encounter two main types of microphones: condenser and dynamic. They capture sound differently and are suited for different recording environments.
Condenser Microphones
Condenser mics are known for their sensitivity and ability to capture fine details and nuances in sound. They are excellent for capturing a clear, crisp voice. However, they are also more sensitive to background noise and room acoustics.
- Best for: Quiet, treated recording spaces; capturing detailed vocal performances.
- Requires: Phantom power (usually 48V), typically provided by an audio interface or mixer.
Dynamic Microphones
Dynamic mics are more rugged and less sensitive than condensers. They are great at handling loud sounds and are less prone to picking up background noise. This makes them a good choice for less-than-perfect recording environments.
- Best for: Noisy environments, live performance, capturing punchy sound.
- Requires: No external power needed.
For most voiceover work in a home studio setting, a condenser microphone (either USB or XLR) is generally preferred for its clarity and detail, provided you can manage the environment. You can learn more about microphone technology and types from resources like the International Telecommunication Union (ITU), though their materials are for a more technical audience.
The Crucial Element: Your Recording Environment
Even the most expensive microphone will sound terrible if you record in a leaky, echoey room. Your environment is arguably as important as the mic itself. The goal is to minimize background noise and reduce reverberation (echo).
Finding a Quiet Space
Identify a location in your home that is naturally quieter. Avoid rooms near busy streets, appliances that hum (like refrigerators or HVAC units), or areas with lots of foot traffic. Bedrooms are often good choices because they tend to have more soft furnishings (carpets, curtains, beds) that help absorb sound.
Taming the Echo: Acoustic Treatment Basics
Hard, flat surfaces reflect sound, creating echo. Soft surfaces absorb sound. Here’s how to make your space more voiceover-friendly:
- Use Soft Furnishings: Curtains, rugs, carpets, upholstered furniture, and even blankets can make a huge difference. Hang blankets on walls or over furniture to create a makeshift vocal booth.
- Consider Acoustic Foam or Panels: For a more dedicated solution, acoustic foam panels or bass traps can be mounted on walls to absorb sound reflections. These are readily available from audio equipment retailers.
- Record in a Closet: Seriously! A closet full of clothes is a fantastic natural sound dampener. It’s often the go-to method for many home podcasters and voice actors. Just ensure your microphone can reach comfortably and you have enough ventilation.
The aim is to create a “dead” sound, meaning there’s minimal reflection or echo. If you clap your hands in the room and hear a distinct echo, you have more work to do!
Essential Accessories for a Professional Sound
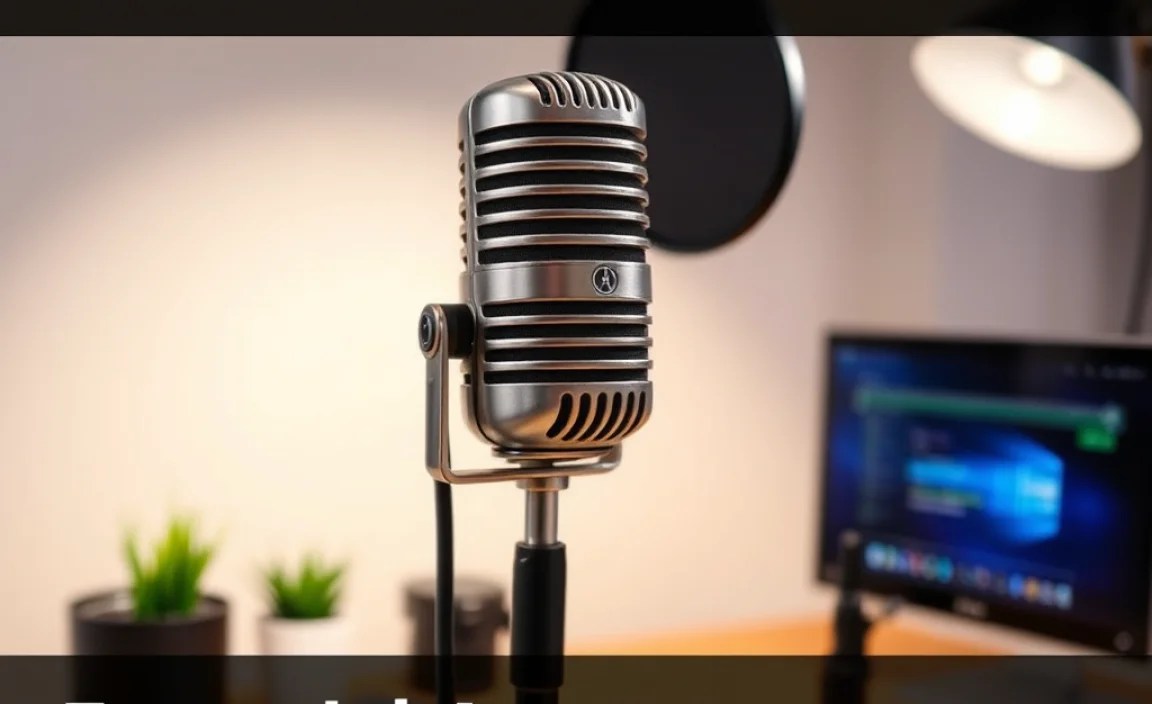
Beyond the microphone itself, a few key accessories will elevate your voiceover quality significantly.
1. Pop Filter or Windscreen
These are vital for preventing plosives – those sudden bursts of air from “p” and “b” sounds that can create an unpleasant “pop” or “thump” in your recording. A pop filter is a screen that sits a few inches in front of the microphone, while a windscreen is a foam cover that goes directly over the mic capsule.
- Pop Filter: Generally more effective for spoken word and voiceover.
- Windscreen: Good for general use and can help with minor plosives, but less effective than a dedicated pop filter for strong “p” and “b” sounds.
Most pop filters are inexpensive and easy to attach to your microphone stand.
2. Microphone Stand
You need a way to position your microphone correctly and keep it stable. A desk stand or a boom arm is essential.
- Desk Stand: Compact and good for portability, but can transmit vibrations from your desk into the mic if you type or move around a lot.
- Boom Arm: Offers more flexibility in positioning, keeps the mic off your desk (reducing vibrations), and can be easily moved out of the way. This is usually the preferred choice for voiceover work.
Look for a stand that feels sturdy and has adjustable positioning.
3. Shock Mount
A shock mount suspends your microphone and isolates it from vibrations coming through the microphone stand. This is especially important if you’re using a sensitive condenser microphone or if your desk vibrations are an issue. Many microphones come bundled with a shock mount, or they can be purchased separately.
4. Headphones
You need to hear yourself clearly (and any background noise!) while recording. Closed-back headphones are recommended because they prevent sound from leaking out and being picked up by the microphone. This allows you to monitor your recording accurately without adding more sound to your environment.
Step-by-Step Microphone Setup Guide
Let’s put it all together! Here’s a straightforward guide to setting up your microphone for voiceover.
Step 1: Assemble Your Equipment
Gather your microphone, microphone stand, pop filter (if using), and your audio interface or computer. If using an XLR mic, ensure you have your XLR cable ready.
Step 2: Mount Your Microphone
Attach your microphone to the microphone stand. If you have a shock mount, place the microphone in the shock mount and then attach the shock mount to the stand. Ensure the microphone is securely fastened.
Step 3: Position the Pop Filter
Attach the pop filter to your microphone stand, positioning it between your mouth and the microphone. A common distance is about 3-6 inches (7-15 cm) from the mic. Experiment to find what works best.
Step 4: Connect Your Microphone
- For USB Mics: Plug the USB cable into your microphone and then into a free USB port on your computer.
- For XLR Mics: Connect one end of the XLR cable to your microphone and the other end to your audio interface or mixer. Then, connect your audio interface/mixer to your computer via USB or Thunderbolt.
Step 5: Connect Your Headphones
Plug your closed-back headphones into the headphone jack on your audio interface, mixer, or directly into your computer (if using a USB mic that has a headphone jack).
Step 6: Power On and Configure Your Computer
- For USB Mics: Your computer should automatically detect the microphone. You might need to select it as the default input device in your computer’s sound settings.
- For XLR Mics: Make sure your audio interface is powered on (some require a separate power adapter or gain from USB). Your computer should then detect the interface. You’ll need to select the interface as your audio input device in your computer’s sound settings and within your recording software.
Important Note: For XLR condenser microphones, turn on the +48V phantom power switch on your audio interface or mixer. Do this after connecting the microphone and before recording. Turn it off after you finish recording and before unplugging the microphone.
Step 7: Position Yourself and the Microphone
Sit or stand comfortably in your prepared recording space. Position the microphone so it’s just below your mouth, pointing slightly upwards towards your mouth. This helps prevent plosives and breath noise. Aim for about 6-12 inches (15-30 cm) away from your mouth. Experiment with distance and angle to find the sweetest spot for your voice.
Step 8: Set Recording Levels
This is crucial! Open your digital audio workstation (DAW) or recording software (like Audacity, Adobe Audition, GarageBand, etc.). Select your microphone as the input source. Speak into the microphone at your normal voiceover volume. Watch the input level meter in your software. You want the levels to peak around -12dB to -6dB. This leaves headroom and prevents clipping (distortion) if you speak louder than expected. If the meter is too low, increase the gain on your audio interface or USB mic. If it’s too high, decrease it.
Typical Gain Settings Table
| Microphone Type | Preamp/Interface Gain (Approx.) | Notes |
|---|---|---|
| USB Condenser (e.g., Blue Yeti) | 30-60% of max | Often has onboard gain control. |
| XLR Condenser (e.g., AT2020) | 50-75% of max | Requires 48V phantom power. Sensitive. |
| XLR Dynamic (e.g., Shure SM58) | 70-90% of max | Less sensitive, requires more gain. |
(Note: These are starting points. Always test and adjust based on your specific mic, interface, and voice.)
Step 9: Test Recording
Do a short test recording. Speak normally, read a few sentences, and even try some louder or softer passages. Play it back through your headphones. Listen for:
- Distortion or clipping.
- Background noise (hiss, hum, traffic, fan).
- Echo or room reverb.
- Plosives (“p”, “b”) or sibilance (“s”, “sh”).
Make adjustments to mic placement, gain levels, or your recording space as needed.
Tips for Optimizing Your Voiceover Sound
Once your setup is physically complete, here are some extra tips to get the best sound:
- Mic Technique is Key: Even with a pop filter, try to avoid speaking directly into the microphone’s diaphragm. Aim slightly off-axis. Vary your distance from the mic subtly to add dynamics to your read if appropriate.
- Stay Consistent: Maintain a consistent distance from the microphone. This ensures your volume remains even throughout the recording.
- Hydration: Drink water before and during sessions. Saliva buildup can cause mouth clicks, which are very noticeable on recordings.
- Warm-up Your Voice: Just like athletes, voice actors benefit from vocal warm-ups. This helps with clarity, range, and stamina.
- Listen to Your Environment: Before each session, do a quick ambient noise check. Turn off any fans, close windows, and silence notifications.
- Learn Your Software: Familiarize yourself with the gain staging, noise reduction, and EQ tools in your recording software. A little post-processing can work wonders, but don’t rely on it to fix a fundamentally bad recording. Check out resources from Adobe Audition or GarageBand for software-specific tips.
FAQ: Your Voiceover Microphone Questions Answered
Q1: Do I really need a pop filter?
Yes, absolutely! A pop filter is one of the cheapest and most effective tools for drastically improving your voiceover audio by eliminating those harsh “pop” sounds from “p” and “b” consonants.
Q2: What’s the difference between a USB mic and an XLR mic for voiceover?
USB mics plug directly into your computer and are easy for beginners. XLR mics offer higher quality and flexibility but require an audio interface or mixer to connect to your computer. For professional results, XLR is often preferred, but a good USB mic can get you very far.
Q3: How close should I be to the microphone?
For most voiceovers, a distance of 6-12 inches (15-30 cm) from the microphone is ideal. This distance provides good pickup without being too close (causing plosives and proximity effect) or too far (picking up too much room noise).
Q4: My recordings sound echoey. What can I do?
Echo, or reverberation, comes from sound bouncing off hard surfaces. To reduce it, add soft materials to your room—like blankets, curtains, or carpets. Recording in a closet full
.lwrp.link-whisper-related-posts{
margin-top: 40px;
margin-bottom: 30px;
}
.lwrp .lwrp-title{
}.lwrp .lwrp-description{
}
.lwrp .lwrp-list-container{
}
.lwrp .lwrp-list-multi-container{
display: flex;
}
.lwrp .lwrp-list-double{
width: 48%;
}
.lwrp .lwrp-list-triple{
width: 32%;
}
.lwrp .lwrp-list-row-container{
display: flex;
justify-content: space-between;
}
.lwrp .lwrp-list-row-container .lwrp-list-item{
width: calc(25% – 20px);
}
.lwrp .lwrp-list-item:not(.lwrp-no-posts-message-item){
max-width: 150px;
}
.lwrp .lwrp-list-item img{
max-width: 100%;
height: auto;
object-fit: cover;
aspect-ratio: 1 / 1;
}
.lwrp .lwrp-list-item.lwrp-empty-list-item{
background: initial !important;
}
.lwrp .lwrp-list-item .lwrp-list-link .lwrp-list-link-title-text,
.lwrp .lwrp-list-item .lwrp-list-no-posts-message{
}@media screen and (max-width: 480px) {
.lwrp.link-whisper-related-posts{
}
.lwrp .lwrp-title{
}.lwrp .lwrp-description{
}
.lwrp .lwrp-list-multi-container{
flex-direction: column;
}
.lwrp .lwrp-list-multi-container ul.lwrp-list{
margin-top: 0px;
margin-bottom: 0px;
padding-top: 0px;
padding-bottom: 0px;
}
.lwrp .lwrp-list-double,
.lwrp .lwrp-list-triple{
width: 100%;
}
.lwrp .lwrp-list-row-container{
justify-content: initial;
flex-direction: column;
}
.lwrp .lwrp-list-row-container .lwrp-list-item{
width: 100%;
}
.lwrp .lwrp-list-item:not(.lwrp-no-posts-message-item){
max-width: initial;
}
.lwrp .lwrp-list-item .lwrp-list-link .lwrp-list-link-title-text,
.lwrp .lwrp-list-item .lwrp-list-no-posts-message{
};
}