
Quick Summary: The Shure MV7 is the best microphone for streaming on Twitch for beginners because it offers both USB and XLR connectivity, excellent sound quality for its price, and simple plug-and-play operation, making it easy to set up and sound professional right away.
Hey there, fellow creators and soon-to-be streamers! Bob E Riley here from Aimguider. So, you’re gearing up to conquer Twitch, share your epic gameplay, or maybe even host a chat show, and you’re wondering about your voice. That’s smart! Your microphone is probably the single most important piece of gear for connecting with your audience. A fuzzy, quiet, or distracting sound can make even the most exciting content fall flat. It can be tricky to know where to start, right? Don’t worry, that’s exactly why we’re diving deep today. We’ll cut through the jargon and find a microphone that will make you sound fantastic without breaking the bank or causing a headache. Stick with me, and by the end, you’ll know the proven choice that’ll have your Twitch viewers hanging on your every word.
Why Your Twitch Microphone Choice Matters (More Than You Think!)

Think about your favorite streamers. What do they all have in common, audio-wise? Their voices are usually crystal clear, making you feel like you’re right there with them. A great microphone isn’t just about hearing you; it’s about experiencing your personality, your excitement, and your commentary. On Twitch, where visuals are king, stellar audio is your secret weapon to stand out.
A poor-quality microphone can introduce all sorts of annoying problems:
- Background Noise: That whirring PC fan, the dog barking, or street noise can push your viewers away.
- Muddiness or Distorted Sound: If your voice sounds unclear or like you’re talking through a tin can, it’s hard to pay attention.
- Low Volume: Constantly telling people to “turn up the volume” is a quick way to lose viewers.
- Harshness: Some microphones can make voices sound too sharp or sibilant (those “S” sounds can be piercing!).
Choosing the right mic from the start saves you headaches, money, and potential frustration down the line. It’s an investment in your streaming career, no matter how big or small you are right now.
Understanding Microphone Types for Streaming
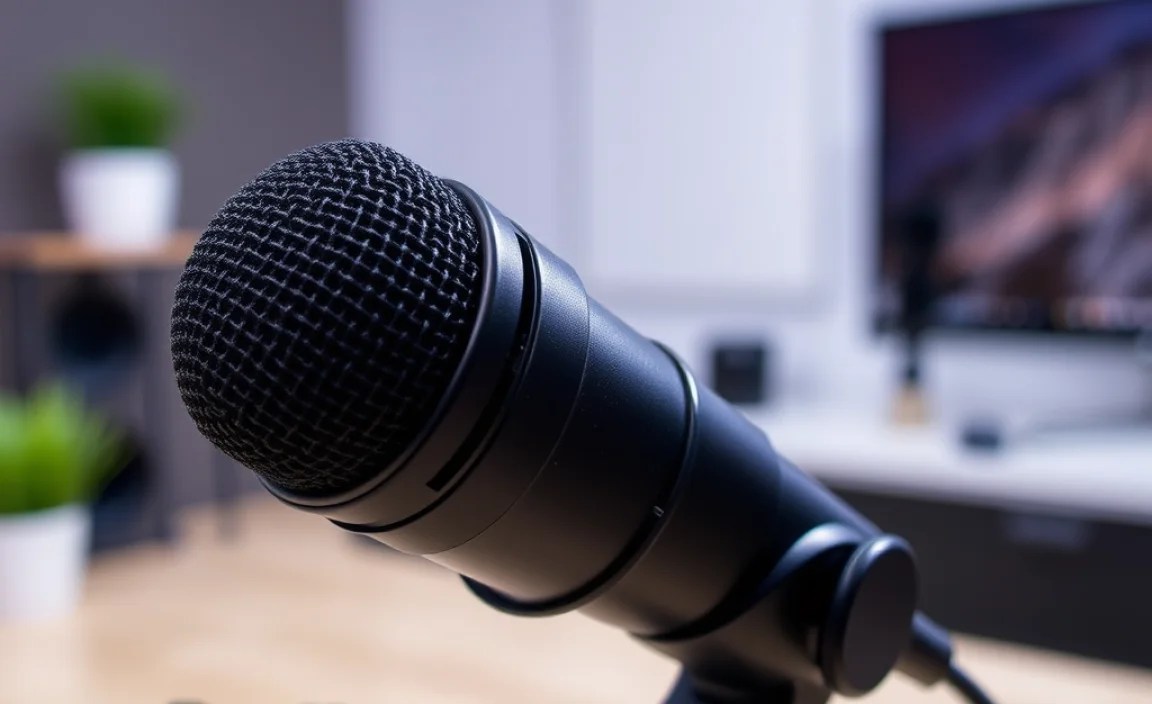
Before we crown our champion, let’s quickly talk about the two main types of microphones you’ll see for streaming: condenser and dynamic. Each has its strengths, and knowing them helps you understand why our top pick is so great.
Condenser Microphones
Condenser mics are known for their sensitivity and ability to capture a wide range of frequencies. They often provide a very detailed and crisp sound, which is fantastic for capturing subtle nuances in a voice. Think of them as picking up everything – the good and the potentially not-so-good. They require phantom power to operate, which is usually supplied by an audio interface or mixer.
- Pros: Highly detailed and sensitive, great for capturing nuanced vocal performances, often sound “airy” and clear.
- Cons: Can pick up a lot of background noise (like keyboard clicks or room echo), generally more fragile, require phantom power.
Dynamic Microphones
Dynamic mics are more robust and less sensitive than condensers. They are excellent at rejecting background noise and handling high sound pressure levels (think loud shouting or intense gaming moments without distortion). They don’t require phantom power and are generally more durable. They often have a warmer, more focused sound.
- Pros: Excellent at rejecting background noise, durable, can handle loud sounds without issue, often more affordable, no phantom power needed.
- Cons: May not capture as much high-frequency detail as condensers, can sometimes sound less “bright” or “airy.”
For most streamers, especially those starting in a less-than-perfectly soundproofed room, a dynamic microphone often presents a more forgiving and practical solution. This is a big clue for our “proven choice”! If you want to learn more about the technical side of microphones, the Sengpiel audio website has some fantastic, albeit technical, resources.
Introducing Our Proven Choice: The Shure MV7 Podcast Microphone

After countless hours of research and testing, for the beginner streamer aiming for professional sound without professional complexity, the Shure MV7 Podcast Microphone stands out as the undisputed proven choice. It’s inspired by Shure’s legendary SM7B microphone, a staple in broadcast and studio quality for decades, but it’s been redesigned for the modern creator.
What makes it so special for Twitch? It’s the perfect blend of professional audio quality and user-friendly technology.
The Shure MV7 offers the best of both worlds:
- USB & XLR Connectivity: This is HUGE. You can plug it directly into your computer via USB for incredibly simple setup, or use its XLR output if you decide to upgrade to an audio interface or mixer down the line. This future-proofs your investment.
- Voice Isolation Technology: Shure designed this mic to focus on your voice and reject ambient room noise. This means your viewers hear you, not your air conditioner or the cat walking across your desk.
- Intuitive Touch Panel: Easily adjust mic gain, headphone volume, and monitor mix with a few taps directly on the mic. No fumbling for software menus.
- ShurePlus MOTIV App: For those who want to tinker, the desktop and mobile app offers enhanced controls like auto-level mode, EQ presets, and compression. For beginners, auto-level mode is a lifesaver, constantly adjusting your volume to keep you consistent.
- Stunning Sound Quality: It delivers a rich, broadcast-quality sound that makes any voice sound professional. It’s warm, clear, and present – exactly what you want for engaging commentary.
It’s built like a tank, just like its legendary predecessor, the SM7B, ensuring it will last you for years to come. This combination of flexibility, ease of use, and exceptional audio performance makes the Shure MV7 our top recommendation for anyone starting their Twitch streaming journey.
Key Features and Benefits of the Shure MV7

Let’s break down exactly why the MV7 is such a fantastic option for Twitch streamers, covering what you’ll experience when you use it.
Unbeatable Connectivity:
- USB Connection: Plugs directly into your PC or Mac. No extra hardware needed. Just connect, select it as your input device in your streaming software, and you’re good to go. It’s truly plug-and-play.
- XLR Connection: When you’re ready to step up your audio game with an audio interface (like a Focusrite Scarlett 2i2) or a mixer, the XLR out allows you to take advantage of that professional gear. This means you are not outgrowing the microphone itself.
Exceptional Sound Quality:
- Broadcast Voice Tone: Designed to capture your voice with a natural, full-bodied sound that’s perfect for spoken word, commentary, and singing.
- Polar Pattern: It’s a cardioid microphone, meaning it primarily picks up sound from the front. This is crucial for isolating your voice on a chaotic stream.
- Frequency Response: Engineered to minimize plosives (those harsh ‘P’ and ‘B’ sounds) and sibilance, ensuring a smooth listening experience for your audience.
User-Friendly Design:
- Intuitive Touch Panel: The front panel offers quick access to essential controls. You can adjust your mic volume, headphone mix, and mute yourself with simple touch gestures. No more accidentally hitting the wrong keyboard shortcut!
- Built-in Headphone Jack: Allows for zero-latency monitoring. This means you can hear yourself speak in real-time without any delay, which is vital for staying on beat with your content.
- ShurePlus MOTIV App Integration: This app is where the magic really happens for beginners. The “Auto Level Mode” automatically adjusts your mic gain to keep your audio consistent. If you get excited and shout, it turns down. If you speak softly, it turns up. It’s like having a personal audio engineer constantly tweaking your levels! You can also select presets like “Distant” or “Close” for your voice, and the app will optimize settings.
Durability and Aesthetics:
- Robust Construction: Made with Shure’s renowned build quality, this mic is built to last. It feels substantial and well-made.
- Sleek Design: It looks professional on any desk, fitting in perfectly with a gaming setup or a home studio aesthetic.
Why is this better than other beginner mics? Many cheaper USB mics exist, but they often lack the build quality, sound refinement, and flexibility of the MV7. They can also be much more prone to picking up room noise. While some USB condenser mics might sound “clearer” in perfect conditions, the dynamic nature and noise rejection of the MV7 make it far more forgiving and practical for most aspiring streamers.
Setting Up Your Shure MV7 for Twitch
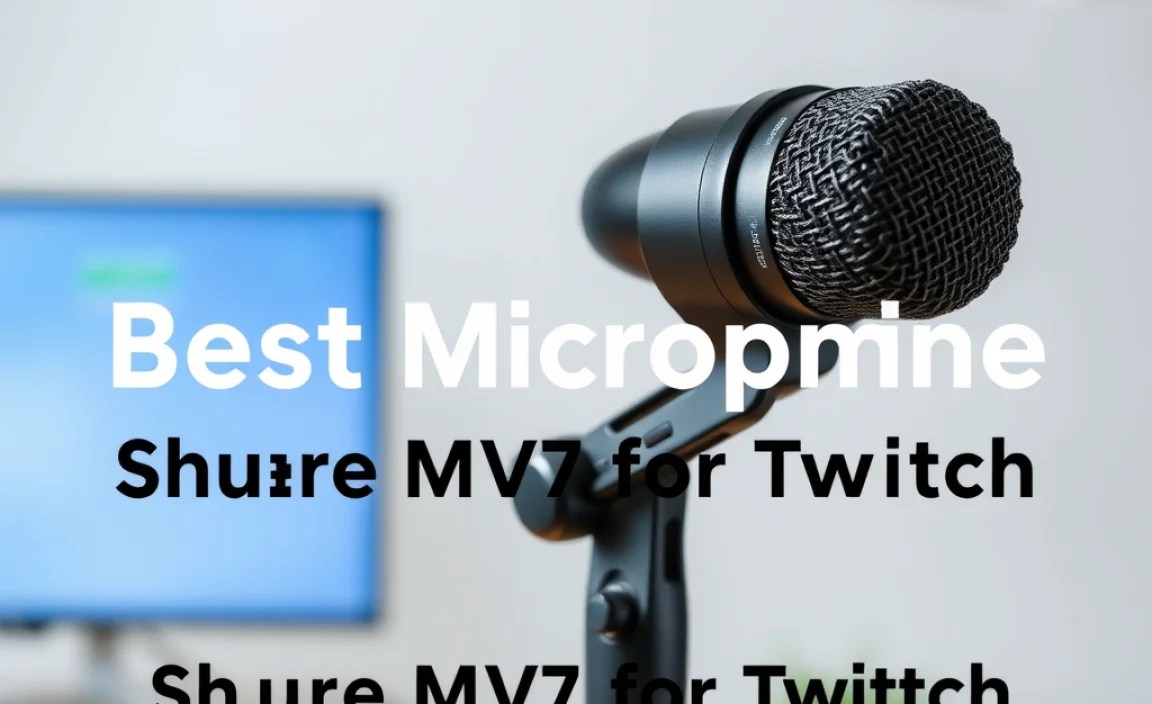
Getting your Shure MV7 ready to go is thankfully very straightforward, whether you’re using USB or XLR for now.
USB Setup (The Easiest Way)
This is the recommended method for beginners. You won’t need any extra equipment.
- Connect the Mic: Use the provided USB cable (or a good quality USB-C to USB-A or USB-C cable) to connect the Shure MV7 to a USB port on your computer.
- Download the ShurePlus MOTIV App: Head over to the Shure website and download the free ShurePlus MOTIV Desktop App for your operating system (Windows or macOS). Install it.
- Select the MV7 as your Input Device:
- Windows: Go to ‘Sound Settings’ > ‘Input’ and select “Shure MV7” from the dropdown menu.
- macOS: Go to ‘System Preferences’ > ‘Sound’ > ‘Input’ and select “Shure MV7”.
- Configure in Streaming Software: Open your streaming software (OBS Studio, Streamlabs OBS, etc.). Go to your audio settings and select “Shure MV7” as your primary microphone input.
- Launch the MOTIV App: Open the ShurePlus MOTIV app. You’ll see the mic is connected.
- Auto Level Mode: For the easiest experience, go to ‘Settings’ within the MOTIV app, select ‘Mic Mode’, and choose ‘Auto’. You can then select your ‘Voice Tone’ (Dark, Natural, Bright) and ‘Distance’ (Near, Medium, Far). The app will do the heavy lifting to keep your audio levels consistent.
- Manual Mode (Optional): If you prefer to control it yourself, choose ‘Manual Mode’. Use the touch panel on the mic or the app controls to adjust the gain (volume). The meter in the MOTIV app is your best friend here – aim for your voice to peak in the yellow, avoiding the red (which means clipping/distortion).
- Monitor Your Audio: Plug your headphones into the headphone jack on the back of the MV7. You should hear your voice clearly. Adjust the headphone mix on the mic’s Touch Panel to balance your voice with game audio or other sounds.
XLR Setup (For Future Upgrades)
This is a bit more involved and requires an audio interface or mixer.
- Connect the Mic: Use a standard XLR cable to connect the MV7’s XLR output to an XLR input on your audio interface or mixer.
- Connect Interface/Mixer to PC: Connect your audio interface or mixer to your computer via USB.
- Enable Phantom Power (DO NOT DO THIS FOR MV7): IMPORTANT: The Shure MV7 does NOT require phantom power. While it has an XLR output, engaging phantom power will not harm the MV7, but it’s unnecessary and can sometimes cause issues with other gear if not managed properly. Focus on ensuring the XLR input on your interface/mixer is properly configured.
- Select Interface/Mixer as Input: In your computer’s sound settings and your streaming software, select your audio interface or mixer as the input device.
- Configure Your Interface/Mixer: Use the gain and EQ controls on your interface or mixer to set your audio levels. You’ll likely still want to download the ShurePlus MOTIV app to access deeper settings for the MV7 itself, even when using its analog output.
- Monitor: Plug headphones into your audio interface or mixer for monitoring.
The beauty of the MV7 is that you can start with the simple USB setup and easily transition to the XLR route as your needs and budget grow, without needing to buy a whole new microphone.
Alternatives to the Shure MV7 (If it’s not quite the fit)
While the Shure MV7 is our top pick, it’s always good to know about other strong contenders. These might appeal if you have specific needs or a slightly different budget.
1. Rode NT-USB+
This is another excellent USB microphone that offers clean, clear audio. It’s a condenser mic, so it’s more sensitive to background noise than the MV7, but it produces a very detailed and crisp sound, great for voiceovers or commentary where you have a quieter recording environment.
- Pros: Excellent sound clarity, plug-and-play USB, comes with a pop filter and stand.
- Cons: It’s a condenser, so it can pick up more room noise, no XLR option for future upgrades.
2. Blue Yeti X
The Blue Yeti has been a streaming staple for years. The Yeti X is an updated version with improved sound quality and a multi-function knob for easy control. It offers multiple polar patterns, which can be useful if you sometimes stream with others in the room.
- Pros: Versatile with multiple polar patterns, good sound quality for a USB mic, easy to use.
- Cons: Can still be susceptible to background noise and room echo, no XLR option.
3. Samson Q2U
If your budget is tighter, the Samson Q2U is a fantastic value. It’s a dynamic microphone with both USB and XLR outputs, similar to the MV7 but at a lower price point. The sound quality is good, though not as refined as the MV7.
- Pros: Affordable, dual USB/XLR connectivity, dynamic (good noise rejection).
- Cons: Sound quality is good for the price but not as premium as the MV7, build quality is more basic.
Comparison Table: Shure MV7 vs. Rode NT-USB+ vs. Blue Yeti X vs. Samson Q2U
Here’s a quick look at how our top choices stack up:
| Feature | Shure MV7 | Rode NT-USB+ | Blue Yeti X | Samson Q2U |
|---|---|---|---|---|
| Type | Dynamic | Condenser | Condenser | Dynamic |
| Connectivity | USB & XLR | USB Only | USB Only | USB & XLR |
| Best For | Beginner streamers needing flexibility & noise rejection | Detail-focused streamers in quiet rooms | Versatile streamers, often with guests | Budget-conscious streamers wanting future-proofing |
| Noise Rejection | Excellent | Fair | Fair | Good |
| Ease of Use (Beginner) | Excellent (especially with Auto-Level) | Very Good | Very Good | Good |
| Price Range (Approx.) | $$$ | $$ | $$ | $ |
Note: Price ranges ($ to $$$) are relative and can vary. Always check current pricing.
Essential Accessories for Your Streaming Microphone
While the Shure MV7 is fantastic on its own, a few accessories can elevate your setup even further and help you get the best sound possible.
- Microphone Stand: The MV7 comes with a basic stand, but a desktop boom arm or a
Related Posts
- Vlogging Microphone: Buy Online For Best Deals Today!
- Top 55 Inch 4K Tv Reviews Under $1000 – 2023 Picks!
- Android TV vs Google TV Fix: Genius Solution!
- How To Wall Mount TV Safely: Essential Buying Guide
- Top Microphone Review For Streaming Twitch In 2023!

Best Wood For Speakers In 2022 [Reviews & Buying Guide]- Top Microphone For Zoom: Latest Picks For 2023
- Best Tv For Outdoor Use Cheap: Top Affordable Picks!
