
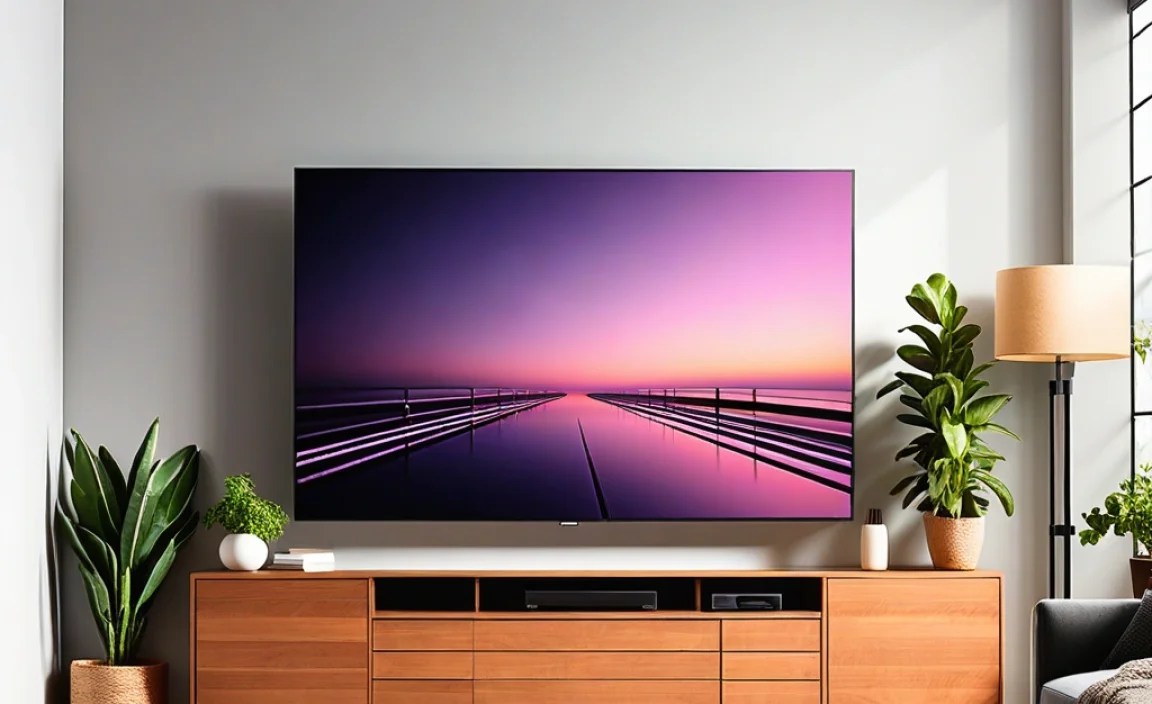
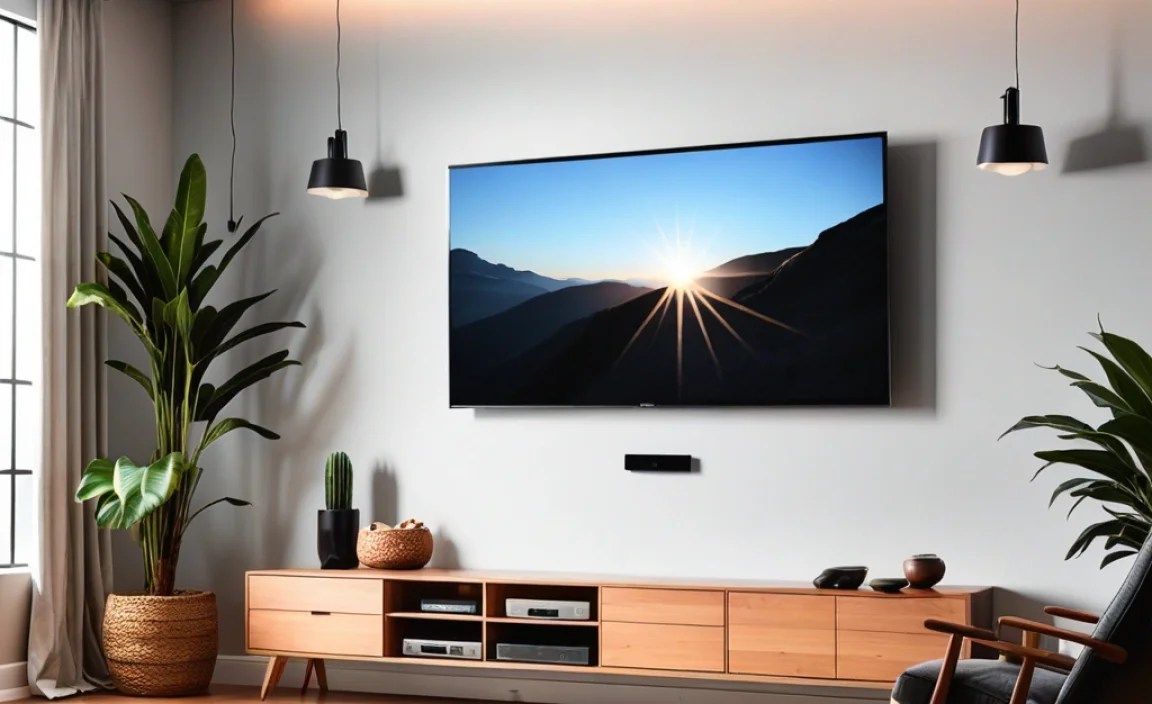
Yes, you can safely wall mount your flat-screen TV! This guide covers the pros, cons, and essential tips, breaking down the process into simple steps. We’ll help you choose the right mount, find studs, and avoid common mistakes for a secure and professional-looking setup.
Thinking about ditching the TV stand for a sleek, wall-mounted look? It’s a fantastic way to save space and upgrade your home theater, but it can also feel a little daunting. What if it falls? What’s the right height? Don’t worry! Taking the plunge into wall mounting your flat-screen TV is totally achievable, even if you’re new to DIY projects. We’ll walk you through everything you need to know, from the good and not-so-good aspects to the step-by-step process. Get ready to transform your viewing experience!
The Allure of the Wall Mount: Pros & Cons

Before we grab our tools, let’s chat about why wall mounting is so popular, and what you should consider before you start.
The Perks: Why Wall Mount Your TV?
There are some really compelling reasons to get your TV off the furniture and onto the wall.
- Space Saving Champion: This is a big one! Mounting your TV frees up valuable surface area. No more bulky entertainment centers taking up precious room. It’s perfect for smaller apartments or rooms where you want a minimalist feel.
- Sleek Aesthetics: Let’s be honest, a wall-mounted TV just looks good. It gives your entertainment area a clean, modern, and professional finish, similar to what you see in hotel rooms or display homes.
- Optimized Viewing Angles: With the right mount, you can tilt and swivel your TV to get the perfect viewing angle from anywhere in the room. This is especially handy if you have a large living space or frequently rearrange furniture.
- Child and Pet Safety: A TV perched precariously on a stand can be a tipping hazard for curious little ones or playful pets. Mounting it securely to the wall significantly reduces this risk.
- Cable Management Glory: While it requires a little extra effort, wall mounting offers the best opportunity for discreet cable management. You can hide wires within the wall for an unbelievably clean look.
The Ponderables: Downsides to Consider
It’s not all sunshine and rainbows. There are a few things to keep in mind before you commit.
- Installation Effort: It’s not as simple as plugging in a lamp. You’ll need tools, decide on a location, and find structural support (like wall studs). If you’re not comfortable with DIY, you might need to hire a professional.
- Limited Port Accessibility: Once mounted, accessing the back of your TV for ports can be tricky, especially if you like to switch out devices often. Planning for this is key.
- Finding the Right Spot: You’re locked into a specific location. Moving the TV later means patching and painting, which is more work than just sliding a stand.
- Cost of Mounts: Basic mounts are affordable, but if you want articulation (tilting, swiveling, extending), the price can increase significantly.
- Wall Type Matters: Mounting on drywall is common, but you need to hit studs. Mounting on brick or concrete requires different hardware and techniques.
Choosing Your Perfect Wall Mount
Not all mounts are created equal. Think about how you want to use your TV after it’s mounted.
Types of TV Wall Mounts
Here’s a quick rundown of the most common types:
- Fixed Mounts: These lie flat against the wall and don’t move. They’re great for achieving that ultra-slim profile, but offer no adjustability. You’ll need to get the height and position perfect from the start.
- Tilting Mounts: These allow you to tilt the TV up or down. This is useful if you plan to mount your TV a bit higher than eye level (like above a fireplace) to reduce glare or improve the viewing angle.
- Full-Motion/Articulating Mounts: These are the multitaskers! They can extend out from the wall, swivel side-to-side, and tilt up and down. They offer the most flexibility for different viewing positions and room layouts.
- Low-Profile Mounts: Similar to fixed mounts, these keep your TV very close to the wall, but may offer a slight tilt. They’re all about that minimalist look.
What to Look For in a Mount
When you’re picking out a mount, keep these features in mind:
- VESA Compatibility: This is crucial! VESA refers to the standard for the mounting holes on the back of your TV. Your mount must match your TV’s VESA pattern (e.g., 200x200mm, 400x400mm). Check your TV’s manual or the manufacturer’s website.
- Weight Capacity: Always, always make sure the mount can safely support the weight of your TV. Overlooking this is a recipe for disaster.
- Screen Size Range: Mounts are typically rated for a range of TV screen sizes (e.g., 32-55 inches, 50-70 inches). Ensure your TV falls within this range.
- Ease of Installation: Some mounts are designed for simpler, tool-less adjustments or easier attachment to the wall.
- Build Quality: Look for sturdy materials like steel. Read reviews to see what other users say about the mount’s durability.
Essential Tools and Materials You’ll Need
Gathering your supplies before you start makes the process much smoother. Here’s a basic checklist:
- Your Chosen TV Wall Mount: Includes hardware for the mount itself, but always check your wall type.
- Stud Finder: Absolutely critical for mounting on drywall. Electronic stud finders are the easiest to use. For more information on finding wall studs, the This Old House guide is excellent.
- Drill and Drill Bits: You’ll need this to pre-drill holes in studs or for anchors.
- Level: To ensure your TV ends up perfectly straight.
- Measuring Tape: For determining the correct mounting height and position.
- Pencil: To mark stud locations and drill points.
- Screwdriver Set (Phillips and Flathead): For attaching brackets to the TV and possibly the mount to the wall.
- Socket Wrench or Adjustable Wrench: For tightening bolts and lag screws.
- Safety Glasses: Protect your eyes!
- Optional: Cable Management Kit: If you want to route wires inside the wall, you’ll need specific kits, possibly including drywall saws and raceways.
Step-by-Step: How to Wall Mount Your Flat Screen TV
Alright, let’s get down to business! This guide assumes you’re mounting to a standard drywall-covered wood stud wall, which is the most common scenario.
Step 1: Determine the Perfect Height and Location
This is more crucial than you might think! You want your eyes to be roughly at the “center” of the screen when you’re in your usual viewing position. Here’s a simple method:
- Sit in your favorite spot: Imagine where the screen will be.
- Measure eye level: Have someone measure the height from the floor to your eye level while you’re seated.
- Mark the center point: Add a few inches to your eye-level measurement to account for the TV’s base or lower edge. This is where you want the center of your TV to be. Mark this spot lightly on the wall with your pencil.
- Consider glare: Think about window and light source positions to minimize reflections.
- Check for obstructions: Make sure there are no electrical outlets, pipes, or existing wires directly where you plan to drill.
Step 2: Find Those Wall Studs!
This is where your stud finder comes in. Drywall alone is NOT strong enough to hold a TV. You must secure your mount to solid wood studs.
- Turn on your stud finder: Follow its instructions.
- Scan horizontally: Place the stud finder flat against the wall and slide it slowly left and right around your target height mark.
- Mark the edges: When the finder indicates a stud, mark one edge with your pencil. Continue scanning in the same direction until the signal drops, then mark the other edge of the stud.
- Find the center: The center of the stud is usually halfway between your two marks.
- Repeat for other studs: Most TV mounts require at least two studs for support. You’ll use the measurements on your mount to determine how far apart your studs need to be. Most standard studs are 16 inches apart on center, but it’s best to verify.
Step 3: Attach the Mounting Bracket to the Wall
Now we attach the main part of the mount to the wall.
- Position the bracket: Hold the wall plate of your mount against the wall, aligning it with your stud marks. Make sure it’s perfectly level using your spirit level.
- Mark the drill holes: Use your pencil to mark the center of the mounting holes that align with the studs you found.
- Pre-drill pilot holes: Use a drill bit slightly smaller than the lag bolts that come with your mount. Drill into the studs at your marked spots. This makes driving the bolts easier and prevents wood from splitting.
- Secure the bracket: Align the bracket with your pilot holes. Drive the lag bolts (or other heavy-duty screws provided with the mount) through the bracket and firmly into the studs. Use a socket wrench for these. Don’t overtighten, but ensure they are snug and the bracket is rock-solid.
Step 4: Attach the Brackets to Your TV
These are the arms or plate that will attach to the back of your TV and connect to the wall bracket.
- Lay your TV face down: On a soft, clean surface like a blanket or the original box foam to protect the screen.
- Locate VESA holes: Find the four threaded holes on the back of your TV.
- Attach the brackets: Align the TV brackets provided with your mount to these holes. They usually fit in a specific orientation (check your mount’s manual).
- Use the correct screws: Your mount will come with various screw sizes. Select the correct length and diameter for your TV to avoid damaging it. The screws should go in a few threads deep but not bottom out or be too long. If unsure, check your TV manual or the mount manufacturer’s support.
- Tighten securely: Ensure the brackets are firmly attached, but don’t force them.
Step 5: Mount the TV!
This is the moment of truth. You might need a second person for this, especially with larger TVs.
- Clear the area: Make sure there’s nothing in the way below the mount.
- Lift the TV: With a helper, carefully lift the TV.
- Hook it up: Align the brackets on the back of the TV with the wall plate. Most mounts have a hook or slot system where the TV brackets engage with the wall bracket.
- Secure the TV: Once the TV is hanging on the mount, ensure it’s properly seated. Many mounts have locking screws or clips to prevent the TV from being accidentally dislodged. Consult your mount’s manual to secure it.
Step 6: Connect and Manage Cables
Now for the finishing touches. If you’re hiding cables in the wall, this is where things can get a bit more involved and might require additional tools and knowledge. For a simpler approach:
You can route your HDMI, power, and other cables down behind the TV and use cable ties, Velcro wraps, or a cable management sleeve to bundle them neatly. For an even cleaner look, you can use paintable raceways that attach to the wall surface and conceal the wires.
Consider using wall-penetrating cable management kits (like those found at Lowe’s) if you want to run cables directly through the wall to an outlet or media box. This is a more advanced step and might require electrical knowledge or professional help.
Mounting on Different Wall Types
The process slightly changes depending on what your walls are made of.
Mounting on Brick or Concrete
This type of mounting is generally more secure, but requires different hardware and techniques.
- Tools: You’ll need a hammer drill and masonry drill bits.
- Hardware: Use specialized concrete anchors or lag shields designed for masonry.
- Process: Mark your holes, use the hammer drill to bore through the brick/concrete, insert the anchors, and then screw the mount into the anchors. Ensure the anchors are rated for the TV’s weight.
Mounting on Metal Studs
Metal studs are common in commercial buildings or some modern construction. They are not as strong as wood studs and require specific mounting solutions.
- Stud Finder: You’ll need a stud finder that can detect metal.
- Hardware: You typically need special toggle bolts or heavy-duty self-tapping screws designed for thin-gauge metal.
- Reinforcement: Often, you’ll need to reinforce the mounting area, possibly by adding wood or metal bracing behind the studs.
- Professional Help: Mounting on metal studs is more complex and often best left to professionals unless you have experience.
For detailed guidance on wall types and anchors, the This Old House resource on wall anchors is also very informative.
Troubleshooting Common Mounting Issues
Even with the best intentions, things can go sideways. Here’s how to fix common snags.
- Mount feels loose: Double-check all bolts and screws. Are you sure you hit the center of the studs? If mounting on drywall, ensure you used lag bolts correctly into wood studs. For other wall types, ensure anchors are appropriate and installed correctly.
- TV is crooked: Most mounts allow for minor adjustments after hanging. Check your mount’s manual for leveling features. If it’s significantly off, you might need to unmount and re-drill.
- Can’t find studs: Try a different stud finder, or try finding studs by looking for electrical outlets or light switches, which are often attached to studs. You can also gently tap the wall; studs create a more solid sound.
- Scared of drilling: If any part of this process makes you nervous, especially finding studs or drilling into your wall, there’s no shame in hiring a professional. Many retailers offer installation services, or you can find a local handyman.
Frequently Asked Questions About Wall Mounting TVs
Got more questions? We’ve got answers!
Q1: What is the easiest type of TV mount for beginners?
Fixed mounts are generally the simplest to install because they have fewer moving parts and sit flush against the wall. However, tilting mounts are also quite straightforward and offer a bit more viewing flexibility.
Q2: How far apart should studs be for mounting a TV?
Standard wood studs are typically spaced 16 inches apart on center. Most TV mounts are designed to accommodate this spacing. Always check your specific mount’s requirements.
Q3: Can I mount a TV on a plaster wall?
Yes, but plaster walls often have wood lath behind them, which can be uneven. You’ll need to find the studs behind the plaster and use appropriate heavy-duty screws or lag bolts. Some people find mounting over drywall to be easier.
Q4: Do I need to mount my TV directly into studs?
Absolutely YES. For drywall, mounting directly into solid wood studs is essential for safety and stability. Drywall alone cannot support the weight of a TV. If you have metal studs or masonry, you’ll need appropriate anchors and techniques, not just screws.