
Mounting your TV safely involves selecting the right mount, finding secure wall studs, and following precise installation steps. This guide ensures your TV is securely attached, protecting your investment and your viewers.
Hey everyone, Bob E Riley here from Aimguider! Thinking about freeing up some space or getting that cinema feel at home by wall-mounting your TV? It’s a fantastic upgrade, but let’s be honest, the thought of drilling into your wall and hanging a possibly heavy, expensive TV can feel a little daunting. Will it stay up? What if I mess it up? Don’t worry, you’re not alone! Many folks feel the same. This guide is designed to break down the process into simple, manageable steps. We’ll cover everything you need to know to get your TV mounted safely and securely, turning that worry into excitement. Let’s get your living room looking sleek and modern!
Why Wall Mount Your TV Safely?
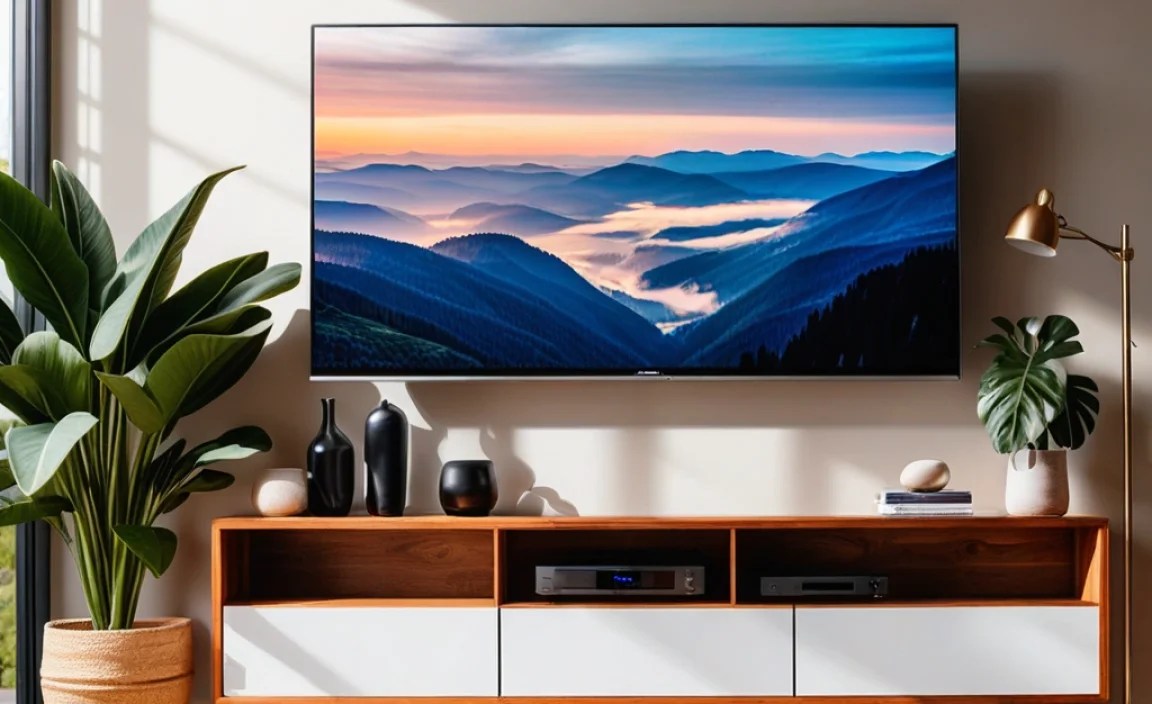
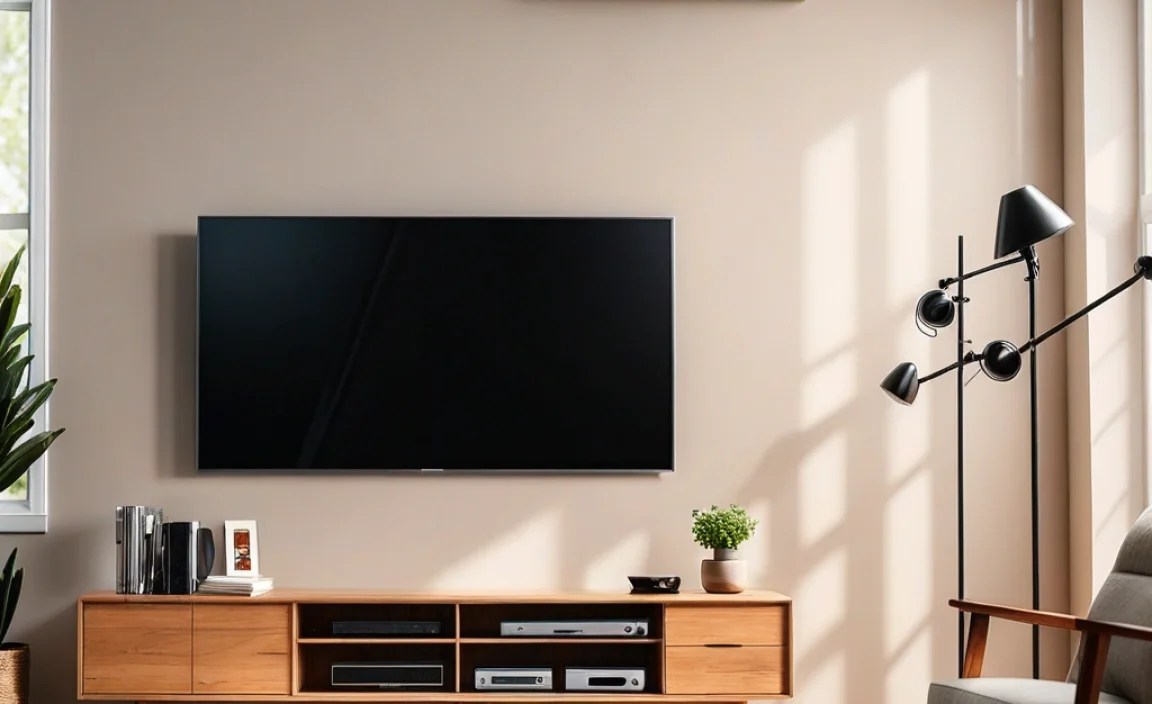
Wall mounting a TV offers a sleek, modern look, instantly decluttering your entertainment space. It can improve viewing angles, especially in rooms with unique layouts, and is a favorite for gamers wanting that immersive experience. Plus, it keeps your screen out of reach of curious toddlers or playful pets, adding a layer of safety. However, the “safely” part is crucial. A poorly mounted TV isn’t just an eyesore if it falls; it’s a significant safety hazard and an expensive accident waiting to happen. This guide will empower you to do it right the first time.
Choosing the Right TV Wall Mount

Not all TV mounts are created equal. The first step to safe mounting starts with picking the right mount for your TV and your needs. Here’s what to consider:
1. VESA Compatibility
VESA (Video Electronics Standards Association) is a standard screw hole pattern on the back of your TV. Most modern TVs have this. Your TV mount needs to match your TV’s VESA pattern to physically attach. You can find your TV’s VESA measurement (e.g., 200x200mm, 400x400mm) in your TV’s manual or by measuring the distance between the screw holes on the back. Mounts will always specify the VESA sizes they support.
2. TV Size and Weight Capacity
Every mount has a maximum weight limit. It’s absolutely critical that your mount can safely hold more than your TV’s weight. Don’t push the limits – aim for a mount that can handle at least 10-20% more than your TV’s weight. Similarly, ensure the mount is designed for your TV’s screen size. A mount too small for a large TV, or one rated for a lighter TV, is a recipe for disaster.
3. Mount Type: Fixed, Tilting, or Full-Motion?
- Fixed Mounts: These hold your TV flat against the wall, like a picture frame. They offer the slimmest profile but no angle adjustment. Ideal for perfect eye-level viewing.
- Tilting Mounts: Allow you to tilt the TV up or down. Great for reducing glare or if you need to mount the TV slightly higher than ideal viewing level.
- Full-Motion (Articulating) Mounts: These are the most versatile. They let you pull the TV away from the wall, swivel it left or right, and tilt it. Perfect for rooms where you watch from different angles or want to tuck it away when not in use.
Each type has its own installation considerations. Full-motion mounts often require stronger wall support due to the leverage they can place on the wall if extended. Always check the mount’s specifications for its specific load-bearing capabilities.
Where to Buy Quality TV Mounts
Reputable brands like Sanus, Peerless-AV, and Cheetah Mounts offer durable and VESA-compatible options. You can find these on Amazon, Best Buy, and other electronics retailers. When in doubt, look for mounts that have good reviews specifically mentioning ease of installation and sturdiness. For a comprehensive list of VESA standards and more technical details, the VESA website is an excellent resource.
Tools You’ll Need for the Job

Having the right tools makes the job much easier and, more importantly, safer. Here’s a checklist of essentials:
- Stud Finder: Absolutely crucial for locating wall studs. Electronic stud finders are usually more accurate than magnetic ones. Look for one that can detect live AC wires too!
- Drill and Drill Bits: You’ll need a drill for pilot holes and potentially larger bits if the mount instructions require them. A hammer drill can be useful for denser walls, but a standard corded or powerful cordless drill is usually sufficient for drywall and wood studs.
- Level: To ensure your TV is mounted straight. A long level (24 inches or more) is best for accuracy.
- Measuring Tape: For precise placement of the mount and TV.
- Pencil: To mark drill points and stud locations.
- Socket Wrench or Ratchet Set: For tightening lag bolts (if your mount uses them).
- Screwdrivers: Both Philips and flathead, depending on the screws used.
- Safety Glasses: Protect your eyes from dust and debris.
- Optional: A stud finder that can detect metal conduits or pipes is also a good safety feature.
Step-by-Step Guide to Wall Mounting Your TV Safely

Now for the main event! Follow these steps carefully for a secure and safe installation.
Step 1: Determine the Perfect TV Height
The ideal TV height is when the center of the screen is at your eye level when you’re seated. For most living rooms, this is usually between 42 and 55 inches from the floor. Measure your seating height and your TV’s dimensions. If the TV is very large, the calculation changes slightly to ensure you’re not craning your neck.
Example Calculation:
- Measure the distance from your floor to your seated eye level.
- Measure the height of your TV from bottom to top.
- Divide the TV height by two.
- Add this number to your eye-level measurement.
- This is where the bottom of your TV should ideally be, so adjust your mount placement accordingly. Most mounts will have instructions on aligning the bracket to the screen’s center.
Consider where the main viewing area is. If people will also be watching from a higher or lower vantage point, you might need to compromise slightly or choose a tilting mount.
Step 2: Locate Wall Studs
This is the most critical step for safety. TVs should ALWAYS be mounted to wall studs, not just drywall. Drywall alone cannot support the weight of a TV, especially with the leverage a mount can apply. Drywall anchors are not sufficient for this task.
- Turn on your electronic stud finder and calibrate it according to its instructions.
- Scan the area where you want to mount the TV. Move the stud finder slowly across the wall, listening for the beep or watching the indicator lights.
- Mark the edges of the studs with your pencil as you find them. Most interior studs are 16 inches apart on center, but sometimes they can be 24 inches apart.
- Once you’ve located the edges, find the center of the stud.
- Pro Tip: You can verify you’ve found a stud by drilling a small test hole with a thin drill bit. If you hit solid wood, you’re good to go. If you hit empty space, try again nearby.
If you’re unsure about your wall structure or cannot find studs in the desired location, it might be time to consult a professional. Resources like energy.gov’s insulation guides might indirectly help understand wall construction types, though for mounting help, a local contractor is best.
Step 3: Mark and Drill Pilot Holes
Once you’ve identified the studs and determined your desired TV height, hold the wall plate of your mount against the wall at the correct height. Use your level to ensure it’s perfectly straight.
- Mark the screw hole locations on the wall through the mount’s plate. Aim to center at least two screws in a single stud for maximum security, and if possible, spread screws across two studs.
- Remove the mount’s wall plate.
- Using a drill bit that is slightly smaller than the lag bolts provided with your mount (check the mount’s manual for recommended drill bit size), drill pilot holes at your marked locations. Pilot holes prevent the wood from splitting and make it easier to drive the bolts.
- If you are drilling into a particularly hard stud, you might need to use a slightly larger bit.
Step 4: Attach the Mount to the Wall
Now, it’s time to secure the wall plate.
- Align the mount’s wall plate with the pilot holes.
- Insert the lag bolts (or heavy-duty screws specified by the mount) through the plate and into the pilot holes.
- Using your socket wrench or ratchet, tighten the bolts firmly. Do not overtighten, as this can strip the wood or the bolt head, but ensure they are snug and secure.
- Give the mount a firm tug to ensure it’s securely anchored. It should not budge at all.
Step 5: Attach Brackets to Your TV
Your mount will come with brackets that attach to the VESA holes on the back of your TV.
- Lay your TV screen-down on a soft, clean surface (a blanket or the foam packaging works well).
- Identify the correct screws and spacers from your mount’s hardware kit. The manual will list the different screw sizes for various VESA patterns. Using the wrong screw can damage your TV.
- Attach the vertical brackets to the back of your TV, aligning them with the VESA holes. Make sure they are oriented correctly (usually with the hooking mechanism facing upwards).
- Tighten the screws snugly but avoid overtightening.
Step 6: Hang and Secure the TV
This is often a two-person job, especially for larger TVs.
- Lift the TV carefully and align the brackets on the TV with the corresponding arms or hooks on the wall plate.
- Gently lower the TV until it securely clicks or locks into place on the mount.
- Many mounts have safety screws or locking mechanisms at the bottom of the brackets. Ensure these are engaged to prevent the TV from accidentally being dislodged. This is a crucial safety feature.
Step 7: Connect Cables and Test
With the TV hanging securely, connect your HDMI cables, power cord, and any other peripherals.
- Organize your cables using zip ties, Velcro straps, or a cable management system for a neat look.
- Turn on your TV and test that all inputs are working correctly.
- Gently check the TV for stability.
Mounting on Different Wall Types
Knowing what’s behind your drywall is key. While studs are the gold standard, different walls present unique challenges.
Drywall with Wood Studs
This is the most common scenario and the easiest to work with. As detailed above, locate and utilize the wood studs for a secure mount.
Drywall with Metal Studs
Metal studs are common in newer construction or commercial buildings. They are thinner and require specific hardware for secure mounting. You will need to use specialized lag bolts or toggle bolts designed for metal studs. A stud finder that can detect metal is essential here. You may need to drill slightly larger pilot holes. For heavy TVs, mounting directly to metal studs can be less secure than wood studs, and using a reinforcing brace or consulting a professional is recommended.
Plaster and Lath Walls
Older homes often have plaster and lath walls. These are more challenging. Lath is thin strips of wood covered by plaster. You’ll need to find a stud behind the lath. The process can be messier due to the plaster, so be prepared for more dust. Ensure your drill bits are sharp. Again, test thoroughly for stud integrity.
Brick or Concrete Walls
Mounting on brick or concrete requires the use of masonry anchors and a hammer drill with a masonry bit. These materials are very strong, but the correct anchors are vital. You’ll need to drill holes and then insert appropriate anchors (like sleeve anchors or wedge anchors) before attaching the mount. This is typically a more robust mounting solution than wood studs.
Table: Troubleshooting Common Mounting Issues
Even with careful planning, sometimes things don’t go perfectly. Here are a few common issues and how to address them.
| Problem | Possible Cause | Solution |
|---|---|---|
| Mount feels loose after installation | Bolts not tightened enough; incorrect pilot hole size; studs are weak or damaged. | Re-tighten bolts firmly. Verify pilot hole matches bolt manufacturer recommendations. Inspect studs for integrity; if questionable, remove safely and re-evaluate mounting location or consult a professional. |
| TV leans to one side | Mount not level on the wall; TV brackets not secured evenly. | Use a level to adjust the wall plate before final tightening. Ensure TV brackets are attached at the same depth and all screws are tightened. Some mounts have minor leveling adjustments even after hanging. |
| Cannot find studs | Stud finder malfunction; wall is not standard framing; obscured studs. | Try a different stud finder. Check for pipes or wiring before drilling small test holes. If in doubt, consider a heavy-duty TV mount specifically designed for mounting to multiple wall types or consult a contractor. |
| Screws won’t go in or strip | Pilot hole too small; wood stud is too hard; screw head stripped by drill. | Use a slightly larger drill bit for the pilot hole. Stop if wood is too hard or screws are stripping; consider professional help or specialized anchors for the stud. |
Safety First: What to Avoid
To ensure your TV mount stays put and doesn’t become a hazard, be mindful of these common pitfalls:
- Mounting only to drywall: As we’ve stressed, this is the single biggest mistake leading to TV falls.
- Using the wrong hardware: Always use the screws and anchors provided by the mount manufacturer or specifically recommended for your wall type. Generic hardware can fail.
- Overtightening or undertightening bolts: Overtightening can strip screws or crack wood studs. Undertightening leaves the mount loose.
- Ignoring weight limits: Exceeding the mount’s weight capacity is a direct path to failure.
- Mounting near electrical wires or plumbing: Always use a stud finder that detects live AC wires and be aware of plumbing routes. Damaging these can be dangerous and costly. If you suspect wires or pipes are in the drilling path, stop and consult a professional.
- Not checking for level: A crooked mount looks unprofessional and can put uneven stress on the wall and mount.
- Forgetting the safety catches: Most mounts have locking mechanisms. Ensure they are engaged for peace of mind.
Frequently Asked Questions (FAQ)
Q1: How do I know if my TV is compatible with a wall mount?
A1: Check if your TV has VESA mounting holes on the back. You can find your TV’s VESA pattern (e.g., 400x400mm) in its manual or by measuring the distance between the screw holes. Most modern flat-screen TVs are VESA compliant.
Q2: Can I mount a TV on a wall without studs?
A2: No, it is not safe to mount a TV directly to drywall without hitting studs. Drywall alone cannot support the weight. For mounting, you must attach to solid wood or metal studs, or use specialized anchors for masonry like brick or concrete.
Q3: What size drill bit should I use for lag bolts?
A3: The size of the drill bit for the pilot hole depends on the size of the lag bolt and the type of wood. Always check the TV mount manufacturer’s instructions, as they will specify the recommended drill bit size for their hardware. Typically, it’s a bit slightly smaller than the bolt’s core diameter.
Q4: How high should I mount my TV?
A4: The general rule is to mount the TV so the center of the screen is at your eye level when you are seated. For most people.