
Effortlessly banish TV cable clutter with a TV stand featuring smart cable management. This guide shows you how to set up your system for a clean, organized, and frustration-free entertainment space. Get ready for a sleek look and simple access to your connections!
Tired of the unsightly spaghetti of wires behind your TV? That mess of cables can make your entertainment area look messy and complicated to manage. It’s a common problem, but thankfully, there’s a simple and stylish solution: a TV stand with built-in cable management. With the right stand and a few easy steps, you can transform that clutter into a sleek, organized setup. Let’s dive into how to achieve that clean look and make connecting your devices a breeze.
What Exactly is TV Stand Cable Management?
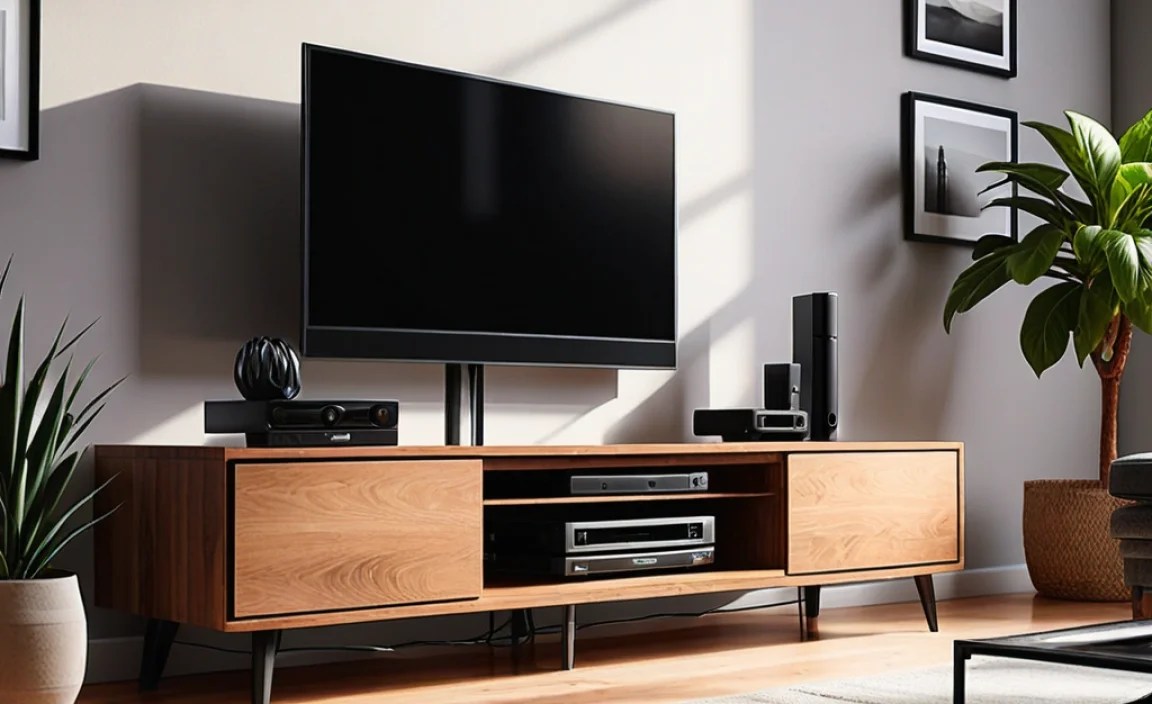
At its core, TV stand cable management is all about hiding and organizing the cords that connect your television, gaming consoles, soundbars, streaming devices, and other electronics. Instead of letting these wires hang loose and create a tangled eyesore, a TV stand with cable management features specific design elements to keep everything neat and tidy. Think of it as a hidden system designed to make your entertainment setup look as good as it performs.
These features can range from simple pathways and channels to more advanced solutions like enclosed compartments, grommets, and even integrated power strip holders. The goal is always the same: to conceal the wires from view, protect them from damage, and make future adjustments or additions much easier. It’s the secret ingredient to that clean, minimalist look you see in magazines, and it’s surprisingly achievable for any home setup.
Why You Need a TV Stand with Cable Management
Beyond just looking good, there are several practical benefits to choosing a TV stand specifically designed with cable management in mind. It’s not just an aesthetic choice; it’s a smart upgrade for your home entertainment.
Key Benefits
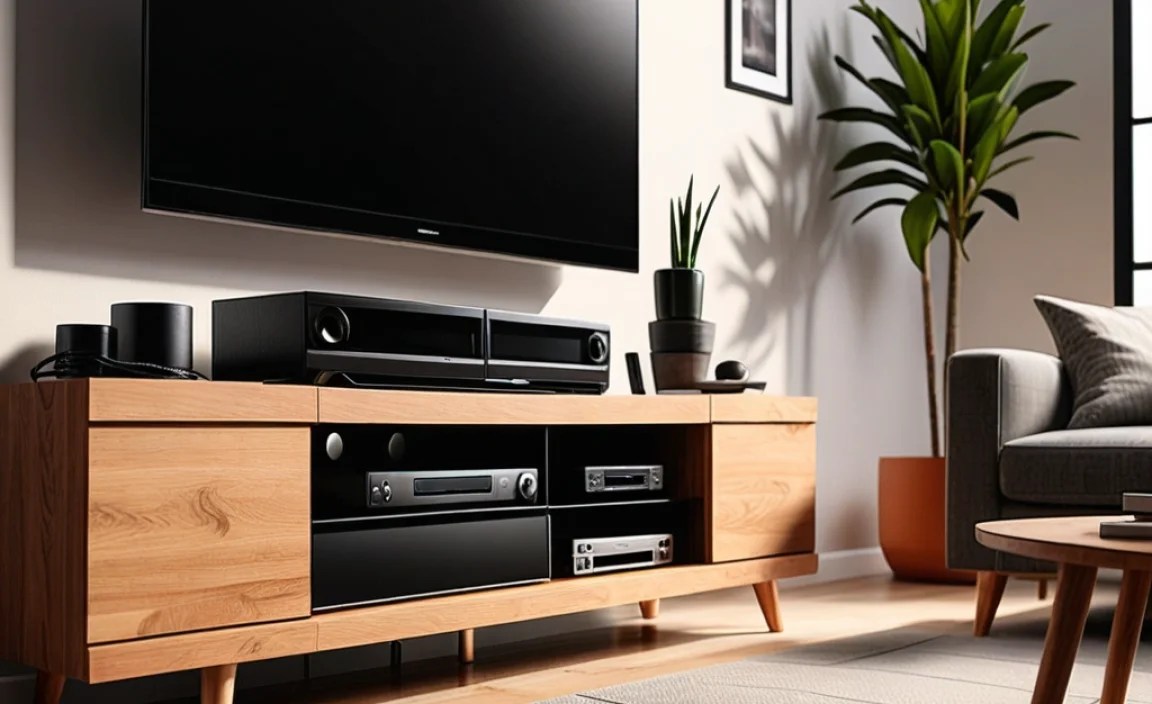
- Improved Aesthetics: This is the most obvious benefit. No more visible wires means a cleaner, more professional, and more relaxing living space. It allows your TV and other components to be the focal point, not the messy cables.
- Enhanced Safety: Loose cables can be a tripping hazard, especially for children or pets. Hiding them away reduces this risk significantly. They are also less susceptible to damage from being accidentally pulled or stepped on.
- Easier Setup and Maintenance: When it’s time to add a new device, troubleshoot a connection, or simply dust, having organized cables makes the process much smoother. You won’t have to untangle a knot of wires just to access one.
- Protection for Your Equipment: Exposed wires can sometimes get kinks or be bent at sharp angles, which can potentially damage them over time. Cable management keeps them in a more stable, protected environment.
- Reduced Dust Accumulation: Bundled and hidden cables tend to collect less dust than a sprawling web of wires. This means less to clean and potentially better ventilation for your devices.
- Organization of Power Strips: Many stands have dedicated spaces to neatly store power strips and surge protectors, so these bulky items don’t add to the visual clutter either.
Types of TV Stand Cable Management Features

TV stands come with a variety of cable management solutions. Understanding these different features will help you choose the best stand for your needs.
- Cable Grommets: These are holes, often with a brush or rubber seal, typically found on the back of the stand or in shelves. They allow cables to pass through discreetly from one section to another, or from the back of the stand to behind the TV.
- Cable Channels/Raceways: These are vertical or horizontal channels built into the stand’s structure, designed to guide cables neatly along its frame.
- Enclosed Cabinets/Compartments: Many TV stands feature doors that hide shelves, providing a neat space to store devices and conceal their associated wiring. This is great for devices you don’t need constant access to.
- Velcro Straps or Ties: Some stands might come with or have attachment points for Velcro straps or zip ties. These are simple but effective for bundling cables together.
- Mounting Points for Power Strips: Some designs include a specific bracket or shelf to mount a power strip, keeping it out of sight and preventing extension cords from becoming a mess.
- Integrated Wire Organizers: This can include small clips, hooks, or slits designed to hold cables in place within a shelf or compartment.
Choosing the Right TV Stand for Your Needs
Selecting the perfect TV stand involves more than just picking a style. For effective cable management, consider these factors:
Key Considerations
- Size of Your TV: Ensure the stand is rated for the weight and size of your television.
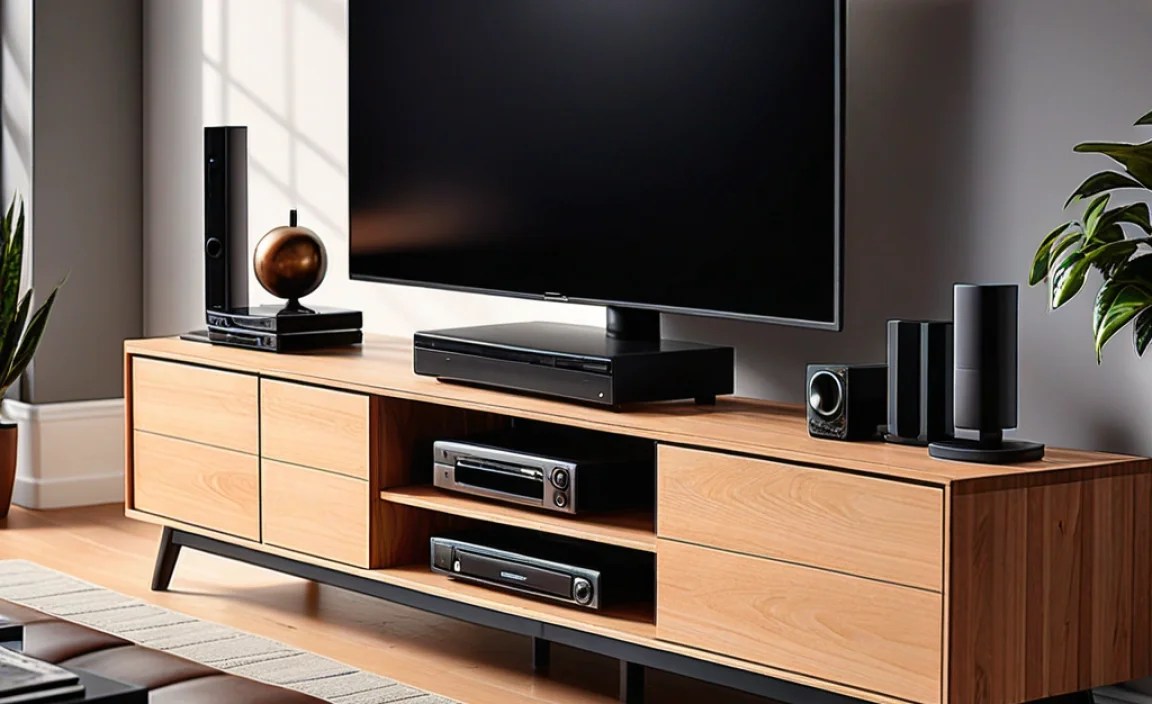
- Number of Devices: How many components (game consoles, Blu-ray players, streaming boxes, soundbars) do you have? You’ll need enough shelf space and access points for all of them.
- Type of Cable Management Needed: Do you have just a few cables, or a large number? Do you prefer fully enclosed storage or easy access?
- Aesthetics and Style: Choose a stand that complements your room’s decor.
- Material and Durability: Consider materials like solid wood, MDF, metal, or glass, and check reviews for sturdiness.
- Budget: Prices can vary widely. Determine how much you’re willing to spend.
To get an idea of the range available, check out reputable furniture retailers and electronics stores. Resources like CNET’s reviews can also offer insights into popular models and features.
Setting Up Your TV Stand with Cable Management: A Step-by-Step Guide
Now for the fun part! Setting up your new TV stand with cable management can be a rewarding process. Follow these steps for a clean and organized result.
Before You Begin: Gather Your Tools and Materials
Having everything ready will make the setup process much smoother. Here’s what you might need:
- Your new TV stand (with all its parts and instructions)
- Your television
- All your A/V components (game consoles, streaming devices, soundbar, etc.)
- All necessary cables (HDMI, power cords, optical audio, etc.)
- A screwdriver set (Phillips head is most common)
- A level
- Measuring tape
- A drill (optional, for mounting hardware or custom cable holes if needed)
- Zip ties, Velcro straps, or cable sleeves for bundling (if not included or if you need more)
- A power strip or surge protector
- A utility knife or scissors for opening boxes
- A helper (recommended for lifting the TV)
Step 1: Assemble the TV Stand
Carefully unpack all parts and lay them out. Follow the manufacturer’s instructions precisely. Most modern TV stands are designed for straightforward assembly. Pay close attention to how the cable management features are integrated during this stage, as they are often part of the internal structure.
- Ensure all hardware is correctly installed.
- Double-check that any shelves or panels designed for cable routing are correctly positioned.
- Use a level to ensure the stand is stable and not wobbly before proceeding.
Step 2: Position Your Power Strip
If your stand has a dedicated spot for a power strip, install it now. This is often a bracket or shelf at the back of the unit. If not, decide where you want to place it, keeping in mind it needs to be accessible but hidden. Securing it with Velcro or zip ties can prevent it from shifting.
Pro-Tip: If your stand doesn’t have a specific holder, consider industrial-strength Velcro strips attached to the inside back panel. This keeps it firmly in place.
Step 3: Arrange Your Components
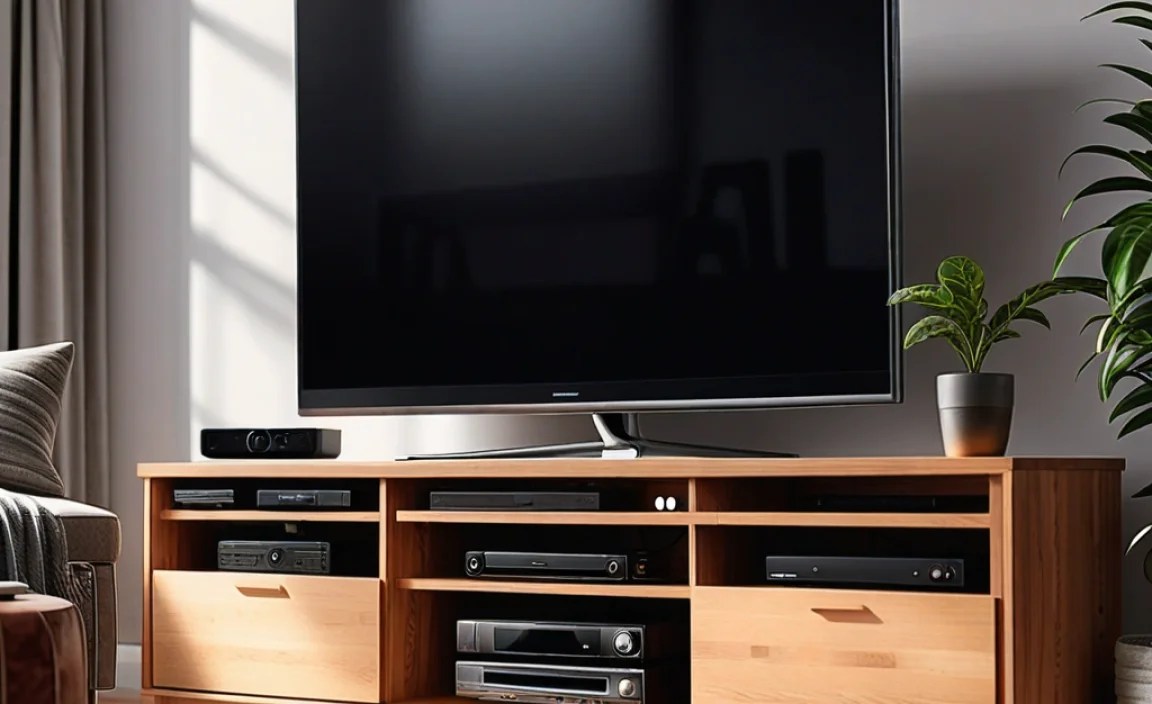
Place your TV and all A/V components onto the shelves or within compartments. Think about which devices need to be connected to the TV and how easily their cables will reach the back. Commonly used devices like a gaming console or streaming box might go on more accessible shelves.
- Position devices so their back ports are facing outwards, towards where the cables will need to go.
- Leave a little space between devices for ventilation.
Step 4: Connect the Cables
This is where the cable management magic starts to happen.
- Connect Device to Device: Plug HDMI cables into your TV and your streaming box, gaming console, etc. Connect any audio cables for your soundbar.
- Route Cables to the Power Strip: Gather the power cords for each device. Use the stand’s integrated channels, grommets, or shelves to guide these cords towards your power strip.
- Plug into Power Strip: Connect all power cords to the power strip.
- Utilize Grommets and Channels: Feed cables through the designated grommets to pass them between sections or to the back. Use any built-in channels to keep them neat along the stand’s frame.
Tip: Don’t plug the power strip into the wall outlet just yet. You’ll want to do that once all connections are secure and checked.
Step 5: Manage and Bundle Loose Cables
With your devices connected, you’ll likely have some loose ends. This is where additional cable management tools come in handy.
- Bundle Similar Cables: Use zip ties or Velcro straps to bundle groups of cables together (e.g., all HDMI cables, all power cords). This makes them look much neater and easier to manage.
- Utilize Cable Sleeves: For larger bundles or visually prominent areas, cable sleeves can be a great option. They’re like flexible tubes that encase your cables.
- Tuck Away Excess Length: Coil any excess cable length neatly and secure it with ties, then tuck it away within a compartment or behind a panel. Avoid creating tight bends.
For a comprehensive look at cable management techniques, the Cable Matters blog offers excellent, practical advice.
Step 6: Final Connections and Testing
Now, plug your power strip into the wall outlet. Turn on your TV and all connected devices. Test each device to ensure everything is working correctly. Check that no cables are being pinched and that all connections are secure.
If anything isn’t working, turn off the power strip and recheck your connections. This is where the benefit of an organized setup truly shines – troubleshooting is much simpler!
Step 7: Tidy Up and Enjoy
Once everything is confirmed working, do one last visual sweep. Tuck away any remaining stray wires. Admire your work! You’ve successfully set up your TV stand with effective cable management. Enjoy your clean, clutter-free entertainment space.
Pros and Cons of TV Stand Cable Management
While the benefits are clear, it’s good to be aware of any potential downsides.
| Pros | Cons |
|---|---|
| Enhanced aesthetics with a clean look. | Initial setup can take more time. |
| Improved safety by reducing trip hazards. | Some integrated systems might limit flexibility for future upgrades. |
| Easier access to ports and connections when needed. | Stands with extensive cable management can sometimes be more expensive. |
| Protection for cables from damage. | If not designed well, internal channels can be difficult to access for repairs or replacements. |
| Reduced dust and clutter. | Might require purchasing additional cable management accessories for a completely perfect look. |
| Helps prolong the life of cables by preventing kinks. |
Troubleshooting Common Cable Management Issues
Even with the best intentions, you might run into a few snags. Here’s how to address them.
- Problem: Not enough space for all cables.
Solution: Invest in slimmer power strips, bundle cables tightly with Velcro straps, or consider a stand with more generous compartments. Sometimes, you might need to sacrifice one less-used device connection. - Problem: Cables are too short.
Solution: Purchase extension cords or longer cables for the problematic connections. Ensure they are surge-protected if they’re for power. - Problem: Cables are difficult to route through channels or grommets.
Solution: Ensure you’re feeding them one by one, or use a string or thin wire to pull them through if the space is tight. Sometimes, a bit of wiggling is all that’s needed. - Problem: Power strip is hard to reach after setup.
Solution: If possible, reposition the power strip before fully securing everything. If it’s already fixed, consider a remote-controlled power strip or smart plugs so you can control devices easily. - Problem: Cables are still visible from the front.
Solution: Utilize doors or panels to their full extent. Ensure front-facing grommets are properly covered or that cables are routed behind decorative elements.
Frequently Asked Questions About TV Stands with Cable Management
Q1: What is the easiest way to manage TV cables?
The easiest way is to use a TV stand that has built-in cable management features like grommets, channels, and enclosed cabinets. These are designed to hide and organize your wires with minimal effort.
Q2: Do I need special tools to set up a TV stand with cable management?
Typically, you’ll only need basic tools like a Phillips head screwdriver. Some setups might benefit from a drill for mounting purposes. For cable organization within the stand, you might use zip ties, Velcro straps, or cable sleeves, which are readily available.
Q3: How many cables can a typical TV stand hold?
The number of cables a stand can hold varies greatly depending on its size and the specific cable management features. Larger stands with multiple shelves and compartments can accommodate many devices and their associated cables. Always check the product description for details on its capacity.
Q4: Can I add cable management to an existing TV stand?
Yes! You can buy separate cable management solutions like adhesive cable clips, cable sleeves, raceways, and Velcro straps to add organization to a stand that doesn’t have built-in features.
Q5: Is it worth investing in a TV stand with cable management?
Absolutely. For a clean, safe, and organized entertainment area, it’s a worthwhile investment. It enhances the aesthetics of your room, protects your equipment, and makes maintenance much simpler.
Q6: What is the difference between cable grommets and channels?
Cable grommets are usually circular openings, often with a brush or rubber seal, used to pass cables cleanly through.