
Looking for affordable TV backlight LED strips under $300? This guide offers essential tips to help you choose the right kit, install it easily, and enhance your viewing experience without breaking the bank. Get ready for stunning visuals and improved ambiance!
Tired of that plain, boring wall behind your TV? Want to add a touch of magic and make your movie nights, gaming sessions, or streaming marathons feel extra special? You’re in the right place! TV backlighting with LED strips has become a super popular way to add dynamic color and depth to your entertainment setup. But with so many options available, especially if you’re sticking to a budget of under $300, it can feel a bit overwhelming. Don’t worry, though. This guide is here to make it simple. We’ll walk you through everything you need to know, from picking the perfect LED strip to getting it installed smoothly. Get ready to transform your TV viewing experience!
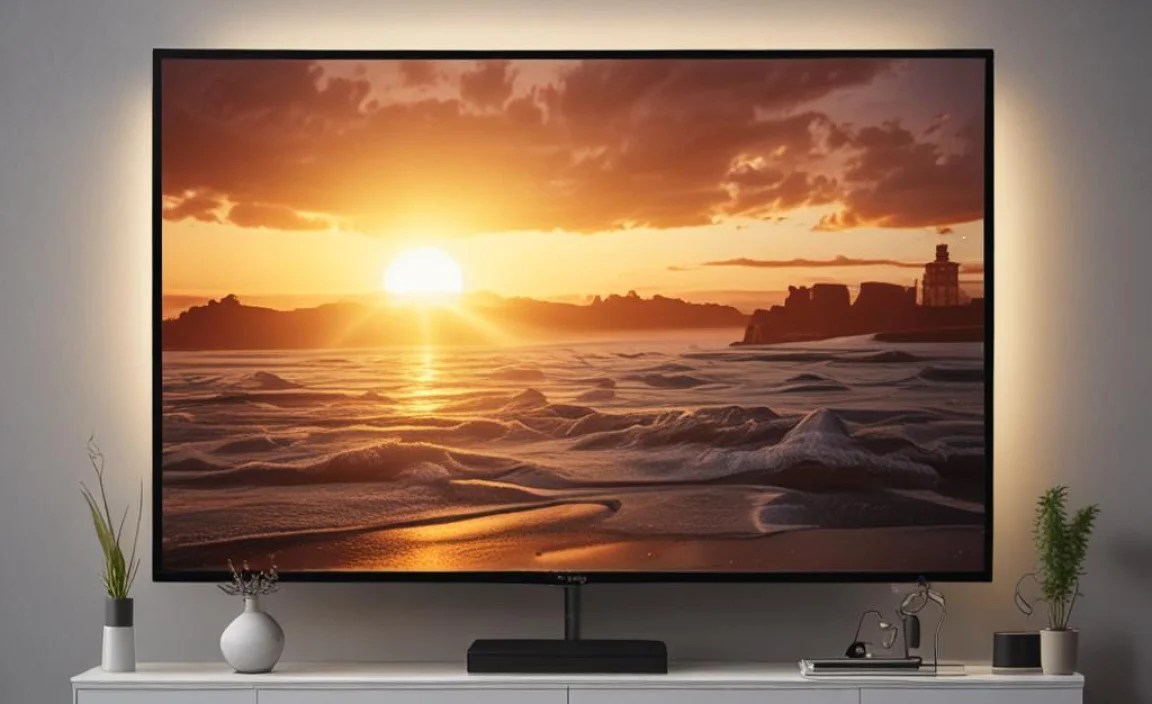
Why Add LED Backlighting to Your TV?

So, what’s the big deal with TV backlighting anyway? It’s more than just a cool visual effect; it actually makes watching TV better in a few ways. For starters, it creates something called “bias lighting.” This means the light from the strip gently illuminates the wall behind your TV, reducing the harsh contrast between the bright screen and your dark room. Experts suggest this can actually help reduce eye strain, especially during long viewing sessions. Think of it like taking a small break for your eyes without missing a moment of the action.
Beyond the practical benefits, LED backlights are fantastic for setting the mood. You can choose from millions of colors to match the scene on your screen, create a vibrant ambiance for parties, or simply enjoy a calming colored glow. Whether you’re a serious cinephile, a hardcore gamer, or just someone who loves to relax with a show, a TV backlight can seriously upgrade your home entertainment experience. And the best part? You can achieve a professional-looking setup without spending a fortune.
Choosing the Right TV Backlight LED Strip Under $300: Key Factors

When you’re on the hunt for an LED strip light kit, especially with a budget under $300, there are a few crucial things to consider. These details will make sure you get a product that not only fits your wallet but also meets your needs and looks fantastic when installed.
1. Length and Coverage
LED strips come in various lengths. The most important factor here is matching the strip’s length to the size of your TV. You want enough strip to go around the entire perimeter of your TV for a seamless effect. Too short, and you’ll have noticeable gaps. Too long, and you’ll have to cut it (which is usually possible, but you need connectors for any leftovers).
- How to Measure: Grab a measuring tape and measure the width and height of your TV’s back. Then, double those measurements and add them together (Width + Height + Width + Height). This gives you the total length you’ll need. A small buffer is always a good idea.
- DIY Tip: If your TV is, say, 65 inches, you might need around 15-20 feet (4.5-6 meters) of LED strip. Always check the product specifications to see what TV sizes the strip is designed for.
2. Type of LED Strip
Not all LED strips are created equal. The most common and beginner-friendly types are:
- Addressable (Dream Color) LEDs: These are the stars of the show! Each LED on the strip can be controlled individually, allowing for stunning animated effects, chasing colors, and dynamic patterns. Think rainbows, flowing water, or complex reactive lighting. These are often a bit pricier but offer the most visually impressive results.
- Standard RGB LEDs: These strips can display a wide range of colors, but all LEDs on a single section of the strip will show the same color at any given time. You can change the overall color (red, green, blue, purple, etc.), but you won’t get those fancy animated effects. They are generally more affordable and still provide a great bias lighting effect.
For under $300, you can definitely find excellent addressable LED kits, especially if you opt for popular brands or look for deals. However, if budget is a huge concern, a high-quality standard RGB strip will still look great.
3. Brightness and Color Quality (Lumens & CRI)
Brightness: You want a strip that’s bright enough to create a noticeable glow on your wall but not so bright that it’s distracting. Look for specifications like lumens per foot or meter. More is generally better, but you’ll often have dimming controls to adjust it.
Color Rendering Index (CRI): While not always advertised for simple LED strips, a higher CRI means colors will appear more true-to-life. For ambient lighting, this is less critical than for, say, photography. However, good quality LEDs will produce richer, more vibrant colors.
4. Control Options
How will you change the colors and effects? This is a big part of the user experience.
- Remote Control: Most basic kits come with an infrared (IR) remote. They’re simple and easy to use but require line-of-sight to the sensor.
- Smartphone App (Bluetooth/Wi-Fi): These offer much more control. You can access a wider color palette, create custom scenes, set schedules, and often sync the lights to music. Bluetooth is common for simpler setups, while Wi-Fi offers more stability and remote access (controlling lights even when you’re not home). Many app-controlled kits under $300 offer fantastic features.
- Smart Home Integration: Some higher-end kits (or those that can be paired with separate smart hubs) will work with voice assistants like Alexa or Google Assistant. This is a fantastic convenience if you’re already invested in a smart home ecosystem.
5. Power Supply and Durability
Ensure the LED strip comes with an adequate power adapter for its length and intended brightness. A common pitfall is an underpowered supply, leading to dimness or flickering. Check the voltage (usually 12V or 24V) and wattage requirements.
Look for information on the LED strip’s durability. Common ratings include:
| Rating | Meaning |
|---|---|
| IP Rating (e.g., IP20, IP65) | Indicates resistance to dust and water. IP20 is common for indoor, dry use. IP65 means it’s water-resistant and suitable for potentially humid areas, though less common for typical TV setups. |
| LED Density | The number of LEDs per meter (e.g., 30 LEDs/m, 60 LEDs/m, 120 LEDs/m). Higher density usually means smoother light diffusion and brighter output. |
| Material Quality | Look for well-made LED chips and a robust strip backing. |
For a TV backlight, IP20 is usually sufficient. However, a higher LED density (like 60 LEDs per meter or more) will give a more uniform light output and is generally preferred.
6. Ease of Installation
Most LED strips come with an adhesive backing. For TV backlighting, you’ll want strong, reliable adhesive. Look for kits that include corner connectors or flexible joint pieces, which are essential for navigating the corners of your TV smoothly.
- Adhesive Strength: Read reviews! Some cheap adhesive fails quickly.
- Cut Marks: Make sure the strip has clear cut marks so you can shorten it if needed.
- Included Accessories: Check if clips, connectors, and a power supply are all included. A good kit will have everything you need to get started.
Top Features to Look for in Under $300 Kits

When browsing for your TV backlight, keep an eye out for these premium features that are often available within your budget:
- Music Sync: Sound-reactive LEDs can pulse and change color to the beat of music or explosions in movies/games. This is a game-changer for immersive entertainment!
- Scene Modes: Pre-programmed lighting effects for different moods (e.g., “Movie Night,” “Party,” “Relax”).
- Customizable Effects: Especially with addressable LEDs, you can often create your own unique color flows and patterns.
- Smart Control (App-Based): Bluetooth or Wi-Fi connectivity for advanced control via smartphone.
- Scheduling: Set your lights to turn on or off at specific times automatically.
Popular Brands and What to Expect

Several brands offer excellent LED strip lighting solutions that fit comfortably under the $300 mark. Here are a few to consider:
- Govee: Govee is a strong contender in the affordable smart lighting space. They offer a wide range of RGB and addressable LED strips with excellent app control, music sync, and a variety of lengths. Many of their TV backlighting kits are well under $100.
- Xiaomi/Mi LED Light Bars/Strips: While they might offer a more integrated ecosystem focus, Xiaomi’s lighting products are often high quality and reasonably priced, especially if available in your region.
- Philips Hue (with limitations): Philips Hue is the king of premium smart lighting, but their full systems can get expensive very quickly. However, you might be able to get a starter kit or a basic LED strip within your budget if you find a good sale. Keep in mind Hue requires a separate hub (bridge), which adds to the cost. You might be looking at just the strip itself or a very basic starter set under $300.
- Other Reputable Brands: Brands like Wiz, Meross, and even some of the more established electronics manufacturers often have solid, budget-friendly LED strip options. Look for brands with good reviews and active app support.
What to Expect Price-Wise:
- $20 – $50: Basic RGB strips, often with remote control, suitable for smaller TVs or those wanting simple, single-color bias lighting.
- $50 – $150: High-quality RGB or entry-level addressable RGB (Dream Color) strips with app control, music sync, and better brightness/color options. Ideal for most mid-to-large sized TVs.
- $150 – $300: Premium addressable LED kits, longer strips, more advanced features, potentially smart home integration, or bundles with light bars. These are for users demanding the most vibrant and dynamic effects.
For most users looking for the best balance of features and price for a TV backlight under $300, the $50-$150 range is often the sweet spot, especially with brands like Govee.
Installation: A Step-by-Step Guide
Installing an LED strip light is generally straightforward. Most kits are designed for easy DIY installation. Here’s a typical process:
Step 1: Gather Your Tools and Prepare
Before you start, make sure you have:
- Your chosen LED strip kit (including strip, power adapter, controller, remote).
- Cleaning supplies (mild soap, water, microfiber cloth, rubbing alcohol).
- Measuring tape.
- Scissors (if you need to cut the strip).
- Connectors (if you cut the strip and need to rejoin sections, or for corners – often included).
- Possibly a screwdriver or small toolkit, depending on your TV mount.
Preparation is Key: Clean the area where you’ll be attaching the LED strip. This is usually the back edge of your TV. Dust, grease, or fingerprints will prevent the adhesive from sticking properly. Gently clean the back surface with a damp cloth and then use rubbing alcohol for a final wipe-down. Make sure it dries completely.
Step 2: Measure and Plan Your Layout
Measure the perimeter of your TV as described earlier. Lay out the LED strip on a flat surface (or on the floor in front of your TV) and plan where you’ll place it. If your strip is longer than needed, locate the designated cut marks. If your kit includes separate corner connectors or flexible pieces, plan how you’ll use them to make those turns.
Step 3: Attach the LED Strip
Peel back a small section of the adhesive backing from the start of the strip. Carefully align it with the edge of your TV (usually the outer bezel on the back). Press the strip firmly onto the surface. Continue peeling the backing and pressing the strip as you go around the TV. Work in manageable sections, especially if navigating corners.
- Corners: For sharp corners, some strips are designed to bend. Others require cutting and a corner connector. If cutting, ensure you cut precisely on the marked lines. Use a connector to attach subsequent sections. For smooth corners, flexible connectors or meticulously bending the strip (if it’s designed for it) works best.
- Adhesive: Once you press the strip down, try not to reposition it too much, as this can weaken the adhesive.
Step 4: Connect the Power and Controller
Locate the small connector on the LED strip where the power cable attaches. Plug the controller module into this connector, and then plug the power adapter into the controller. Ensure all connections are secure. The controller is often where the IR sensor is located, so position it where it won’t be blocked by the TV or mount.
Step 5: Manage the Cables
This is where your TV’s tidiness comes in. Route the power cable down to the nearest electrical outlet. Use the provided cable clips or zip ties to neatly tuck away any excess wire so it’s not visible from the front or sides.
Step 6: Power Up and Test
Plug the power adapter into the wall outlet. Turn on your TV and then try powering on the LED strip using the remote or app. Test out different colors and modes to ensure everything is working correctly. If any sections aren’t lighting up, double-check your connections, especially after cutting and reconnecting.
Pro Tip: For ultimate aesthetic integration, some people run wire channels or raceways along their TV mount or wall to hide all cables completely. This is optional but provides a very clean look.
Taking Your TV Backlighting Further: Advanced Tips & Tricks
Once you’ve got your basic setup running, here are some ways to elevate your experience:
1. Syncing with Your Content
Many modern LED strips, especially addressable ones, offer software or app features that attempt to sample the colors displayed on your TV screen and replicate them on the LED strip. This is called “screen mirroring” or “ambilight effect.”
- How it Works: This usually requires a small external device or a smart TV app that monitors the screen output. For example, Govee offers specific TV light bars and strips designed for this purpose, often with a small camera or HDMI sync box.
- Budget Considerations: While full HDMI sync boxes can be pricey, some brands offer more affordable camera-based solutions. Research is key here, as effectiveness can vary widely. For a strictly DIY and under-$300 approach, focus on striking static or dynamic color scenes that complement your content rather than directly mirroring it.
2. Music Sync for Gaming and Parties
This is another fantastic feature if your kit supports it. The microphone built into the controller or an external microphone picks up ambient sound or music and translates it into light shows. It’s incredible for immersing yourself in fast-paced games or creating a vibrant party atmosphere.
3. Voice Control Integration
If you have a smart home setup (Alexa, Google Home), check if your LED strip can be integrated. Many app-controlled strips allow you to link them to your smart assistant, enabling voice commands like “Alexa, set TV backlight to blue” or “Hey Google, dim the lights.” This adds a layer of convenience that’s hard to beat.
4. Combining Strips with Light Bars
For an even more immersive experience, consider pairing your LED strip with vertical LED light bars placed on either side of your TV. Many systems (like Govee’s) allow for synchronization between strips and bars, creating a cohesive lighting environment that extends beyond just the back of the TV.
5. Customizable Schedules and Automations
Beyond just turning lights on and off, explore app features for creating custom scenes triggered by events or times. You could have a calming fade-in for “wake-up” lights in the morning or a dramatic color change when your favorite sports team scores.
Troubleshooting Common Issues
Even the best tech can sometimes throw a curveball. Here are some common problems and how to fix them:
- Lights Not Turning On:
- Check all power connections: Wall outlet, adapter to controller, controller to strip.
- Ensure the power adapter is the correct one for your LED strip.
- Try a different wall outlet.