
Choosing between Mini LED and OLED for your TV is exciting! When it comes to mounting them, the process is remarkably similar. Both technologies are generally thin and lightweight, making standard VESA mounts suitable for most models. The key is to ensure your mount is rated for your TV’s weight and size, and to carefully follow the manufacturer’s instructions for a secure, safe installation.
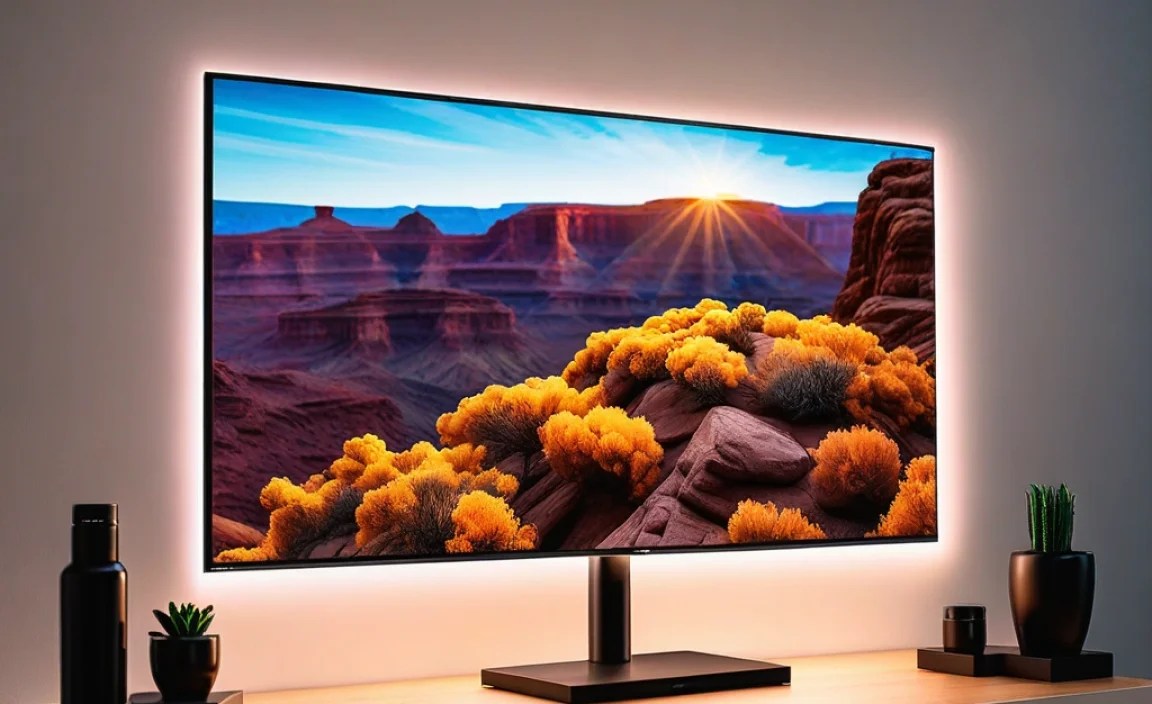
Have you just unboxed your brand-new, stunning Mini LED or OLED TV? That’s fantastic! Now comes the exciting part: getting it set up on your wall for that ultimate cinematic feel. It can feel a bit daunting, especially when you’re thinking about drilling holes. But don’t worry! Mounting a TV, whether it’s a vibrant Mini LED or a deep-contrast OLED, is much simpler than you might think.
Many folks wonder if the different display technologies require special mounting techniques. The good news is, for the most part, they don’t! Both Mini LED and OLED TVs are designed with modern aesthetics in mind, meaning they’re often slimmer and lighter than older models. This guide will walk you through everything you need to know, making sure your new TV is securely and beautifully displayed. We’ll cover the essential steps, from picking the right mount to the final tightening of screws, so you can enjoy your new screen with peace of mind.
Why Mount Your TV? The Pros and Cons
Before we dive into the “how-to,” let’s quickly chat about why mounting your TV is such a popular choice, and what you might consider before committing.
The Advantages of Wall Mounting
Mounting your TV can dramatically enhance your viewing experience and your room’s overall look. Here’s why people love it:
- Space Saving: Free up valuable surface area on your entertainment center or tables. This is especially great for smaller rooms.
- Improved Aesthetics: A mounted TV often looks cleaner and more integrated into the room’s design, creating a sleek, modern feel.
- Better Viewing Angles: You can position the TV at the perfect height and angle for your seating area, reducing glare and improving comfort.
- Safer for Families: Eliminates the risk of a TV being accidentally knocked over by children or pets.
- Enhanced Gaming & Movie Experience: Placing the TV at eye level can make for a more immersive experience, especially for gaming.
Things to Consider
While mounting is great, it’s not for everyone. Keep these points in mind:
- Installation Difficulty: It generally requires more effort and tools than just placing a TV on a stand.
- Cost: You’ll need to purchase a mounting bracket, which adds to the overall setup cost.
- Wall Structure: You need a sturdy wall (like studs or concrete) to support the TV and mount. Drywall alone isn’t enough.
- Cable Management: Hiding wires can be more challenging and may require additional effort or kits.
- Less Flexibility: Once mounted, repositioning the TV is more involved than simply moving a stand.
Mini LED vs. OLED: What’s the Difference for Mounting?
Now, let’s get to the heart of it: does the TV technology itself – Mini LED or OLED – impact how you mount it?
Fundamentally, the mounting process for Mini LED and OLED TVs is very similar. Both technologies enable manufacturers to create incredibly thin and light displays. However, there are subtle differences in their construction that are worth knowing:
Mini LED TVs
Mini LED TVs use a traditional LED backlight, but with thousands of tiny “mini” LEDs that allow for much finer control over brightness and contrast. This means they can get very bright, which is great for well-lit rooms.
- Mounting Considerations: Generally, Mini LED TVs are built on a chassis that might be slightly thicker than some OLEDs to accommodate their backlighting system. However, they are overwhelmingly designed for VESA mounting and are quite robust.
OLED TVs
OLED technology means each pixel emits its own light. This allows for perfect blacks and incredible contrast ratios, making them phenomenal for darker rooms and cinematic viewing. OLED panels are incredibly thin.
- Mounting Considerations: Because OLED panels are so thin and the pixels are self-emissive, the overall construction is often extremely sleek. Some very early or specific OLED models might have had slightly different mounting points or required specific thin brackets to maintain their slim profile, but this is rare nowadays. Most OLEDs use standard VESA patterns.
The Verdict on Mounting Differences
In practice, unless you have an exceptionally specialized or older model, the mounting bracket and process will be largely dictated by the VESA mounting standard your TV uses, its size (inches), and its weight (pounds or kilograms). You won’t typically need a “special” Mini LED mount or an “OLED” mount.
The crucial factor is ensuring your chosen mount is compatible with your TV’s VESA pattern and can safely support its weight. For a comprehensive understanding of VESA standards, you can check out resources provided by the Video Electronics Standards Association (VESA).
Choosing the Right TV Mount
With the mounting process being so similar, your focus shifts to selecting the best mount for your needs and your TV. There are three main types:
Types of TV Mounts
| Mount Type | Description | Pros | Cons | Best For |
|---|---|---|---|---|
| Fixed Mount | Holds the TV flat against the wall, similar to a picture frame. No tilting or swiveling. | Simplest, most secure, lowest profile, often most affordable. | No angle adjustment, limited viewing flexibility. | Rooms where you have a single, perfect viewing spot, and want the TV as close to the wall as possible. |
| Tilting Mount | Allows you to tilt the TV up or down. | Reduces glare from overhead lights or reflections, better for mounting higher on the wall. | Slightly more profile than fixed, limited range of motion. | Mounting above eye level, or in rooms with significant glare issues. |
| Full-Motion (Articulating) Mount | Extends, swivels, and tilts the TV in multiple directions. | Maximum flexibility for viewing angles, can pull the TV out from the wall, swivel for different seating areas. | Bulkiest, more complex installation, can be more expensive, cables can be more visible when extended. | Versatile rooms, multiple seating areas, need to angle TV for games or different activities. |
Key Features to Check
1. VESA Compatibility
Every TV has a VESA mounting pattern – a set of screw holes on the back. It’s usually a measurement like 200x200mm or 400x400mm. Your mount must match your TV’s VESA pattern. Check your TV’s manual or the manufacturer’s website for this information.
2. Weight Capacity
Mounts have a maximum weight limit. Always choose a mount that can hold significantly more than your TV’s actual weight. For example, if your TV weighs 30 lbs, a mount rated for 50-60 lbs is a safe bet. Mini LED and OLED TVs vary in weight based on size.
3. TV Size Compatibility
Mounts are typically rated for a range of TV sizes (e.g., 32-70 inches). Ensure your TV falls within this range.
4. Wall Type
Ensure the mount is designed for your wall type: wood studs, metal studs, concrete, or brick. Most standard mounts are designed for wood studs. If you have a different wall type, you might need a specialized mount or anchors.
5. Ease of Installation
Some mounts are designed for DIYers with clear instructions and helpful features like leveling systems. Others might be more complex.
Essential Tools You’ll Need

Gathering the right tools beforehand makes the mounting process much smoother and safer.
- Stud Finder: Crucial for locating wall studs if you’re mounting on drywall. A good electronic stud finder is a worthwhile investment.
- Drill and Drill Bits: You’ll need these to create pilot holes for screws and potentially to widen holes for anchors or lag bolts.
- Level: To ensure your TV is perfectly straight on the wall. A small torpedo level or a longer one works well.
- Screwdriver Set: For attaching brackets to the TV and sometimes for the wall plate. Ensure you have Phillips head and possibly flathead bits.
- Wrench or Socket Set: Often needed for tightening lag bolts into wall studs or for securing certain mount components.
- Measuring Tape: To determine the correct height and position for your mount.
- Pencil: For marking drill points on the wall.
- Safety Glasses: Protect your eyes from dust and debris.
- Optional: Wall Anchors: If you’re not drilling directly into studs (e.g., concrete walls), you’ll need appropriate anchors.
- Optional: Cable Concealment Kit: If you want to hide your wires within the wall.
Step-by-Step TV Mounting Guide
Alright, let’s get that TV on the wall! Remember to always refer to your specific TV and mount manuals, as details can vary.
Step 1: Planning & Preparation
Choose Your Location: Decide where in the room you want your TV. Consider glare from windows or lights, and the ideal viewing height. A common rule of thumb is to have the center of the TV screen at eye level when you’re seated.
Check the Wall: Use your stud finder to locate wall studs. Mounts should ideally be secured into at least one, preferably two, studs for maximum support. Studs are typically 16 or 24 inches apart. If your ideal spot doesn’t align with studs, you might need a larger mounting plate or a different location.
Measure and Mark: Hold the wall plate of your mount against the wall where you want it. Use your level to ensure it’s perfectly straight. Mark the desired screw hole locations lightly with a pencil. Double-check your measurements!
Step 2: Install the Wall Plate
Drill Pilot Holes: Based on your pencil marks, drill pilot holes into the wall studs. The size of the pilot hole should be slightly smaller than the lag bolts that come with your mount. Your mount’s manual will specify the correct drill bit size.
Attach the Wall Plate: Align the wall plate with your pilot holes. Use your drill or wrench to drive the lag bolts (or lag screws) through the wall plate and securely into the studs. Ensure the plate is tight against the wall and doesn’t budge. Use your level again to confirm it’s straight.
- Important: If mounting to concrete or brick, you’ll need to use masonry anchors and a hammer drill, following the specific instructions for your mount and anchors. Resources like HGTV’s guide to mounting TV’s offer good general advice on wall anchoring.
Step 3: Attach Brackets to the TV
Identify the VESA Holes: Lay your TV face down on a soft, clean surface (like a blanket or the TV’s original box). Locate the VESA mounting holes on the back of the TV.
Attach the Vertical Brackets: Your mount will come with vertical arms or a plate designed to attach to the TV. Align these brackets with the VESA holes. Use the screws provided with your mount. Mount kits often include a variety of screw sizes (M4, M6, M8) and spacers to accommodate different TV backings (flat, curved, recessed). Your TV manual or mount manual will tell you which screws to use. Do not overtighten!
Install Cable Management (Optional): If your mount or TV has built-in cable management solutions, now is a good time to attach any clips or channels.
Step 4: Mount the TV to the Wall Plate
Get Help! This is where an extra pair of hands is essential. TVs, especially larger Mini LED or OLED models, can be heavy and awkward. Never try to lift and mount a large TV alone.
Hook the TV: Carefully lift the TV and align the vertical brackets on the TV with the wall plate. Most mounts have a system where the brackets hook onto the wall plate. Follow your mount’s specific hooking mechanism.
Secure the TV: Once hung, your mount will have a way to secure the TV to the wall plate. This is often done by tightening safety screws at the bottom of the vertical brackets or engaging a locking mechanism. Ensure these are firmly in place. This prevents the TV from accidentally being lifted off the mount.
Step 5: Final Adjustments and Cable Management
Level Check: With the TV mounted, use your level one more time to ensure it is perfectly straight. Some mounts allow for minor adjustments to fine-tune the tilt or level.
Connect Cables: Plug in your HDMI cables, power cord, and any other necessary connections. If you’re using a cable concealment kit, follow its instructions to run wires through the wall or cover them with trim.
Test Swivel/Tilt: If you have a tilting or full-motion mount, gently test its movements. Be careful not to force anything. Ensure cables don’t get pinched when moving the TV.
Common Mounting Mistakes to Avoid
Even with a great guide, it’s easy to make small errors. Here are some common pitfalls to steer clear of:
- Not finding studs: Relying solely on drywall anchors for heavy TVs is a recipe for disaster. Always aim for studs.
- Using the wrong screws: Using screws that are too short, too long, or the wrong thread can damage your TV or compromise safety.
- Overtightening: Screwing components too tightly can strip threads or crack plastic on your TV or the mount.
- Mounting too high: Putting the TV too high can lead to neck strain and a less immersive viewing experience. Aim for eye level.
- Ignoring weight limits: Exceeding a mount’s weight capacity is extremely dangerous.
- Not checking VESA compatibility: Mounts and TVs with mismatched VESA patterns simply won’t fit together.
- Not using a level: A crooked TV can be visually distracting and detract from your room’s aesthetics.
FAQ: Your Mounting Questions Answered
Q1: How do I find the VESA pattern on my TV?
A1: Check your TV’s user manual, the original product box, or search online using your TV model number. You can also measure the distance between the screw holes on the back of your TV. Standard patterns are 100x100mm, 200x200mm, 300x300mm, 400x400mm, and larger. Your mount will specify which patterns it supports.
Q2: Can I mount my TV on a plaster wall?
A2: Yes, but it’s often trickier than drywall as plaster can be brittle. You’ll still need to locate the underlying studs. If you can’t firmly anchor into studs, consider using heavy-duty toggle bolts or lag shields specifically rated for the weight of your TV and mount. It’s best to consult the mount manufacturer’s guidelines for plaster installation.
Q3: Do I need to mount my TV exactly in the center of the wall?
A3: Not necessarily. The most important factor is securely mounting the wall plate into wall studs. If your studs are offset from your desired TV location, you might need a mount with a wider wall plate or one that allows for lateral adjustment.
A common structural reference is the U.S. Department of Energy’s Windows and home energy efficiency guidelines, which indirectly speak to wall construction integrity for better home setups.
Q4: How close to the ceiling should I mount my TV?
A4: This depends on your room and seating. A good general guide is to have the bottom of the screen about 2-4 feet from the floor, or centered at eye level when seated. If you have high ceilings, mounting higher is often necessary, but be mindful of neck strain from looking up too much.