
Quick Summary: Installing a speaker with a subwoofer is straightforward! This guide breaks down connecting your new audio gear, ensuring you get that deep, rich bass without complex wiring. Follow our easy steps for a setup that sounds amazing.
Is a buzzing, muffled sound coming from your speakers? Or are you just not getting that satisfying thump during your favorite music or movies? Adding a subwoofer to your existing speaker system can dramatically change your audio experience, filling your room with rich, deep bass that smaller speakers just can’t produce. But the thought of installing new equipment can feel a bit daunting, especially if you’re not super tech-savvy. Don’t worry! We’re here to make the process simple. This guide will walk you through everything you need to know, step-by-step, so you can enjoy incredible sound without any headaches. Let’s get those new speakers and that powerful subwoofer singing!
Why Add a Subwoofer? The Magic of Low Frequencies

You’ve probably noticed that even with good speakers, there’s a part of the sound spectrum that feels missing – the really deep, rumbling bass. That’s where a subwoofer comes in. It’s a special type of speaker designed to reproduce the lowest audio frequencies, the ones that make your chest vibrate and bring movies to life. Think of the impactful sound of an explosion in an action flick, the deep notes of a bass guitar, or the powerful kick drum in a song. These are the sounds a subwoofer excels at, adding a whole new dimension to your audio.
Adding a subwoofer correctly can:
- Enhance the overall richness and fullness of your sound.
- Reduce the strain on your main speakers, potentially extending their lifespan.
- Provide a more immersive experience for music, movies, and gaming.
- Allow you to feel the bass, not just hear it.
Understanding Your Subwoofer and Receiver
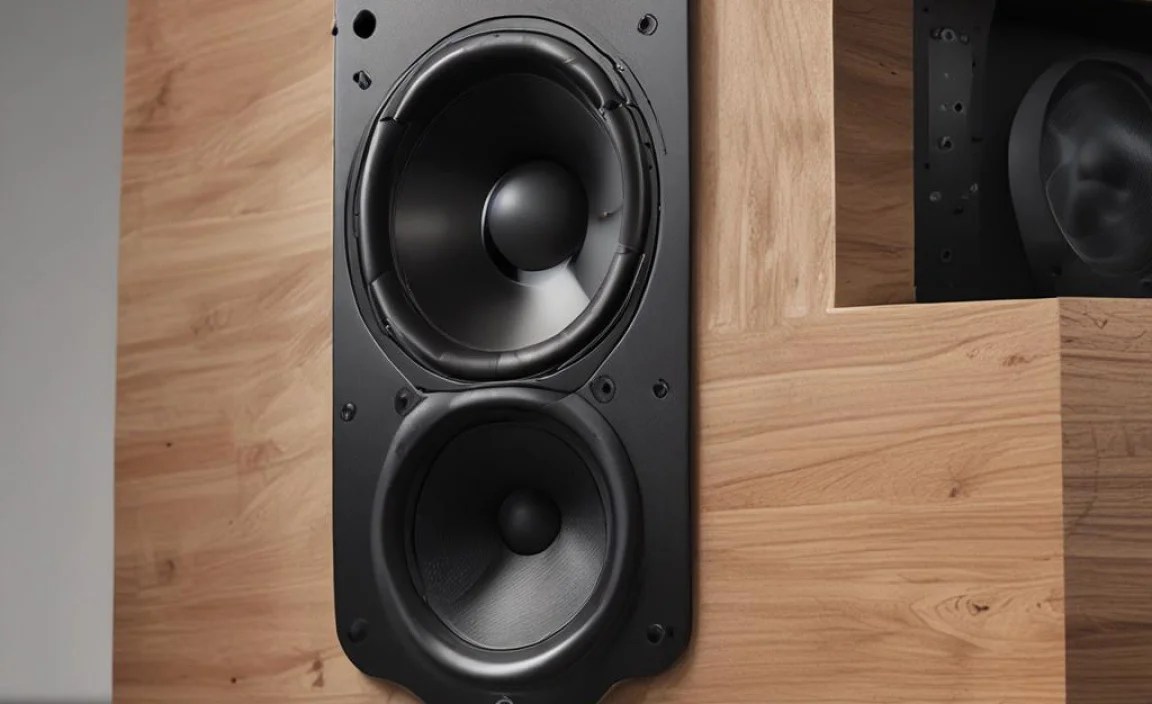
Before we dive into the installation, let’s quickly look at the two main components you’ll be working with: your subwoofer and your audio receiver (or amplifier). Most modern receivers and soundbars have a dedicated connection for a subwoofer, often labeled “SUB OUT,” “SUBWOOFER,” or “LFE” (Low-Frequency Effects). Your subwoofer will have corresponding input jacks. Some subwoofers are “powered,” meaning they have their own amplifier built-in, which is most common. Others are “passive” and rely on an external amplifier, but for home theater setups, powered subwoofers are the standard.
If you’re working with an older system or a more basic setup, you might need to get a bit creative, but for the most part, this guide assumes you have a receiver with a dedicated subwoofer output.
What You’ll Need: Tools and Components
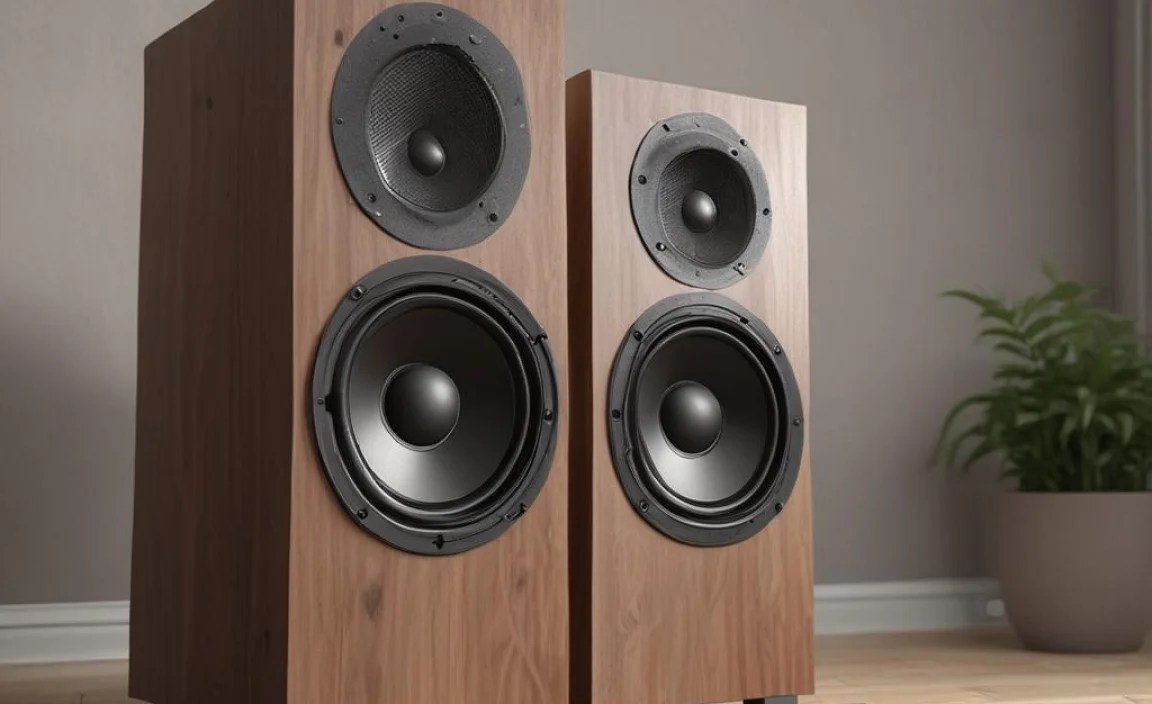
Gathering everything beforehand makes the installation process smooth and frustration-free. Here’s a checklist:
Essential Components:
- Your New Subwoofer: Make sure it’s powered and has the necessary inputs.
- Your Audio Receiver/Amplifier/Soundbar: It needs a subwoofer output.
- Subwoofer Cable: This is a specific type of RCA cable designed for subwoofers. It’s usually a single cable, sometimes labeled “subwoofer cable” or “LFE cable.” Don’t use a standard RCA cable if you can help it, as subwoofer cables are often shielded better for low frequencies.
- Speaker Wire (if connecting traditional speakers): You’ll need this to connect your main speakers to the receiver.
Tools You Might Need:
- Wire Strippers/Cutters: For preparing speaker wire ends if you’re connecting traditional speakers.
- Screwdriver: Certain speaker terminals might require one.
- Measuring Tape: To decide on the best placement for your subwoofer.
- Level: To ensure your subwoofer is sitting flat if it’s a floor-standing model.
- Owner’s Manuals: For both your receiver and your subwoofer. These are invaluable!
Choosing the Right Place for Your Subwoofer
Subwoofer placement is surprisingly important for sound quality. Because low frequencies are less directional than higher ones, a subwoofer can often be placed in various spots. However, certain locations will yield much better results than others. The “subwoofer crawl” is a popular technique to find the best spot. Here’s how it works:
- Place your subwoofer in its intended listening position (where you’ll be sitting).
- Play some bass-heavy music or an action movie scene that you know well.
- Crawl around your room at ear level, listening to the bass. Notice where it sounds the best – tight, punchy, and clear, not boomy or weak.
- Mark this spot temporarily.
- Move your subwoofer to the marked spot and listen again from your main listening position. This room section often sounds best when the subwoofer is placed there.
Generally, corners and along walls tend to produce more bass due to room acoustics. However, this can sometimes lead to boomy, uncontrolled sound. Experimentation is key! Start with a corner and try pulling it out a foot or two. Your goal is a balanced bass response that integrates well with your main speakers.
Some common starting points for subwoofer placement:
- In a front corner: Often provides the most bass, but can be too much or muddy.
- Along the front wall (midpoint): A good compromise for bass and clarity.
- Near your main speakers: Can help create a more cohesive soundstage.
Remember to keep it at least a few inches away from walls to prevent unwanted vibrations. For more detailed insights into room acoustics and speaker placement, resources like the Acoustical Society of America (.org) offer extensive research on sound behavior.
Step-by-Step: Connecting Your Subwoofer
This is the core of the installation. We’ll cover the most common setup using a receiver with a dedicated subwoofer output.
Step 1: Power Down Everything!
This is crucial for safety. Before you unplug or connect any wires, make sure your receiver, TV, and the subwoofer itself are all turned off and unplugged from the wall. This prevents power surges or accidental damage to your equipment.
Step 2: Identify the Ports
On the back of your receiver, locate the “SUB OUT” or “LFE” port. It’s usually a single RCA connector. On your subwoofer, find the “LINE IN” or “INPUT” jacks. These might be a single RCA jack labeled “LFE” (for a dedicated subwoofer connection) or a pair of RCA jacks labeled “L” and “R” (left and right).
Here’s a little table to help visualize:
| Component | Port to Look For | Description |
|---|---|---|
| Receiver/Amplifier | SUB OUT / LFE | A single RCA jack for sending the low bass signal out. |
| Subwoofer | LINE IN / INPUT (LFE) | A single RCA jack for receiving the dedicated subwoofer signal. |
| Subwoofer | LINE IN / INPUT (L/R) | A pair of RCA jacks (often white for left, red for right) for connecting to stereo audio outputs. |
Step 3: Connect the Subwoofer Cable
Take your subwoofer cable. Plug one end into the “SUB OUT” or “LFE” port on your receiver. Plug the other end into the corresponding “LFE” input jack on your subwoofer. If your subwoofer only has “L/R” inputs, connect the cable to the “L” (left) input; the subwoofer will process the signal correctly.
Step 4: Connect Your Main Speakers (If Applicable)
If you’re setting up a full surround sound system or just connecting stereo speakers, now is a good time to ensure those are properly connected to your receiver using speaker wire. Make sure the positive (+) outputs on the receiver are connected to the positive (+) terminals on the speaker, and the negative (-) to negative (-).
Step 5: Power Up and Test
Once all cables are securely connected, plug all your components back into the wall and turn them on. Start with the receiver, then the subwoofer (most subwoofers have an auto-on feature or a power switch), and finally your TV.
From your receiver’s settings menu, make sure the subwoofer setting is enabled. You might need to set your main speakers to “Small” if you have a calibrated system, as this directs all low frequencies to the subwoofer. Consult your receiver’s manual for specific instructions on configuring speaker settings and subwoofer output.
Play some content with significant bass and listen. Do you hear deep, clear bass? Is it integrated well with your main speakers?
Subwoofer Settings: Fine-Tuning for Optimal Sound
Most powered subwoofers have a few controls on the back that allow you to customize their output. Getting these right is key to a great sound experience.
1. Volume Control
This is the most straightforward control. Set it so the subwoofer’s bass blends seamlessly with your main speakers. You want to feel the impact and depth without the bass overpowering dialogue or other sounds. A good starting point is usually around the halfway mark, then adjust by ear.
2. Crossover Frequency (or “X-Over”)
This dial determines the highest frequency the subwoofer will reproduce. Frequencies above this setting will be handled by your main speakers. For a typical home theater system, a crossover setting between 80Hz and 120Hz is common. If your receiver has a “Subwoofer” or “LFE” setting that allows you to set the crossover, it’s often best to set the subwoofer’s crossover dial to the highest setting or “LFE” and let the receiver handle the crossover point. This gives your receiver more control over the sound.
Check this table for general guidance – always refer to your specific component manuals:
| Setting | Description | When to Use |
|---|---|---|
| Volume | Adjusts the subwoofer’s loudness output. | Blend bass with main speakers; avoid overpowering. |
| Crossover (X-Over) | Sets the point where subwoofer stops producing sound and main speakers take over. | 80-120Hz is common. Use receiver’s setting if available. |
| Phase (0° / 180°) | Determines if the subwoofer’s sound waves are in sync or out of sync with main speakers. | Test both; use the setting that provides the smoothest bass transition. |
3. Phase Control (0° / 180°)
This switch helps synchronize the sound waves from your subwoofer with those from your main speakers. If the bass sounds weak or uneven, try flipping the phase switch. Play a bass-heavy track and listen critically. If the bass sounds stronger and more unified in one position, stick with that. You might need to do this at your main listening position.
Alternative Connections (When No “SUB OUT” is Available)
What if your receiver or stereo system doesn’t have a dedicated “SUB OUT” or “LFE” port? Don’t despair! Many subwoofers are designed to handle this. They often have a set of “LINE IN” or “HIGH LEVEL IN” (also called “SPEAKER LEVEL IN”) terminals.
Using High-Level Inputs:
- Power off and unplug all equipment.
- Connect speaker wire: Run speaker wire from your receiver’s main speaker outputs (usually Front Left and Front Right) to the “HIGH LEVEL IN” or “SPEAKER LEVEL IN” terminals on your subwoofer.
- Pay attention to polarity (+ and -): Connect the positive terminal on the receiver to the positive terminal on the subwoofer, and the negative to negative.
- Connect your main speakers: Also connect your main speakers to the receiver’s regular speaker outputs.
- Power up and test. You’ll likely need to adjust the subwoofer’s crossover and volume manually for the best blend, as the receiver won’t be controlling the subwoofer directly.
This method isn’t as elegant as a dedicated LFE connection, but it works effectively to add low-frequency reinforcement to your system. For more information on audio connections, reputable resources like the Dolby website often explain how different speaker setups work.
Troubleshooting Common Issues
Even with careful installation, you might run into a hiccup. Here are a few common problems and solutions:
- No sound from the subwoofer:
- Check that the subwoofer is plugged in and powered on (look for an indicator light).
- Ensure the volume knob on the subwoofer isn’t turned all the way down.
- Verify the subwoofer cable is securely plugged into both the receiver and the subwoofer.
- Check your receiver’s settings to ensure the subwoofer output is enabled.
- If using high-level inputs, double-check the speaker wire connections and polarity.
- Try a different subwoofer cable and a different input on the subwoofer.
- Subwoofer is too loud or boomy:
- Lower the “Volume” control on the subwoofer gradually.
- Experiment with subwoofer placement; pulling it away from corners can sometimes reduce boominess.
- Adjust the “Crossover” frequency. If your receiver controls it, set it to 80Hz or 100Hz.
- Bass sounds weak or muddy:
- Ensure the “Volume” on the subwoofer is high enough.
- Try flipping the “Phase” switch (0°/180°).
- Experiment with different subwoofer placement. Sometimes moving it just a few inches can make a big difference.
- If using high-level inputs, ensure your main speakers are connected correctly to the receiver and that the subwoofer is receiving a proper signal.
FAQs About Speaker and Subwoofer Installation
Q1: Do I need a special cable for a subwoofer?
A1: Yes, it’s highly recommended. Use a dedicated subwoofer cable (often an RCA-type cable) that is specifically designed to handle low-frequency signals. Standard RCA cables can work but may not be as well-shielded.
Q2: Can I just use any RCA cable for my subwoofer?
A2: While a standard RCA cable might technically transmit the signal, a dedicated subwoofer cable is usually better shielded to prevent interference and is designed for the specific frequencies that subwoofers handle, ensuring the best possible bass performance.
Q3: How do I know if my receiver has a subwoofer output?
A3: Look on the back of your receiver for a port labeled “SUB OUT,” “SUBWOOFER,” or “LFE” (Low-Frequency Effects). It’s typically a single RCA-style connector.
Q4: What does the “LFE” on my subwoofer mean?
A4: LFE stands for Low-Frequency Effects. It’s a dedicated channel in surround sound mixes for deep bass sounds. Connecting your receiver’s “SUB OUT” or “LFE” to your subwoofer’s “LFE” input is the most direct way to send this signal.
Q5: Should I set my main speakers to “Large” or “Small” in my receiver settings when using a subwoofer?
A5: For most setups, it’s best to set your main speakers (front, center, surround) to “Small.” This tells your receiver to send all low frequencies below the crossover point to the subwoofer, allowing your main speakers to focus on mid and high frequencies, which they are better at reproducing.
Q6: How close can my subwoofer be to my TV?
A6: Modern subwoofers are magnetically shielded and generally safe to place near TVs. However, to be absolutely sure and to optimize sound, it’s best to keep it at least a foot away from sensitive electronics and out of direct contact with your TV stand if possible. Following manufacturer guidelines is always wise.
Conclusion: Enjoying Your Enhanced Sound
Congratulations! You’ve successfully navigated the world of speaker and subwoofer installation. By following these steps, you’ve added a vital component that significantly enhances your audio system, bringing depth, impact, and realism to your music, movies, and games. Remember, the goal is a seamless integration where the subwoofer’s powerful bass complements.