
Mounting speakers for a party is an essential step to amplify your sound and enhance the atmosphere. Proper mounting ensures optimal sound distribution, safety, and a cleaner look. This guide will walk you through everything you need to know, from choosing the right mount to securing your speakers safely.
Planning a party means thinking about music, lights, and of course, great sound! But where do you put those speakers so everyone can hear the beat? Sometimes, just placing them on a table isn’t enough, and you need to get them up and out of the way. This is where speaker mounting comes in. It can feel a bit tricky at first, especially if you’re not a DIY expert. Don’t worry, though! We’re here to make it super simple. We’ll guide you through choosing the right mounts, finding the best spots, and safely getting your speakers ready to rock your next gathering. Let’s dive in and get your party sounding its best!
Why Mount Your Party Speakers?
Mounting your party speakers might seem like an extra step, but it brings a lot of benefits that can really elevate your event. It’s not just about making things look tidy; it’s about making your sound system work better and keeping everyone safe.
Better Sound Distribution
When speakers are placed at ear level or higher and are not obstructed, the sound travels further and more evenly throughout the party space. Low or blocked speakers often create dead spots where the music is muffled or almost inaudible. Mounting them strategically can help create an immersive sound experience for all your guests, no matter where they’re dancing or mingling.
Safety First
Cables, especially when running across floors, can be a trip hazard. Speakers placed on tables or unsteady surfaces are also in danger of being knocked over, potentially causing damage to the speaker or injury. Securely mounted speakers, with cables managed properly, significantly reduce these risks. This is especially important in busy party environments with lots of movement.
Maximizing Space
Parties often mean a lot of people in a limited area. Speakers taking up valuable floor or table space can be inconvenient. Mounting them on walls or ceilings frees up this space, making it easier for guests to move around and enjoy themselves. It also contributes to a cleaner, more organized look for your party setup.
A Professional Look
Well-mounted speakers often look more professional than speakers just placed around a room. This can contribute to the overall ambiance and sophistication of your party décor. It shows attention to detail and can impress your guests.
For DIY projects involving mounting, it’s always smart to check out resources on safe mounting practices. Organizations like the Consumer Product Safety Commission (CPSC) offers valuable tips on securing items to walls to prevent accidents.
Types of Speaker Mounts
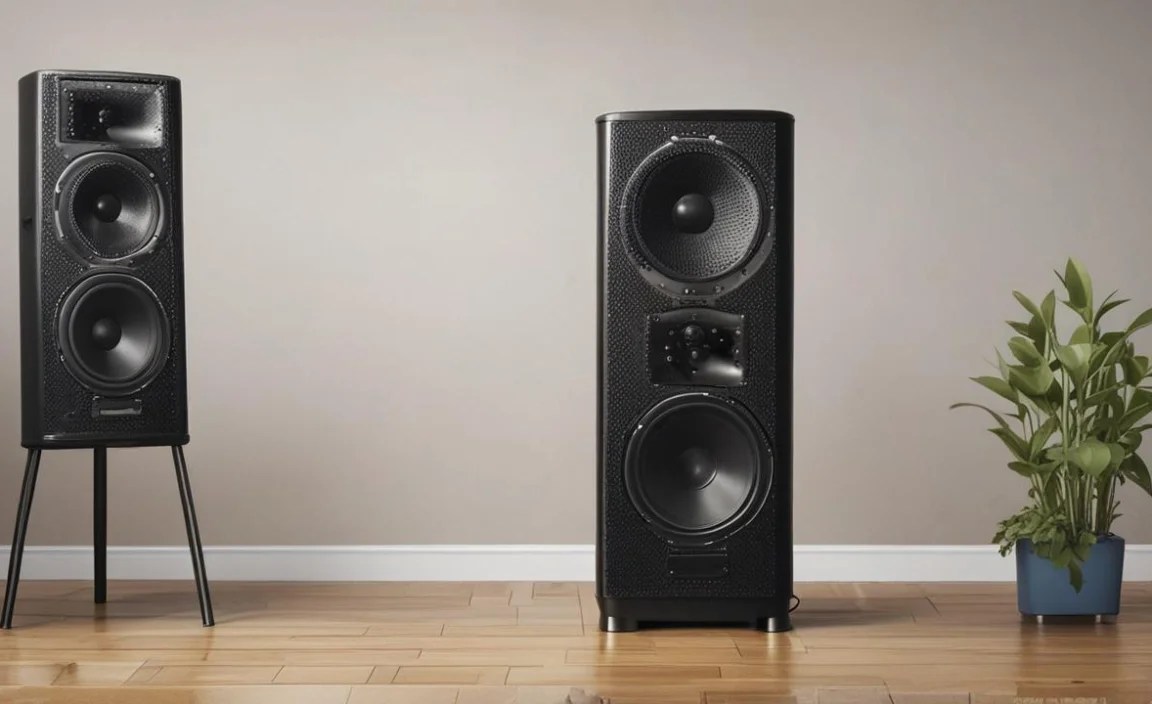
Choosing the right speaker mount is crucial for a secure and effective setup. The type of mount you need will depend on your speakers, where you plan to place them, and the type of surface you’re mounting them to. Here’s a breakdown of the most common types:
Wall Mounts
These are very popular for their versatility. Wall mounts attach directly to a wall, allowing you to position speakers up and away from the floor. They come in various forms:
- Swivel and Tilt Mounts: These offer the most flexibility. You can adjust the speaker’s position up, down, left, and right to direct sound precisely where you want it. This is perfect for uneven room layouts or when you need to cover a specific area.
- Fixed Mounts: As the name suggests, these hold the speaker in a fixed position once mounted. They are generally simpler and more robust but offer no adjustability.
- Ceiling Mounts: Similar to wall mounts, but designed for ceiling installation. These are great for very high ceilings or when wall space is limited.
Pole Mounts (or Speaker Stands)
While not technically a “mount” in the sense of attaching to a surface, pole mounts are a common and effective way to elevate speakers. They typically consist of a tripod base or a flat, heavy base with an extendable pole that a speaker can be placed on top of. Some pole mounts have a bracket that attaches to the speaker’s mounting cup. These are portable and easy to set up, making them ideal for events where you might need to move speakers around.
y-Brackets
These are often used for larger, heavier speakers. They typically attach to the back or bottom of a speaker and then have a mounting plate that fastens to a wall, truss, or other sturdy structure. They offer very strong support.
Mounting Cups and Adapters
Many speakers, especially PA (Public Address) speakers and subwoofers, have a built-in “mounting cup” on the bottom. This is a hole designed to fit onto the top of a speaker pole. If your speakers don’t have this, you might need an adapter plate to enable them to be mounted or to fit onto a certain type of mount. Always check your speaker’s specifications and the mount’s compatibility.
Universal Speaker Mounts
These are designed to fit a wide range of speaker sizes and types. They often feature adjustable arms or brackets that can be tightened to grip different speaker dimensions. While convenient, ensure a universal mount provides a secure enough grip for your specific speakers, especially if they are heavy or will be subjected to vibrations.
Choosing the Right Mount for Your Party Speakers

Selecting the ideal speaker mount involves considering several factors. It’s not a one-size-fits-all situation, and making the right choice upfront will save you headaches and ensure your speakers are set up for success.
1. Speaker Weight and Size
This is the most critical factor. Every mount has a maximum weight capacity. You must choose a mount that can safely support your speaker’s weight. Check your speaker’s manual or specification sheet. Overloading a mount can lead to failure, damaging your speaker and posing a safety risk.
2. Mounting Location and Surface
Where will you be mounting the speakers?
- Walls: What kind of wall is it? Drywall needs solid support, like a stud. Brick or concrete can usually handle more weight but requires appropriate anchors.
- Ceilings: Similar to walls, ceilings need to support the weight. Joists are your best bet for secure mounting.
- Trusses or Poles: For temporary setups or mobile DJs, mounting to existing structures like speaker stands or portable truss systems is common.
The surface dictates the type of hardware you’ll need (screws, bolts, anchors) and the mount’s compatibility.
3. Sound Direction Needs
Do you need to aim the sound in a specific direction? If so, a swivel and tilt mount is essential. If the speakers will be in a fixed, open area where sound dispersion is less critical, a fixed mount might suffice.
4. Aesthetics
How important is the look? Some mounts are more visible than others. For a cleaner, more integrated look, consider mounts that are less obtrusive or can be hidden slightly. For temporary party setups, flexibility might be more important than appearance.
5. Ease of Installation and Removal
If you’re setting up for a one-off party and plan to take everything down afterward, consider mounts that are easy to install and remove. Pole mounts or adjustable wall mounts that don’t require drilling into permanent structures might be better choices.
6. Budget
Speaker mounts vary in price. Universal mounts are often more affordable, while heavy-duty, adjustable, or specific brand mounts can be pricier. Determine your budget, but remember that safety and reliability should be prioritized over saving a few dollars.
Here’s a quick comparison of common mount types:
| Mount Type | Best For | Pros | Cons | Typical Cost |
|---|---|---|---|---|
| Wall Mount (Swivel/Tilt) | Permanent or semi-permanent installations, precise sound aiming | Flexible positioning, good for various room shapes, frees up space | Requires sturdy wall, drilling necessary, may be visible | $$ – $$$ |
| Wall Mount (Fixed) | Permanent installations, simple setup | Sturdy, simple, less adjustable | Requires sturdy wall, drilling necessary, no aiming | $ – $$ |
| Ceiling Mount | High ceilings, open spaces, when wall space is limited | Keeps speakers out of the way, good dispersion in open areas | Requires ceiling support, potentially complex installation | $$ – $$$ |
| Pole Mount/Stand | Portable setups, mobile DJs, temporary events | Easy to move, adjustable height, no permanent installation | Takes up floor space, can be a trip hazard if not managed | $ – $$ |
| y-Bracket | Heavy speakers, professional installations | Very strong support, secure | Can be bulky, requires robust mounting surface | $$ – $$$$ |
How to Mount Your Party Speakers: A Step-by-Step Guide

Ready to get those speakers mounted? This guide will take you through the process step-by-step. Remember, safety is paramount. If you’re unsure about any part of this process, especially concerning electrical wiring or structural integrity, it’s best to consult a professional.
Step 1: Gather Your Tools and Materials
Before you start, make sure you have everything you need. This will make the process smoother and safer.
- Your chosen speaker mounts: Ensure they are compatible with your speakers and mounting surface.
- Speakers
- Power drill and drill bits: The size of the drill bit depends on your mounting hardware.
- Screwdriver (Phillips or flathead, as needed):
- Stud finder: Crucial for mounting to drywall to ensure you hit a secure stud.
- Level: To ensure mounts and speakers are straight.
- Pencil or marker: For marking drill points.
- Mounting hardware: Screws, lag bolts, anchors, etc. Use hardware rated for the weight of your speakers and suitable for your wall/ceiling type. For drywall, always aim for studs. For masonry, use appropriate masonry anchors.
- Safety glasses: To protect your eyes from dust and debris.
- Ladder or step stool: If mounting at height. Ensure it’s stable.
- Measuring tape
- Optional: Cable management tools (ties, clips, raceways)
Step 2: Determine the Best Mounting Location
Think about your party space. Where will the sound be best distributed?
- Height: Aim for a height that is at least at ear level when guests are standing. This helps the sound travel over heads and reduces obstruction.
- Placement: Position speakers so they will evenly cover the main areas where people will be. Avoid placing them directly behind large furniture or in corners that can muffle bass.
- Obstructions: Make sure there are no plants, curtains, or other items that will block the sound waves.
- Power: Ensure there’s a power outlet nearby or you have a safe way to run power cables.
- Safety: Keep speakers away from high-traffic areas where they could be bumped or kicked.
If you’re mounting to a wall, use a stud finder to locate wall studs. Mounting directly into drywall without hitting a stud is unsafe for anything heavier than a small picture frame, and even then, it requires specific drywall anchors rated for weight. For drywall, mark the center of the studs where you plan to mount.
Step 3: Mark Mounting Points
Once you’ve chosen the location and checked for studs (if applicable), use your level and pencil to mark exactly where the mount’s screws or bolts will go. Double-check measurements and ensure the mount will be level.
Step 4: Drill Pilot Holes
Using your drill and an appropriate drill bit, drill pilot holes at the marked points. The pilot hole should be slightly smaller than the diameter of your screws or bolts. This makes it easier to drive the hardware in and prevents the wood or drywall from splitting. If drilling into masonry (brick, concrete), you’ll need a masonry bit and potentially a hammer drill; follow the anchor manufacturer’s instructions for pilot hole size.
Step 5: Secure the Mount to the Wall/Ceiling
For studs: Drive your lag bolts or screws directly into the center of the studs through the pilot holes. Ensure they are tightened securely.
For masonry: Insert the appropriate anchors into the pilot holes, then drive your screws or bolts into the anchors.
If using specialized drywall anchors (like toggle bolts or molly bolts for areas where studs aren’t accessible and you’re confident in the anchor’s rating for your speaker’s weight), follow their specific installation instructions. Again, for speakers, hitting studs is always the preferred and safest method.
Use your level one last time to ensure the mount is perfectly straight before fully tightening.
Step 6: Attach Speakers to the Mount
Refer to your specific mount’s instructions. For most wall mounts:
- You’ll often attach one part of the mount to the wall first (the bracket), then attach the other part to the speaker, and finally, connect the two parts.
- Ensure any locking mechanisms or safety screws are engaged.
- If your speaker has a mounting cup, it will likely slide onto a bracket or pole, and then be secured with a set screw.
Important Safety Note: If possible, have a second person help you lift and position the speaker, especially if it’s heavy. Never try to attach a speaker to a mount that is already fully extended or in an unstable position.
Step 7: Connect Speakers and Manage Cables
Once the speakers are securely mounted:
- Connect your audio cables (speaker wire, XLR cables, etc.).
- Cable Management: This is often overlooked but is vital for safety and aesthetics. Use zip ties, Velcro straps, or cable raceways to neatly secure cables along walls or your mounting system. This prevents tripping hazards and gives a much cleaner look. Avoid running speaker wires across walkways where they can be stepped on or pulled.
Step 8: Test the Sound
Turn on your audio source and test the speakers at a low volume. Play a few tracks and walk around the party area to check sound levels and distribution. Adjust the speaker’s aim if you have a swivel and tilt mount to optimize the sound coverage.
Tips for Optimal Party Speaker Placement and Mounting
Getting your speakers mounted is half the battle. The other half is ensuring they are placed and aimed for the best possible sound experience at your party.
Aim is Everything
If your mounts allow for it, take the time to aim your speakers correctly.:
- Direct Sound: For dance floors, aim speakers directly at the crowd.
- Wider Dispersion: For background music in a larger area, you might aim them slightly upwards or outwards to cover more space.
- Avoid Reflective Surfaces: Try not to point speakers directly at hard, bare walls or windows, as this can cause echoes and muddy the sound.
Consider the Room’s Acoustics
Different rooms have different sound qualities. Hard surfaces (tile, glass, bare walls) reflect sound, making the room sound brighter and potentially echoey. Soft surfaces (carpets, curtains, upholstered furniture) absorb sound, making the room sound warmer and more controlled. Experiment with speaker placement to see what works best in your specific space.
Height Matters
As mentioned, ear-level height is generally ideal. If you can’t achieve that, higher is usually better than lower. Speakers mounted too low might get blocked by furniture or people, and the sound might not reach the entire room effectively.
Subwoofer Placement
Subwoofers are less directional than main speakers. This means you have more flexibility in placing them. A common trick is the “subwoofer crawl”: place the subwoofer in its intended listening position, play some bass-heavy music, and then crawl around the room at listening height. Where the bass sounds best to you is likely a good spot for the subwoofer.
Stereo Imaging (If Applicable)
If you are using two main speakers for stereo sound, placing them at roughly a 45-60 degree angle from your primary listening or dancing area often creates the best stereo image, where the sound feels like it’s coming from a single point in front of you.
Elevation for Small Speakers
Even small bookshelf speakers can benefit from being elevated. Using small stands or even stable books under them on a shelf can lift their sound above table level, improving clarity.