
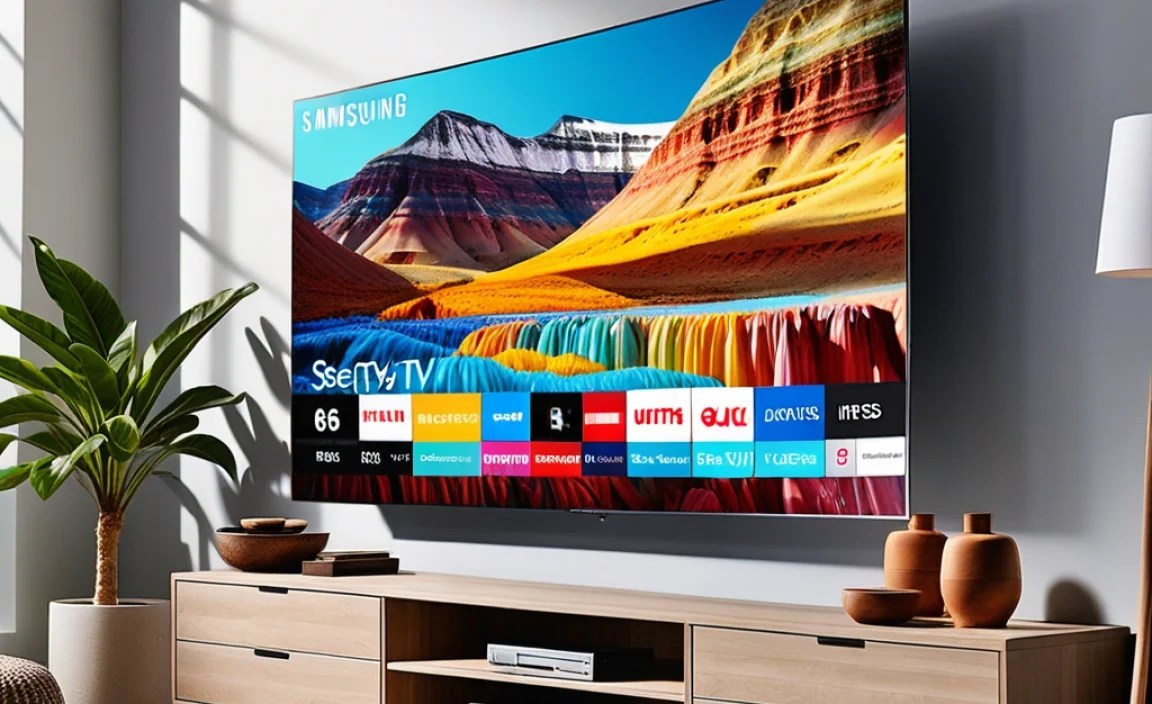
For Samsung TV owners mounting their screen, optimizing picture settings after installation is key. Ensure vibrant colors, sharp details, and a comfortable viewing experience by fine-tuning brightness, contrast, and other visual elements. This guide provides easy-to-follow steps to perfect your wall-mounted Samsung TV’s image.
So, you’ve finally got that sleek Samsung TV mounted perfectly on your wall. It looks fantastic, right? But wait, something feels a little off about the picture. Maybe the colors seem a bit too intense, or perhaps the blacks look a little washed out. Don’t worry, this is super common! When you move a TV, especially to a new spot on the wall, its viewing environment changes. Sunlight, room reflections, and even the angle you’re viewing from can all impact how the picture looks. The good news is, your Samsung TV has a treasure trove of picture settings that can be adjusted to make everything look just right. We’re going to walk through the essential adjustments, making it simple and stress-free, so you can enjoy your content looking its absolute best.
We’ll cover everything from understanding the basic settings to fine-tuning them for your new wall-mounted setup. Get ready to transform your viewing experience!
Understanding Your Samsung TV’s Picture Settings

Before we dive into adjusting, let’s get a quick grasp on what these settings actually do. Think of them as the knobs and dials that control how your Samsung TV displays an image. Knowing their purpose will make tweaking them much easier.
Picture Mode: The Starting Point
Your Samsung TV likely comes with several pre-set Picture Modes. These are designed for different types of content and viewing environments:
- Standard/Dynamic: These modes often boost color and contrast, making the picture pop. Great for really bright rooms or when you want things to look super vivid, but can sometimes be unnatural.
- Movie/Cinema: Designed for watching movies in dimmer rooms, these modes aim for accuracy and a more cinematic look. Colors are more subdued, and contrast is generally well-balanced. This is usually your best friend for a wall-mounted setup in a living room.
- Natural: A good middle-ground between Standard and Movie, aiming for a lifelike picture without being overly aggressive with enhancements.
- Filmmaker Mode: This is a professional standard designed to display movies exactly as the director intended, with minimal processing and accurate colors. It’s often the most accurate setting out-of-the-box.
- Game Mode: Specifically for gaming. It prioritizes reducing input lag, meaning your controller inputs register faster on screen. Color and contrast might be adjusted for gaming visuals.
For a wall-mounted TV, especially if it’s in your main living area, starting with Movie or Filmmaker Mode is usually the most recommended. They provide a solid foundation that you can then tweak.
The Core Picture Settings
These are the buttons you’ll be pressing most often. They have the biggest impact on your image.
- Backlight: This isn’t about picture brightness in the way you might think. It controls the intensity of the LED illumination behind the LCD panel. For wall-mounted TVs, especially those facing windows, you’ll likely need a higher Backlight setting during the day. At night, lower it to save your eyes and improve black levels.
- Brightness: This adjusts the black level of the picture. If it’s too high, blacks can look gray. If it’s too low, you might lose detail in dark scenes. Aim to set this so that black areas are deep but you can still see subtle details.
- Contrast: This controls the difference between the brightest whites and darkest blacks. Increasing it makes the image “punchier,” while decreasing it can soften the image. Too much contrast can clip details in very bright or very dark areas.
- Sharpness: Controls how defined the edges of objects are. Too much sharpness can create artificial-looking white halos around objects and make the picture look grainy. Too little can make the picture look soft or blurry. Aim for natural-looking details.
- Color: Adjusts the intensity of all colors. A nudge up can make colors more vibrant, but too much can make them look unnatural and oversaturated.
- Tint (or G/R Balance): This adjusts the balance between green and red hues. Most of the time, you’ll want this in the middle (often referred to as 50/50 or center), but slight adjustments can sometimes correct an unnatural skin tone.
Key Expert Settings (For a Deeper Dive)
Once you’ve got the basics dialed in, these expert settings can fine-tune your picture even further:
- Dynamic Contrast: This setting automatically adjusts the contrast based on the on-screen content. It can make dark scenes deeper and bright scenes more impactful on the fly. It’s useful but can sometimes lead to distracting fluctuations in brightness.
- Color Tone/Warmth: This is similar to Tint but affects the overall color temperature. “Warm” settings make the image redder (like older TVs), while “Cool” settings make it bluer. Most people find a “Warm” setting (like Warm2) to be the most accurate for movies.
- Motion Settings (Motion Interpolation, LED Clear Motion, etc.): These settings aim to make motion appear smoother. While great for sports, they can introduce the “soap opera effect” (where movies look unnaturally fluid) and can sometimes create visual artifacts. For movies, many prefer to turn these off or use them sparingly. For sports or fast-paced games, they can be beneficial. We’ll discuss this more in context of wall mounting.
- Auto Depth Enhancer: This tries to add a sense of depth to the image. It’s a Samsung-specific feature that can sometimes be a bit much, depending on the content.
Optimizing for Your Wall Mount: Step-by-Step
Now, let’s translate this knowledge into action for your wall-mounted Samsung TV. The goal here is to create a viewing experience that looks fantastic no matter the time of day or what you’re watching.
Step 1: Get Your Environment Right
Before you even touch the TV settings, consider your room:
- Lighting: Where are your windows? Where are the lamps? Try to minimize direct glare on the screen. If you can’t avoid it, that’s okay, we’ll adjust settings to compensate.
- Viewing Distance and Angle: Wall-mounted TVs are often further away than when on a stand. This can affect how you perceive sharpness and color.
- Content: What do you watch most? Movies? Sports? Gaming? This will influence optimal settings.
Step 2: Choose Your Starting Picture Mode
Navigate to your Samsung TV’s Picture Settings menu.
How to find it: Press the Home button on your remote. Navigate to Settings (gear icon), then select Picture.
Based on our previous discussion, select Movie or Filmmaker Mode. These are designed for accuracy and tend to look great in most living room environments once tweaked.
Step 3: Adjust Backlight for Ambient Light
This is crucial for wall-mounted setups where lighting conditions can vary greatly throughout the day.
- During the Day/Bright Rooms: You’ll likely need a higher Backlight setting. Start around 70-90 and see how it looks. The picture should be bright enough to overcome ambient light without being blindingly harsh.
- At Night/Dark Rooms: Lower the Backlight setting significantly. Start around 20-40. This will allow for deeper blacks and a more comfortable viewing experience in the dark.
Tip: Many Samsung TVs allow you to have different settings for different inputs or picture modes. You can set a high backlight for your daytime “Standard” mode and a low backlight for your nighttime “Movie” mode.
Step 4: Fine-Tune Brightness and Contrast
These affect the overall punch and depth of your image.
How to test:
- For Brightness (Black Level): Watch a scene with deep shadows or a dark sky. Slowly increase the Brightness setting until you can just start to see detail in the darkest areas. Then, decrease it slightly so the blacks look truly black. Think of it as setting the “floor” for your picture’s dynamic range.
- For Contrast: Find a scene with both bright highlights and dark elements. Increase Contrast until the bright parts really pop, but be careful not to “clip” the whites (where all white detail disappears into pure white). Then, slightly decrease it if you see this happening.
Guideline Table:
| Setting | Purpose | Initial Range Suggestion (Adjust to taste) | When to Increase | When to Decrease |
|---|---|---|---|---|
| Brightness | Controls black level. | 40-55 | To reveal detail in very dark scenes. | To achieve deeper black levels; avoid washed-out blacks. |
| Contrast | Controls difference between brightest white and darkest black. | 80-95 | To make bright details stand out; adds “punch.” | To avoid losing detail in very bright areas (clipping). |
| Sharpness | Controls edge definition. | 0-15 (often 0 or low is best for modern TVs) | To make details slightly more defined (use sparingly). | To remove artificial halos and graininess. |
Step 5: Adjust Sharpness for Natural Detail
Modern TVs have excellent native sharpness, so often less is more.
- Start with the Sharpness setting very low, perhaps even at 0 or 5.
- Gradually increase it only if you feel the image looks too soft.
- Watch for “halos” around objects or an overly artificial, etched look. If you see these, reduce the Sharpness. For most content, a subtle setting is best.
Step 6: Dial in Color and Tint
These settings ensure your picture looks lifelike.
- Color: Start with the default setting (often 50). If colors look dull, increase it slightly. If they look like a child’s crayon drawing, decrease it.
- Tint: This is almost always best left at its default (usually 0 or 50/50). Only adjust if skin tones look noticeably too green or too red.
Step 7: Consider Expert Settings (Optional but Helpful)
These can elevate your picture quality, but use them with a discerning eye.
- Dynamic Contrast: Many users find turning this Off or to ‘Low’ provides a more consistent picture, especially for movies. If you like bold contrast shifts and your TV has good local dimming, you might experiment with ‘Medium’ or ‘High’.
- Color Tone: Set this to Warm2 for the most accurate, cinematic look. This is often the industry standard for color temperature.
- Motion Settings: This is very personal.
- For Movies: Turn off ‘Auto Motion Plus’ or ‘LED Clear Motion’. This will preserve the intended cinematic feel and avoid the “soap opera effect.”
- For Sports: You might want to turn ‘Auto Motion Plus’ on, or experiment with its ‘Custom’ settings (like reducing Judder and Blurriness sliders) to get smooth motion without artifacts.
- For Gaming: Most Samsung TVs have a dedicated ‘Game Mode’ found under General -> External Device Manager -> Game Motion Plus. Enable this, and the TV will automatically adjust settings or offer specific game-friendly options.
- Check out information on display calibration from resources like Rtings.com for deeper insights into optimal settings derived from rigorous testing.
Step 8: Test with Varied Content
Don’t just set and forget! Watch different types of content to ensure your settings work well across the board.
- Movies: Look for deep blacks, detailed shadows, and natural colors.
- TV Shows: See how dialogue looks and if bright scenes are comfortable.
- Sports: Check for motion clarity and vibrant colors.
- Video Games: Ensure responsiveness (low input lag) and clear visuals.
Step 9: Save Your Settings
Once you’re happy, make sure you’ve saved your Picture Mode. For many Samsung TVs, saving changes to a specific Picture Mode (like ‘Movie’ or ‘Movie HDR’) automatically applies them whenever you select that mode or watch content that triggers it (like HDR or 4K). Some models might require you to explicitly “Apply to all sources” or save per input.
Special Considerations: HDR and Dolby Vision

Wall-mounting can sometimes subtly affect how High Dynamic Range (HDR) content looks, especially if your room lighting conditions are very different from what the HDR content was mastered for.
HDR Settings
When you play HDR content (like from UHD Blu-rays, Netflix, or Disney+), your Samsung TV should automatically switch to an HDR picture mode (e.g., “Movie HDR,” “Filmmaker Mode HDR,” or “Dynamic HDR”). Settings like Backlight and Contrast will likely be maximized automatically in these modes.
- Backlight: You’ll probably see this maxed out. This is normal for HDR to achieve peak brightness.
- Contrast Enhancer: For HDR, this can sometimes be too aggressive. Try setting it to ‘Off’ or ‘Low’ if highlights look blown out or if the image feels too “hot.”
- Color Tone: Again, ‘Warm2’ is usually best for accuracy.
The key with HDR is experiencing the wider range of colors and brightness. Your wall-mounted position and room lighting will still play a role in perceived impact. If you find HDR content overly bright even with a lower perceived backlight in SDR modes, you might consider adjusting the peak brightness in the HDR settings if your TV offers it.
Frequently Asked Questions About Samsung TV Picture Settings for Wall Mounts
Why do Samsung TV picture settings need adjustment after wall mounting?
Wall mounting can change how light interacts with your screen and how you view it. Factors like ambient light, reflections from nearby windows or lamps, and viewing angles are different compared to when the TV was on a stand. Adjusting settings helps compensate for these changes, ensuring optimal picture quality.
What are the most important Samsung TV picture settings to adjust after wall mounting?
The most crucial settings to adjust are typically Brightness, Contrast, Sharpness, Color, Tint, and potentially Expert Settings like Dynamic Contrast and Motion Plus. These directly impact how bright, detailed, and lifelike the image appears in your specific room environment.
Should I use a specific picture mode for a wall-mounted Samsung TV?
Yes, it’s often beneficial. Modes like “Movie” or “Filmmaker Mode” are usually a good starting point as they offer a more natural and accurate picture. You’ll then fine-tune these modes based on your room’s lighting conditions and personal preference.
How does room lighting affect my Samsung TV’s picture settings when wall-mounted?
In a bright room with lots of natural light or glare, you might need to increase the Backlight or Brightness. In a dim or dark room, you’ll likely want to lower these settings to prevent a washed-out or overly bright image and to maintain deep blacks.
Can I use the same settings for watching movies and playing video games on my wall-mounted Samsung TV?
Not always. Gaming often benefits from lower input lag and potentially more vibrant colors, leading to different optimal settings than for watching cinematic content. Many Samsung TVs have a dedicated “Game Mode” that automatically adjusts settings for a better gaming experience.
I’m seeing glare on my wall-mounted Samsung TV. How can I fix it?
Glare is primarily a mounting and room setup issue. Consider the TV’s position relative to windows and light sources. Using an anti-glare screen protector can help, but adjusting picture settings like Backlight and Contrast can also minimize perceivable glare by making the picture brighter or more dynamic.