
Choosing between Mini LED and OLED for your TV? It’s not about which is “better,” but which settings unlock their full potential for your viewing. This guide simplifies those settings, helping you get the best picture and performance from your chosen display technology.
Hey everyone, Bob E Riley here from Aimguider! Today, we’re diving into a topic that can make or break your viewing experience: Mini LED vs OLED settings. You’ve finally picked out that amazing new TV, but now you’re staring at menus full of options. What’s the difference between “Dynamic Contrast” and “Black Frame Insertion”? And how do you get vibrant colors without crushing blacks or blowing out highlights? It’s a common puzzle many of us face. Don’t worry, we’ll break down the jargon and guide you through the essential settings for both Mini LED and OLED TVs. Get ready to unlock the true magic of your screen!
Understanding the Basics: Mini LED vs. OLED
Before we tweak those settings, let’s quickly recap what makes Mini LED and OLED so special. Understanding their core differences will help you appreciate why certain settings matter more for one than the other.
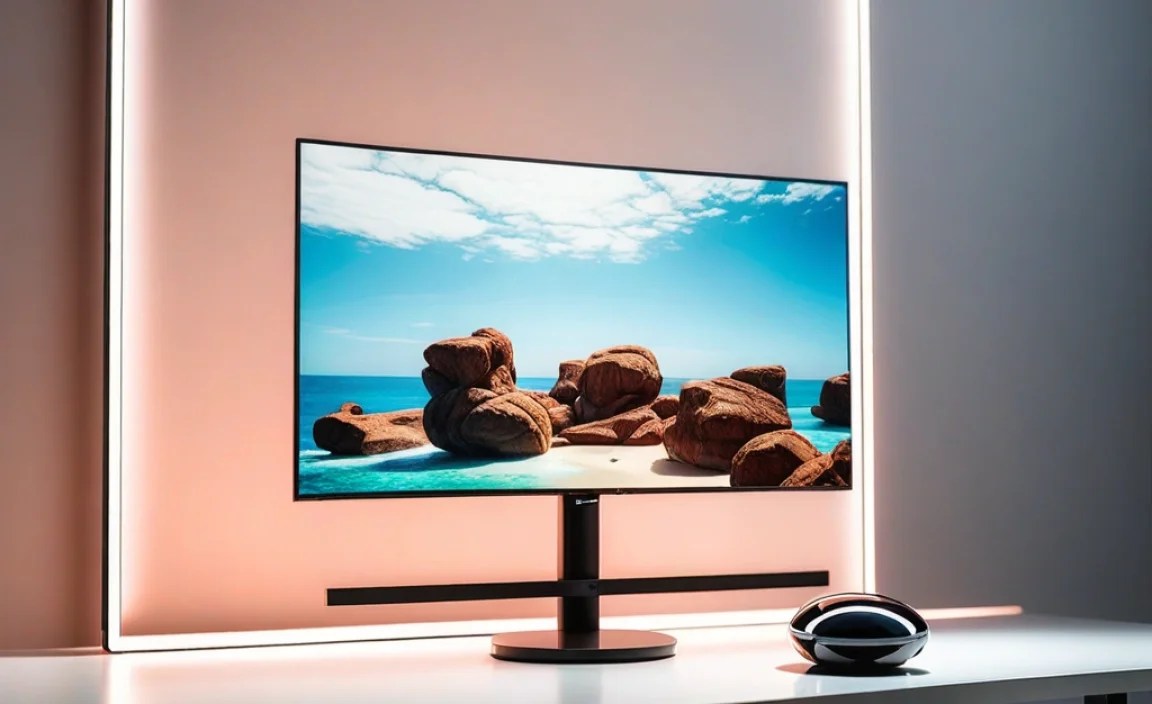
OLED: The King of Pixels
OLED (Organic Light Emitting Diode) technology is famous for its “perfect blacks.” Each pixel in an OLED panel generates its own light. This means when a pixel needs to be black, it simply turns off completely. This leads to:
- Infinite contrast ratio (true black).
- Incredibly precise color.
- Very wide viewing angles.
- Fastest response times.
However, OLEDs can be susceptible to burn-in if static images are displayed for extremely long periods, and they can sometimes struggle with peak brightness compared to some LED technologies.
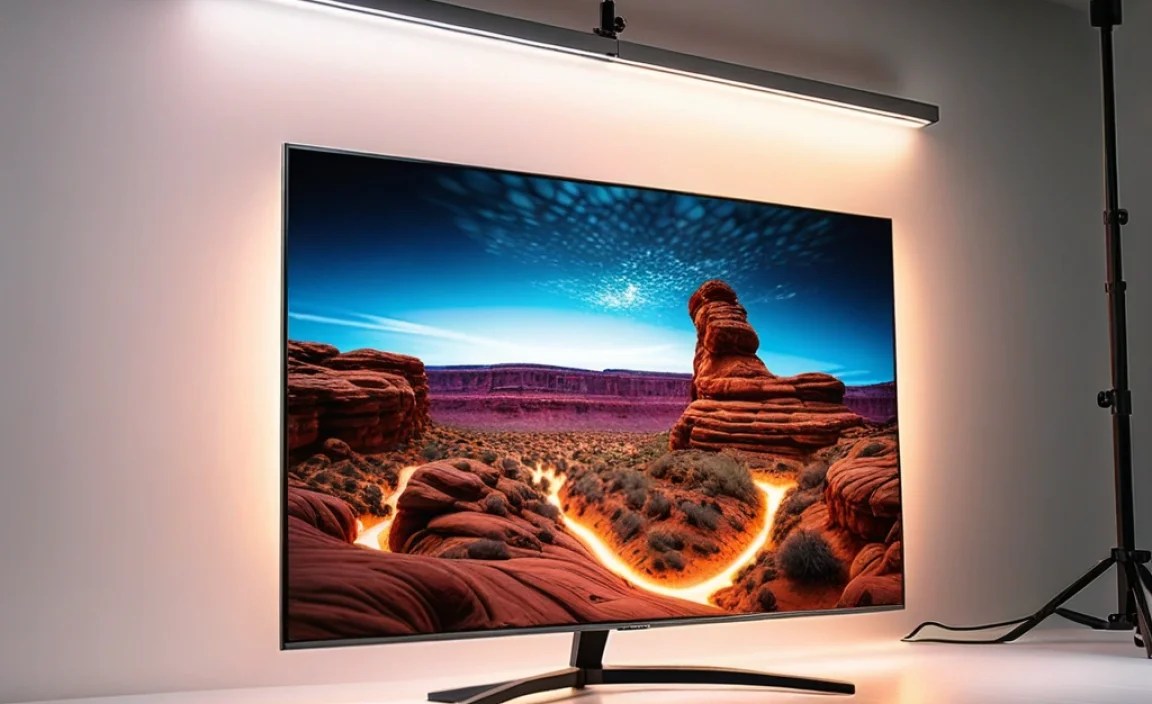
Mini LED: The Bright Challenger
Mini LED is an evolution of traditional LED-backlit LCD TVs. Instead of a few dozen LEDs, Mini LED TVs use thousands of tiny LEDs arranged in hundreds or even thousands of “dimming zones.” These zones can be controlled independently, allowing for much finer control over brightness and contrast than conventional LED TVs. This gives Mini LED TVs:
- Excellent peak brightness for HDR content.
- Improved contrast over standard LED TVs.
- Reduced blooming (halo effect) compared to older LED tech.
- Generally less susceptible to burn-in.
The trade-off? Even with many dimming zones, it’s not as precise as OLED’s per-pixel control. You might still see some light bleed or blooming around bright objects on dark backgrounds.
Essential Picture Settings: Your Cheat Sheet
Now, let’s get to the good stuff! These are the settings you’ll find on most modern TVs, and understanding them is key to getting the best out of your Mini LED or OLED. We’ll cover general settings first, then touch on specifics.
Picture Mode: The Foundation
This is your starting point. TV manufacturers often provide several presets. Here’s a quick rundown:
- Standard/Normal/Vivid: Usually oversaturates colors and boosts brightness, making images look unnatural. Avoid these for critical viewing.
- Cinema/Movie/Filmmaker Mode: These are typically the most accurate modes, designed to display content as the creator intended. They aim for proper color temperature, contrast, and gamma. This is your go-to for watching movies and shows.
- Game Mode: Prioritizes low input lag for a responsive gaming experience. It might sacrifice some picture quality for speed.
- Sports Mode: Often boosts motion clarity and brightness, which can be good for fast-paced action but might introduce artifacts.
For both Mini LED and OLED, starting with a “Filmmaker Mode,” “Movie,” or “Cinema” preset is highly recommended. These modes are often calibrated to industry standards, like those set by the International Telecommunication Union (ITU), ensuring accurate color and contrast.
Brightness & Backlight: The Light Source
- Brightness (or Black Level): This controls the black levels of the image. Setting it too high will crush details in dark areas and make blacks look gray. Setting it too low can lose shadow detail. Aim for a setting where you can see subtle details in dark scenes without the blacks turning gray.
- Backlight (Mini LED) / OLED Pixel Brightness (OLED): This controls the overall light output of the screen.
- For Mini LED: This is crucial. You want enough backlight for HDR content to pop, but not so much that it causes excessive blooming or washes out the image.
- For OLED: This directly controls the brightness of each pixel. Turning it up too high in a bright room can make the image look harsh and increase the risk of temporary image retention. Lowering it too much in a bright room can make the picture look dim.
Tip: In a dark room, you can often get away with lower settings for both Brightness and Backlight/OLED Pixel Brightness on either display type. In a bright room, you’ll need to turn them up, especially the Backlight on a Mini LED.
Contrast: The Dynamic Range
Contrast is the difference between the brightest white and the darkest black a display can produce. On most TVs, you’ll find:
- Contrast: This setting usually controls the white level. Increasing it too much will “clip” whites, losing detail in bright areas. Decreasing it can make the image look flat.
- Dynamic Contrast / Contrast Enhancer / Black Enhancer: These features attempt to artificially boost contrast. They can sometimes make the image punchier but often lead to unnatural-looking scenes, crushed blacks, or blown-out whites. For the most accurate picture, it’s generally best to turn these off, especially in Cinema or Filmmaker modes.
On OLEDs, the “infinite” contrast is inherent. On Mini LEDs, these features can be more tempting to push, but subtle adjustments are key to avoid artifacts from the local dimming zones.
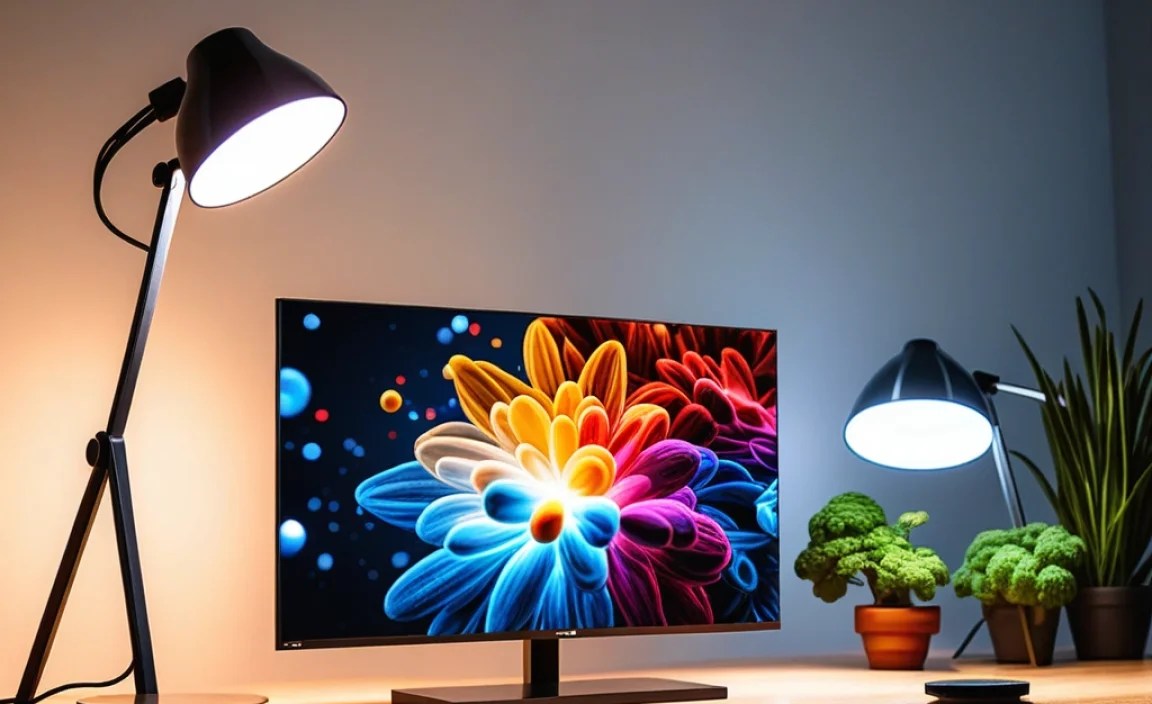
Color Settings: Vibrancy and Accuracy
- Color (or Saturation): This adjusts the intensity of colors. You want colors to look rich but natural, not cartoony.
- Tint (or Hue): Adjusts the balance between green and red. Most users won’t need to touch this if the TV is properly calibrated.
- Color Temperature (or White Balance): This affects the warmth or coolness of the image. “Warm” or “Warm2” settings are usually closest to industry standards for movies (D65 white point), which aims for a very slightly reddish-white. “Cool” makes whites look bluish. Stick with “Warm” for the most accurate look.
Color Gamut: This setting determines the range of colors the TV can display. Most TVs have options like “Auto,” “Native,” “SDR,” or specific wide gamut options like “DCI-P3.” For standard content (SDR), leave it on Auto or SDR. For HDR content, you want it set to display the wider DCI-P3 color space, which is what HDR content is mastered in. Your TV should automatically select this when an HDR signal is detected.
Sharpness: The Edge Detail
This setting adds artificial edge enhancement to make details appear sharper. Too much sharpness creates an unnatural “haloing” effect around objects and can introduce artifacts. For a clean, natural image, set Sharpness to 0 or a very low number. You might need to adjust this slightly if you see soft images, but the goal is to enhance detail naturally, not aggressively.
Motion Settings: Smoothness vs. Artifacts
This is where things can get tricky! Motion settings aim to reduce judder (choppiness) and provide smoother motion. Most TVs have:
- Motion Interpolation (e.g., TruMotion, MotionFlow, Auto Motion Plus): This creates new frames between existing ones to make motion smoother. Higher settings can create the “soap opera effect” (SOE) where movies look like live TV. Lower settings can help with fast action.
- Black Frame Insertion (BFI): This inserts black frames between regular frames to improve motion clarity. It can make motion look much sharper but will reduce overall brightness and can sometimes cause flicker.
- Judder Reduction / Motion Smoothing / Blur Reduction: These sliders allow you to fine-tune the effects of motion interpolation and BFI.
Recommendation for Movies/Shows: With very few exceptions, most filmmakers intend for content to be viewed at 24 frames per second. To preserve the intended cinematic look, turn motion interpolation completely OFF or set judder reduction to its lowest possible setting (e.g., 0 or 1 out of 10) for most content. For faster content like sports, you might experiment with very low motion interpolation settings.
Recommendation for Gaming: In Game Mode, motion settings are often limited to minimize input lag. If you have options, prioritize smoothness in games where it matters, but be aware of potential input lag penalties.
Local Dimming (Mini LED Specific)
This is arguably the most important setting for Mini LED TVs. Local dimming controls how the backlight zones adjust based on the image content. You’ll typically see options like:
- Off: No local dimming. This negates the main advantage of Mini LED.
- Low/Medium/High: These settings control the aggressiveness of the dimming. Higher settings provide better contrast but can increase the risk of blooming (halos around bright objects) or “crushing” black detail.
- Auto/Standard: The TV attempts to manage this automatically.
Recommendation: For most viewing, a Medium or High setting is a good starting point. If you notice significant blooming or loss of detail in dark scenes, try lowering it. If you feel the blacks aren’t deep enough or contrast is lacking, try increasing it. Some TVs allow you to select the number of zones or the dimming algorithm, but if not, stick with the preset levels.
A key difference for OLED: OLED doesn’t need local dimming because each pixel controls its own light. This is why OLEDs achieve perfect blacks without blooming.
HDR Settings: Making Brightness Pop

High Dynamic Range (HDR) content offers a wider range of colors and much greater contrast between the brightest and darkest parts of the image. This is where both Mini LED and OLED truly shine, but optimizing settings is crucial.
HDR Picture Mode
Your TV should automatically switch to a specific HDR picture mode when it detects an HDR signal (like Dolby Vision, HDR10, or HDR10+). These modes are usually different from your SDR modes. Again, look for “Filmmaker,” “Cinema,” or similar accurate presets.
HDR Specific Adjustments
- Peak Brightness / Brightness Booster: Some TVs have settings designed to push the screen’s peak brightness even further for HDR. Use these with caution, as they can sometimes sacrifice detail or cause color shifting.
- Dynamic Tone Mapping (DTM): Found on many TVs, DTM attempts to optimize HDR content on the fly. It can make HDR look more impactful, but it can also alter the creator’s intent. You might prefer it for some content (like gaming or less expertly mastered HDR) and disable it for others (like high-quality movies). Experimentation is key here.
- HDR Optimizer/Picture Optimizer: Similar to Dynamic Contrast, these can sometimes be too aggressive.
For Mini LED in HDR: You’ll want your Backlight at its maximum (or a very high setting) and potentially Local Dimming on High to take advantage of the extreme brightness. Be vigilant for blooming.
For OLED in HDR: Your OLED Pixel Brightness will likely be near maximum automatically. Pay close attention to the Dynamic Tone Mapping setting if available – some find it beneficial, others prefer it off for the most faithful reproduction.
Gaming Settings: Low Latency is Key
Gamers demand responsiveness. When you’re aiming for that headshot, every millisecond counts. TVs have specific settings to help with this.
Game Mode
This is non-negotiable for serious gaming. Enabling “Game Mode” drastically reduces input lag – the time it takes for your controller input to appear on screen. It often does this by bypassing some of the TV’s image processing. Most TVs will automatically detect a game console and switch to Game Mode, but it’s good to check.
HDR Gaming
Most modern consoles (Xbox Series X/S, PS5) and PCs support HDR gaming. Ensure your TV supports the HDR format your console is outputting (usually HDR10, sometimes Dolby Vision). You’ll want to ensure HDR is enabled both on your console and your TV’s settings. For HDR gaming, you might find that a gaming-specific HDR preset works best, or you may need to adjust your standard HDR settings with Game Mode enabled.
Variable Refresh Rate (VRR) & Auto Low Latency Mode (ALLM)
These are HDMI 2.1 features that significantly improve the gaming experience:
- ALLM: Automatically switches the TV to Game Mode when a game console is detected.
- VRR: Syncs the TV’s refresh rate with the game’s frame rate, eliminating screen tearing and reducing stutter for smoother gameplay (supported by HDMI 2.1).
Ensure ALLM and VRR (if your TV and console support it) are enabled in your TV’s settings and on your console. This is crucial for smooth, tear-free gaming.
For Mini LED vs OLED in Gaming: Both technologies can offer excellent gaming experiences. OLED’s near-instantaneous pixel response time gives it an edge in motion clarity and eliminates motion blur for many gamers. Mini LEDs can offer brighter HDR gaming experiences. The key for both is ensuring Game Mode, VRR, and ALLM are properly configured.
Advanced Settings & Calibration
Once you’ve got the basics down, you might want to dive deeper. For 95% of users, the settings we’ve covered are enough. But if you’re curious:
- Gamma: Controls the mid-tone brightness. A gamma of 2.2 is standard for bright rooms, while 2.4 is preferred for dark rooms. Many TVs have this set automatically.
- Color Space: As mentioned before, ensure this is set correctly for SDR (Auto/SDR) and HDR (Wide/DCI-P3).
- White Balance (Advanced): If you have a calibration disc and know what you’re doing, you can tweak 2-point or 20-point white balance adjustments for expert-level color accuracy.
Professional Calibration
For the absolute best picture quality, professional calibration using specialized equipment is recommended. A professional can measure your TV’s output and adjust every parameter precisely to industry standards. This is a service often sought by videophiles and home theater enthusiasts. You can learn more about the benefits from organizations like the Society for Imaging Science and Technology (IS&T), which promotes standards in imaging.
Table: Mini LED vs. OLED Settings Considerations
Here’s a quick comparison of how settings might differ or be prioritized:
| Setting | OLED Priority / Consideration | Mini LED Priority / Consideration | Common Goal |
|---|---|---|---|
| OLED Pixel Brightness / Backlight | Control overall screen luminance. Keep lower in dark rooms to conserve energy and reduce potential ABL (Auto Brightness Limiter) effects. Max for HDR in dark rooms. | Max or near-max for bright HDR content. Adjust for SDR to balance brightness with viewing environment. | Achieve comfortable brightness without image degradation. |
| Local Dimming | N/A (Per-pixel light control) | Crucial for contrast. Experiment with Medium/High. Lower if blooming is excessive, higher if blacks appear lifted. | Deepest blacks and highest contrast. |
| Motion Settings | Often less critical due to near-instant response time. BFI might still be used for ultimate motion clarity. | Important to combat motion blur inherent in LCD tech. Use Judder Reduction thoughtfully to avoid SOE. | Smooth motion without unnatural artifacts. |
| HDR Peak Brightness / Dynamic Tone Mapping | Pushed automatically with OLED Pixel Brightness. DTM can be debated – experiment between on and off. | Leverage max backlight for peak highlights. DTM crucial for optimizing many HDR sources. | Most impactful HDR experience, balancing brightness and detail. |