
Quick Summary:
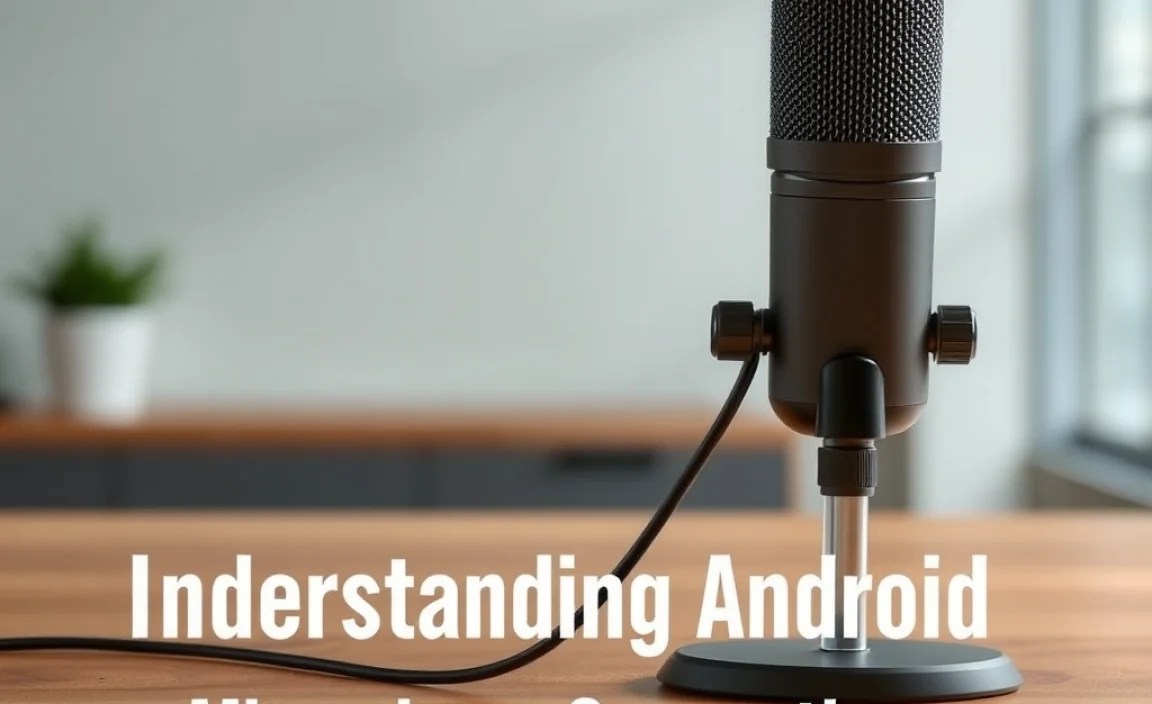
Setting up a microphone for your Android phone is easier than you think! This guide will walk you through connecting and configuring external mics on your Android, ensuring clear audio for calls, recordings, and content creation. Get ready for exceptional sound without the fuss.
Are you tired of tinny audio from your Android phone? Whether you’re on an important work call, recording a video, or trying to capture a special moment, poor sound quality can quickly ruin the experience. Many people believe getting better audio from their Android requires complex equipment and technical know-how, but that’s just not true anymore. With a few simple steps, you can dramatically improve your sound and make yourself heard loud and clear. This guide will demystify microphone setup for Android, making it effortless for anyone to achieve professional-sounding audio.
Why Bother with an External Microphone for Your Android?

Your Android phone has a built-in microphone, and for casual calls or quick voice notes, it does a decent job. However, it’s designed for general use, not for high-fidelity audio capture. Here’s why you might want to upgrade:
- Better Sound Quality: External microphones often have larger diaphragms and better internal components, leading to clearer, richer, and more detailed sound.
- Reduced Background Noise: Many external mics are designed to focus on your voice, significantly cutting down on distracting background sounds like traffic, chatter, or wind.
- Versatility: Different microphones excel at different tasks. You can choose a mic for voiceovers, interviews, singing, or even for gaming.
- Directionality: Some mics can focus on sound coming from a specific direction, which is perfect for interviews or isolating a single sound source.
- Proximity vs. Phone Mic: Placing an external mic closer to your mouth is far more effective for clear audio than relying on your phone’s distant microphone.
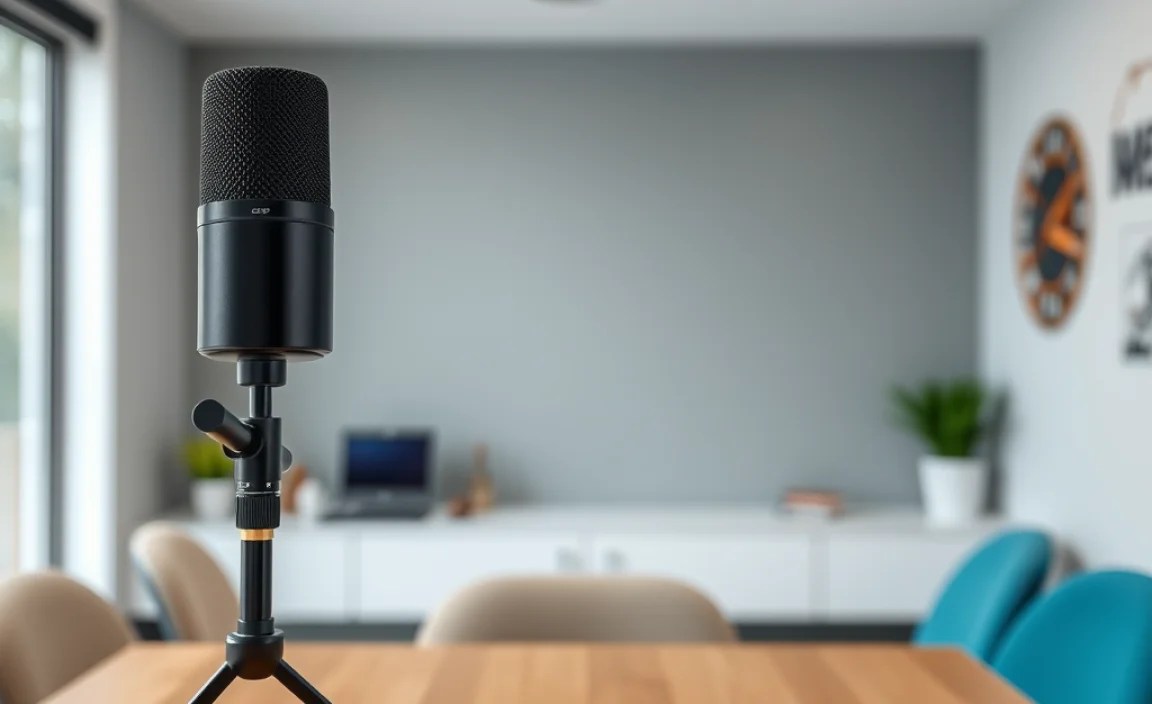
Understanding Android Microphone Connections
Before we dive into setup, it’s helpful to know how microphones connect to your Android phone. The primary methods involve the headphone jack, the USB-C port, or sometimes via Bluetooth.
1. TRRS Headphone Jack (3.5mm)
Many older Android phones, and some newer ones, still feature a 3.5mm headphone jack. This jack typically supports TRRS (Tip-Ring-Ring-Sleeve) connections. A TRRS plug has four conductive sections, allowing for stereo audio output and mono audio input (microphone).
- Tip (T): Left audio channel
- Ring 1 (R1): Right audio channel
- Ring 2 (R2): Ground
- Sleeve (S): Microphone
Most microphones designed for smartphones will use a TRRS connector to plug directly into this port. If you have a microphone with a standard TRS (Tip-Ring-Sleeve) connector (which has three conductive sections, for stereo output only or mono microphone only), you might need an adapter to convert it to TRRS for compatibility with your phone’s mic input. Adapters like Rode’s SC4 are specifically designed for this purpose.
2. USB-C Port
The USB-C port is the modern standard for data and power transfer, and it’s also a common way to connect microphones to Android devices, especially newer ones that may lack a headphone jack. There are two main types of USB-C microphones:
- Analog Microphones via USB-C Adapter: Similar to the 3.5mm jack, some USB-C microphones or adapters convert an analog audio signal (from a TRS mic) into a digital signal that your phone can understand.
- Digital USB Microphones: These microphones have their own Digital-to-Analog Converter (DAC) and connect directly to your phone’s USB-C port. They transfer pure digital audio, often resulting in higher quality and lower noise.
For digital USB microphones, your Android phone needs to support USB Audio Class functionality. Most modern Android phones do, but it’s always a good idea to check your phone’s specifications if you encounter connection issues. You might need a USB-C OTG (On-The-Go) adapter if your microphone has a standard USB-A connector.
3. Bluetooth Microphones
Bluetooth offers a wireless solution, providing freedom of movement. These microphones pair directly to your phone’s Bluetooth receiver. While convenient, Bluetooth can sometimes introduce a slight delay (latency), which might be noticeable in video recording or gaming. Audio quality can also be compressed compared to wired connections, though newer Bluetooth codecs are improving this. They are ideal for situations where you need to be mobile and don’t require absolute pristine studio quality.
Essential Microphone Types for Android
Choosing the right microphone depends on your primary use case. Here are some popular types:
- Lavalier (Lapel) Microphones: These tiny microphones clip onto your clothing, typically near your collar. They are excellent for capturing clear vocals with minimal background noise, making them perfect for interviews, presentations, vlogging, and public speaking.
- Shotgun Microphones: These are directional microphones designed to pick up sound from a specific direction while rejecting sound from the sides and rear. They are great for film shoots, capturing dialogue on set, or recording specific sound events in a noisy environment.
- Condenser Microphones: Generally sensitive and capable of capturing detailed sound. Many USB condenser mics are available that plug directly into your phone. They excel in quiet environments and are favored by podcasters and musicians for voice-over work.
- Wireless Microphone Systems: These consist of a transmitter (with a microphone, often lavalier) and a receiver that plugs into your phone. Ideal for freedom of movement.
Step-by-Step: Setting Up Your External Microphone

Let’s break down the physical connection and software configuration. We’ll cover the most common scenarios.
Scenario 1: Using a 3.5mm TRRS Microphone
This is the most straightforward method if your phone has a headphone jack and your mic has a TRRS plug.
- Check Your Microphone Plug: Ensure your microphone has a 3.5mm TRRS (four-pole) plug. If it’s a TRS (three-pole) plug, you’ll need an adapter like the Rode SC4.
- Plug It In: Connect the microphone’s 3.5mm plug directly into your Android phone’s headphone jack.
- Open Your Recording App: Launch the app you intend to use for recording audio (e.g., your phone’s built-in voice recorder, a video camera app, or a dedicated audio recording app like Dolby On).
- Check App Settings (If Possible): Some advanced apps allow you to select the audio input source. Look for settings like “Audio Source,” “Input Device,” or “Microphone.” If you see options like “External Mic” or “Headset Mic,” select it. If not, newer Android versions and many apps automatically detect and switch to the external microphone when plugged in.
- Test Your Audio: Record a short clip. Listen back to ensure the audio is coming from the external microphone and sounds clear. Watch for visual cues like meters in your recording app; they should show activity when you speak into the microphone.
Scenario 2: Using a USB-C Microphone (Digital or Analog Adapter)
This is common for newer phones without a headphone jack. Many USB-C microphones are designed specifically for mobile use.
- Identify Your Microphone Type: Is it a digital USB-C mic, or does it have a standard USB-A plug that requires an adapter?
- Connect the Microphone:
- Direct USB-C Mics: Plug the mic’s USB-C cable directly into your phone’s USB-C port.
- USB-A Mics: You will likely need a USB-C OTG (On-The-Go) adapter. Connect the USB-A end of your microphone cable to the OTG adapter, and then plug the USB-C end of the adapter into your phone. You can find reliable OTG adapters at most electronics stores or online retailers. These adapters allow your phone to act as a host for USB devices.
- Grant Permissions: When you plug in a USB microphone for the first time, your Android phone will likely prompt you to grant permission for the device to access audio input. You must accept this to use the microphone.
- Open Your Recording App: Launch your preferred recording application.
- Select Input Source: Similar to the 3.5mm setup, check your app’s audio settings for an option to select the external USB microphone. Android generally does a good job of automatically switching input if only one external mic is connected.
- Test Your Audio: Record a sample to confirm the external mic is active and producing clear sound without static or dropouts.
Scenario 3: Using a Bluetooth Microphone
Wireless ease of use comes with its own process.
- Turn on Your Bluetooth Microphone: Ensure the microphone is charged and powered on.
- Enable Bluetooth on Your Android Phone: Go to your phone’s Settings and turn on Bluetooth.
- Put the Microphone in Pairing Mode: This usually involves pressing and holding a specific button on the microphone. Consult your microphone’s manual for instructions.
- Pair Your Devices: On your Android phone, go to the Bluetooth settings and scan for new devices. Select your microphone from the list of available devices and tap to pair.
- Confirm Connection: Your phone should indicate that the microphone is connected.
- Open Your Recording App: Launch your audio or video recording app.
- Check Input Settings: Some apps might automatically use the Bluetooth audio input. Others may require you to select it in their settings. Be aware that for most recording apps, the phone’s internal mic might still be the default unless the app specifically supports selecting a Bluetooth mic as the recording input. Many Bluetooth mics work best for outgoing audio in calls. Specialized apps or accessories might be needed for recording.
- Test Your Audio: Perform a test recording to check the sound quality and latency.
Troubleshooting Common Microphone Issues
Even with the best setup, you might run into a hiccup. Here are some common problems and their solutions:
- No Sound Detected:
- Ensure the mic is securely plugged into the correct port.
- Check if the mic has a power switch that needs to be turned on.
- Verify your phone’s volume isn’t muted.
- Confirm you’ve granted necessary permissions (especially for USB mics).
- Try a different recording app to rule out app-specific issues.
- Test the microphone on another device if possible to confirm it’s working.
- Low Volume:
- Some apps have input gain controls. Increase these if available.
- Ensure the microphone is close enough to the sound source (your mouth).
- Check for any inline volume controls on the microphone cable.
- Static or Hum:
- Loose connections can cause static. Re-seat the microphone plug.
- Interference from other electrical devices can cause hum. Move away from power sources or Wi-Fi routers.
- Using a high-quality cable or an adapter designed to reduce interference can help.
- Digital USB microphones generally have better noise rejection than analog ones.
- Phone Doesn’t Recognize the Mic:
- Ensure your phone supports USB audio input (most modern ones do).
- Try a different USB-C OTG adapter if you’re using one.
- Restart your phone after connecting the microphone.
- Check if a firmware update for your phone is available.
Essential Accessories for Android Microphone Setup
To enhance your mobile recording experience, consider these helpful accessories:
| Accessory | Purpose | Use Case Examples |
|---|---|---|
| USB-C OTG Adapter | Connects standard USB-A microphones or devices to your phone’s USB-C port. | Using a USB shotgun mic for video recording; connecting a USB audio interface. |
| 3.5mm TRRS to TRS Adapter (e.g., Rode SC4) | Allows you to connect microphones with a TRS plug (designed for cameras or computers) to your phone’s TRRS jack. | Using a professional shotgun mic with your smartphone. |
| Smartphone Tripod Mount | Securely holds your phone, allowing for stable recording and better mic placement. | Vlogging, interviews, tutorials where the phone needs to be stationary. |
| Windscreen/Pop Filter | Reduces wind noise when recording outdoors and plosive sounds (‘p’, ‘b’) when speaking up close. | Outdoor interviews, close-up vocal recording. |
| External Battery Pack | Keeps your phone charged during long recording sessions, especially when using power-hungry USB mics. | Extended video shoots, long podcasts. |
For a deeper dive into audio hardware, resources like the International Telecommunication Union (ITU) provide standards and information regarding audio signal transmission, which underlies many microphone technologies.
Choosing the Right App for Your Microphone
While your phone’s built-in recorder is a start, dedicated apps offer more control and better audio quality.
- Dolby On: (Free) Excellent for reducing noise, improving clarity, and even applying EQ. It automatically detects connected microphones and optimizes your recordings.
- WaveEditor for Android: (Free with in-app purchases) Offers multi-track editing, effects, and good control over recordings.
- Easy Voice Recorder: (Free with paid Pro version) Simple to use, with options for different recording qualities and input sources.
- FilmoraGo / Kinemaster (Video Editors): If you’re recording video, these apps often allow you to select external audio sources and provide audio editing tools within the video editing workflow.
When using these apps, always check their settings. Look for options related to “Audio Input,” “Microphone Source,” or “Recording Format.” Selecting the correct input source is crucial for ensuring your external microphone is utilized.
Maximizing Your Microphone Setup
Beyond just plugging in, here are some tips for getting the absolute best sound:
- Mic Placement is Key: For voiceovers and speech, position the microphone 4-8 inches (10-20 cm) from your mouth. For interviews, one mic can often be shared if placed centrally between speakers, or use two mics for individual clarity.
- Control Your Environment: Record in the quietest space possible. Soft furnishings like carpets, curtains, and even a blanket can help absorb echoes and reduce room reverb.
- Monitor Your Audio: If your setup allows, plug headphones into your phone (if it has a jack) or a headphone output on your microphone/interface. Listening as you record helps you catch problems like clipping, background noise, or poor mic placement immediately.
- Experiment with Gain: Gain controls how sensitive your microphone is. Set it high enough to capture your voice clearly without the audio levels peaking into distortion (clipping). Most apps will show audio levels; aim for peaks around -6dB to -12dB for clean digital audio.
- Understand Polar Patterns: If you’re using a more advanced microphone, learn about its polar pattern (e.g., cardioid, omnidirectional). A cardioid pattern picks up sound from the front, making it ideal for isolating your voice.
Understanding audio levels is fundamental. Technologies and best practices, like those discussed in NTIA’s guidelines for digital audio, emphasize healthy signal levels to avoid distortion and maximize clarity.
Frequently Asked Questions (FAQ)
Q1: Can I use any microphone with my Android phone?
A1: Not all microphones are directly compatible. Microphones must be designed for smartphone use (often with TRRS plugs or USB-C/Bluetooth connectivity) or require adapters. Ensure your phone supports USB audio if using a USB microphone.
Q2: How do I know if my Android supports external microphones?
A2: Most modern Android phones support external microphones via their 3.5mm headphone jack (if present) or USB-C port (if the phone supports USB Audio Class). If your phone lacks a headphone jack, a USB-C microphone or adapter is your main option.
.lwrp.link-whisper-related-posts{
margin-top: 40px;
margin-bottom: 30px;
}
.lwrp .lwrp-title{
}.lwrp .lwrp-description{
}
.lwrp .lwrp-list-container{
}
.lwrp .lwrp-list-multi-container{
display: flex;
}
.lwrp .lwrp-list-double{
width: 48%;
}
.lwrp .lwrp-list-triple{
width: 32%;
}
.lwrp .lwrp-list-row-container{
display: flex;
justify-content: space-between;
}
.lwrp .lwrp-list-row-container .lwrp-list-item{
width: calc(25% – 20px);
}
.lwrp .lwrp-list-item:not(.lwrp-no-posts-message-item){
max-width: 150px;
}
.lwrp .lwrp-list-item img{
max-width: 100%;
height: auto;
object-fit: cover;
aspect-ratio: 1 / 1;
}
.lwrp .lwrp-list-item.lwrp-empty-list-item{
background: initial !important;
}
.lwrp .lwrp-list-item .lwrp-list-link .lwrp-list-link-title-text,
.lwrp .lwrp-list-item .lwrp-list-no-posts-message{
}@media screen and (max-width: 480px) {
.lwrp.link-whisper-related-posts{
}
.lwrp .lwrp-title{
}.lwrp .lwrp-description{
}
.lwrp .lwrp-list-multi-container{
flex-direction: column;
}
.lwrp .lwrp-list-multi-container ul.lwrp-list{
margin-top: 0px;
margin-bottom: 0px;
padding-top: 0px;
padding-bottom: 0px;
}
.lwrp .lwrp-list-double,
.lwrp .lwrp-list-triple{
width: 100%;
}
.lwrp .lwrp-list-row-container{
justify-content: initial;
flex-direction: column;
}
.lwrp .lwrp-list-row-container .lwrp-list-item{
width: 100%;
}
.lwrp .lwrp-list-item:not(.lwrp-no-posts-message-item){
max-width: initial;
}
.lwrp .lwrp-list-item .lwrp-list-link .lwrp-list-link-title-text,
.lwrp .lwrp-list-item .lwrp-list-no-posts-message{
};
}
Related Posts
- Top Picks: Best Tv For Sports Viewing & Streaming 2023
- Top Apps for Creative Speaker Stand Ideas!

How To Set Up And Customize Your Smart Tv For The Best Viewing Experience- Top Streaming TV Apps UHD: Essential Viewing
- 4K Tv Vs Full Hd Streaming: Which Is Worth It?
- Top Tv Brands Ranked 2025: Best Picks For You!

Connecting Crosley Record Player To Speakers – How To Do It?
10 Best Audiophile Headphones For Gaming Of 2024 [ Review & Buying Guide]

