Quick Summary:
You can significantly boost your audio quality on both Android and iPhone 15 devices with the right external microphone. From USB-C mics for newer iPhones and Androids to wireless lavalier mics, choosing the correct accessory unlocks clearer recordings for calls, content creation, and more. This guide simplifies that choice, ensuring you get the best sound without the fuss.
Ever felt like your phone’s built-in microphone just doesn’t cut it? You’re not alone! Whether you’re on an important video call, trying to record a podcast on your Android, or capturing a special moment with your new iPhone 15, that tinny, distant sound can be frustrating. The good news is, you don’t need a professional studio to get amazing audio. Your smartphone is already a powerful recording device, and with a simple external microphone, you can unlock its true potential. Stick around, and we’ll help you find the perfect mic to give your Android and iPhone 15 audio an essential boost, making everything sound clear, crisp, and professional.
Why Your Phone’s Microphone Isn’t Always Enough

Let’s be real: smartphone microphones have come a long way. They’re great for everyday tasks like quick voice memos or casual phone calls. However, they have their limits. These tiny mics are designed for versatility and portability, not for capturing nuanced audio. They often pick up a lot of background noise, struggle with voice clarity in noisy environments, and lack the rich depth you hear in professionally produced audio. Think about it – wouldn’t you want your important business calls to be crystal clear? Or your YouTube videos to sound as good as they look? That’s where an external microphone for your Android or iPhone 15 comes in handy.
The primary reason to upgrade is to overcome the inherent limitations of built-in microphones. These limitations include:
- Omnidirectional Pickup: Most built-in mics pick up sound from all directions, meaning they capture not just your voice but also ambient noise like chatter, traffic, or HVAC systems.
- Limited Frequency Response: They often don’t capture the full range of human voice frequencies, leading to a sound that can be thin or muffled.
- Proximity Effect Issues: Holding your phone too close or too far can dramatically change the sound quality in unpredictable ways.
- Durability and Placement: They are not designed for optimal placement for recording, and repeated use can lead to wear and tear.
By using an external microphone, you can direct the sound capture, reduce background noise, and achieve a much fuller, clearer sound profile. This is especially important for content creators, remote workers, and anyone who values clear communication.
Choosing the Right Microphone: Android vs. iPhone 15 Considerations

The biggest factor when choosing a microphone for your Android or iPhone 15 is the port you’ll use to connect it. Historically, iPhones used the Lightning port, while most Android phones have used USB-C. However, the iPhone 15 series has officially transitioned to USB-C, making things much simpler!
The USB-C Advantage for iPhone 15 and Android
With the iPhone 15 now using USB-C, a vast array of microphones designed for Android phones will work seamlessly with your new iPhone. This is a huge win for compatibility and choice. USB-C microphones are a popular choice for their:
- Direct Connection: No adapters needed. Just plug it in and go.
- Digital Audio: They transmit a clean digital signal directly to your phone, bypassing the phone’s internal analog-to-digital converter for potentially better quality.
- Power Efficiency: Many USB-C mics draw power directly from the phone, so they don’t need their own batteries.
- Versatility: They can often be used with computers and other USB-C devices as well.
When looking for a USB-C microphone, ensure it explicitly states compatibility with iOS and Android, or specifically with USB-C devices. reputable brands often provide clear compatibility lists on their product pages.
Other Connection Types to Know
While USB-C is the future, you might still encounter or have existing microphones that use other connections:
- 3.5mm TRRS Jack: Many older Android phones and some budget Android devices still feature a headphone jack, which can also accept microphone input. iPhones had this until the iPhone 7. If you have an older Android or an accessory with a 3.5mm plug, this is an option. Wireless systems also often have a 3.5mm receiver.
- Lightning Connector: Older iPhones (iPhone 14 and earlier) use the Lightning port. If you’re buying for an older iPhone, you’ll need a Lightning-specific microphone or adapter. However, with the iPhone 15, this is less of a concern for new purchases.
- Wireless (Bluetooth/RF): These don’t connect directly via a port. Instead, they use radio frequencies or Bluetooth to transmit audio to a receiver that plugs into your phone (or sometimes directly to your phone via Bluetooth, though this is less common for dedicated mics).
Types of Microphones for Your Phone

Beyond connection types, the physical form factor and intended use of the microphone also matter. Here are the most common types you’ll encounter:
1. Lavalier (Lapel) Microphones
These small clip-on microphones are perfect for voice recording when you need to move around. They capture your voice clearly and are discreet.
- Wired Lav Mics: These connect directly to your phone via USB-C, Lightning, or 3.5mm. They are generally the most budget-friendly and don’t require batteries.
- Wireless Lav Mics: These consist of a transmitter (with the mic you wear) and a receiver that plugs into your phone. They offer freedom of movement and are ideal for interviews, vlogging, or presentations.
Pros: Great for capturing voice clearly, reduces background noise when placed correctly, hands-free, portable.
Cons: Wired versions can be restrictive with movement, wireless versions can be more expensive and require charging.
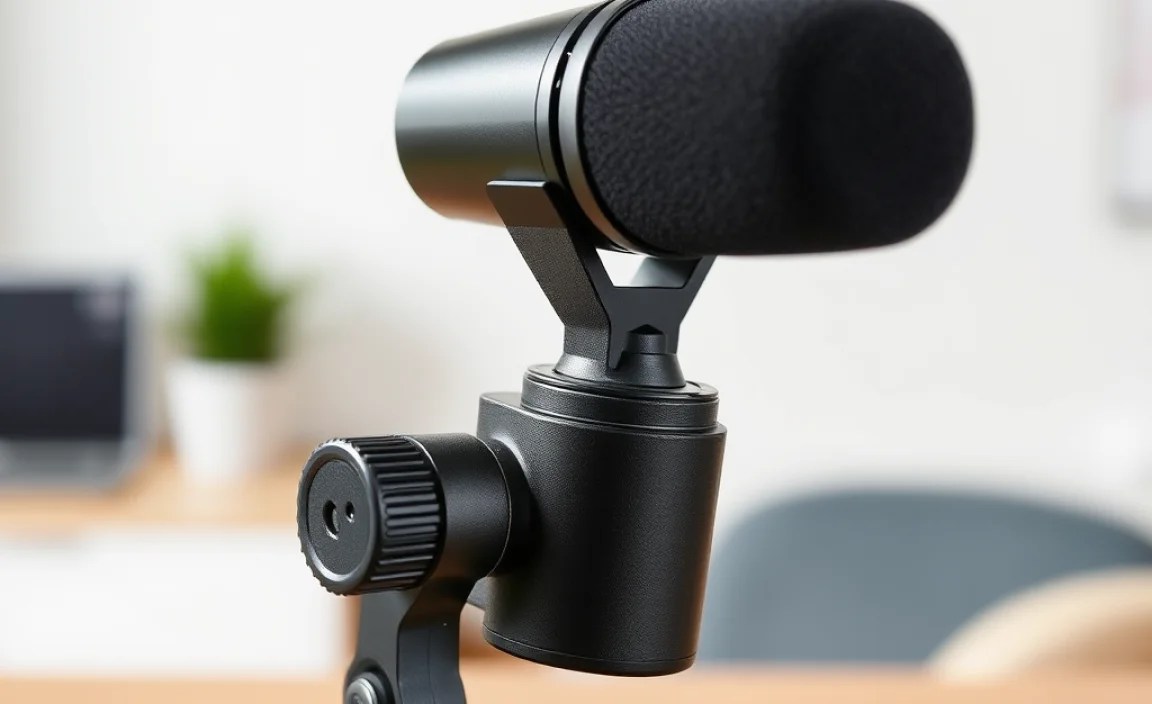
2. Shotgun Microphones
These directional microphones are designed to pick up sound from a specific direction while rejecting sound from the sides and rear. They’re great for isolating a voice or sound source.
- Mounting: Often designed to clip onto your phone or a small tripod. They typically connect via USB-C or 3.5mm.
- Use Cases: Good for focused recording, interviews where the mic can be pointed directly at the speaker, or when you need to minimize ambient noise.
Pros: Highly directional, excellent for isolating sound, can reduce background noise significantly.
Cons: Requires careful aiming, can be more sensitive to wind noise if used outdoors without a windscreen, might require larger external power.
3. Handheld/Podcasting Microphones (with phone adapters)
While often thought of as desktop mics, some smaller, versatile microphones (like USB dynamic mics) can be adapted for phone use, especially for more stationary podcasting or voiceover work. These usually connect via USB-C.
- Connection: Via USB-C, often requiring a USB-C hub or adapter if your phone has limited ports or if the mic draws significant power.
- Best For: Static recording situations where ultimate voice clarity for spoken word is the priority.
Pros: Excellent voice clarity, often robust build quality, good for consistent sound.
Cons: Less portable, can be bulky for on-the-go use, may require external power or a powered USB hub.
4. Mini / Plug-in Microphones
These are compact microphones, often omnidirectional or cardioid, that plug directly into your phone’s USB-C port. They are a simple, affordable upgrade.
- Design: Small, lightweight, and easy to carry.
- Use Cases: Ideal for improving call quality, basic voiceovers, or informal video recording.
Pros: Very portable, easy to use, affordable.
Cons: Sound quality can vary, might still pick up some ambient noise depending on the pickup pattern.
Key Features to Look For
When you’re sifting through the options, keep these features in mind to ensure you get the best “microphone for Android for iPhone 15” experience:
- Polar Pattern: This describes where the microphone picks up sound best.
- Cardioid: Picks up sound from the front, rejects from the sides and back. Great for single speakers and reducing background noise.
- Omnidirectional: Picks up sound equally from all directions. Good for capturing room ambiance or multiple speakers in a small area, but generally not ideal for isolating a single voice.
- Bidirectional (Figure-8): Picks up from the front and back, rejects from the sides. Useful for interviews with two people facing each other.
- Connectivity: As discussed, USB-C is king for iPhone 15 and Android. Ensure it’s the correct type for your device.
- Power Source: Does it run off your phone’s battery? Does it need its own batteries? Or does it have a USB-C power passthrough?
- Durability and Build Quality: How well is it made? Will it survive being tossed in a bag?
- Accessories: Does it come with a windscreen (for wind noise), a mount, or a carrying case?
- Price: Microphones range from $20 to $300+. Set a budget based on your needs.
Top Microphone Recommendations (Beginner-Friendly Examples)
Here are a few examples of microphones that are generally well-regarded and suitable for beginners looking to enhance their audio on an iPhone 15 or Android device. Prices can vary, so always check current listings.
| Microphone Type | Example Model | Connection | Best For | Approx. Price Range |
|---|---|---|---|---|
| Lavalier (Wireless) | Rode Wireless GO II (with USB-C adapter) or DJI Mic (with USB-C receiver) | USB-C (receiver) | Vlogging, interviews, presentations, freedom of movement | $200 – $350 |
| Lavalier (Wired) | Boya BY-M1 (with TRRS adapter for older Androids, or USB-C model) | 3.5mm TRRS or USB-C | Improved calls, basic voiceovers, beginner vlogging | $20 – $40 |
| Mini Shotgun (USB-C) | Rode VideoMicro II (with USB-C output option) or Sennheiser MKE 200 (with USB-C option) | USB-C | Better mobile video audio, interviews, crisp voice recording | $70 – $150 |
| Compact USB-C Mic | Shure MV88+ Video Kit (often includes phone mount and USB-C cable) | USB-C | High-quality mobile recording, podcasts, interviews | $150 – $250 |
Note: Always check the product specifications for the exact connector type and compatibility with your specific smartphone model. Wireless systems may require a receiver that plugs into your phone’s USB-C port.
Setting Up Your New Microphone
Getting your new microphone working is usually straightforward, especially with plug-and-play USB-C mics. Here’s a general guide:
For USB-C Microphones:
- Connect: Plug the USB-C end of the microphone directly into the USB-C port on your Android phone or iPhone 15.
- Permission: Your phone should automatically recognize the external microphone. You might get a prompt asking for permission for the app you’re using (like the camera app or a voice recorder app) to access the microphone. Grant permission.
- Select Input (if needed): In some apps, you might need to manually select the external microphone as the audio input source. Look for settings within the app. For example, in the native Camera app on iOS, there isn’t always an obvious selection, but it usually defaults to the external mic. For more advanced control, apps like Filmic Pro (iOS) or Voice Recorder Pro (Android) offer input selection.
- Test: Open your preferred recording app (voice recorder, camera, etc.), do a short test recording, and play it back to ensure the audio is coming from the external mic and sounds clear.
For 3.5mm Microphones (with built-in headphone jack/adapter):
- Connect: If using a 3.5mm mic, plug it into the phone’s headphone jack. If your phone doesn’t have one, you’ll need a USB-C to 3.5mm adapter. Plug the adapter into your phone, then plug the microphone into the adapter.
- Permission & Selection: Similar to USB-C, your phone should recognize the mic. Some apps might require you to select the input. Always test!
For Wireless Microphones:
- Pair/Turn On: Follow the manufacturer’s instructions to turn on and pair the transmitter (with mic) and receiver. This usually involves pressing buttons on both units.
- Connect Receiver: Plug the wireless receiver into your phone’s USB-C port (or Lightning for older iPhones).
- App Access: Ensure your recording app has access to the microphone.
- Placement: Position the transmitter’s microphone about 6-10 inches from the speaker’s mouth for optimal sound.
- Test: Perform a test recording and check battery levels on both the transmitter and receiver.
A good resource for understanding audio input on mobile devices is Apple’s official guide on recording audio with an iPhone, which can help you explore app settings.
Tips for Better Mobile Audio Recording
Even with a great microphone, a few simple techniques can make a world of difference:
- Minimize Background Noise: Record in the quietest environment possible. Turn off fans, air conditioners, and anything that makes a constant hum.
- Mic Placement is Key: For lavalier mics, clip them to your shirt about 6-10 inches from your mouth. For shotgun mics, point them directly at the sound source.
- Use a Windscreen: Even a gentle voice can create plosive sounds (‘P’ and ‘B’ sounds that pop). A foam windscreen or a furry “deadcat” cover can significantly reduce these and wind noise.
- Monitor Your Audio: If possible, wear headphones while recording to listen for any issues, such as clipping, distortion, or unwanted noise. Many microphones have a headphone jack for monitoring.
- Check Levels: Most recording apps allow you to adjust input gain (volume). Aim for a strong signal without it peaking and distorting (usually shown by red bars on a meter).
- Record a Clapper: For video, clapping your hands loudly at the beginning of the recording helps synchronize audio and video in editing. The sharp sound gives editors a clear spike to align.
| Recording Scenario | Recommended Microphone Type | Key Considerations |
|---|---|---|
| Improving Phone Calls | Compact USB-C Mic or Wired Lavalier | Directional pickup to reduce background, easy to use. |
| Vlogging/YouTube Videos | Wireless Lavalier or Shotgun Mic | Freedom of movement, clear voice isolation, directional capture. |
| Podcasting/Voiceovers (on the go) | Compact USB-C Podcasting Mic | Excellent voice clarity, minimal background noise, durable. |
| Interviews (one-on-one) | Wireless Lavalier (one per person) or Bidirectional USB-C Mic | Clear capture of both voices without room echo. |
Frequently Asked Questions (FAQ)
Q1: Do I really need an external microphone for my iPhone 15 or Android?
For everyday calls, the built-in mic is usually fine. However, if you’re creating content, attending important meetings, or want professional-sounding audio, an external microphone is a highly recommended upgrade for significantly better clarity and reduced background noise.
Related Posts

Best Subwoofer For 2 Channel Stereo Of 2022 [Reviews & Guide]- Best TV for PS5 Gaming: Proven Guide
- Top Mic For Iphone For Classrooms: Enhancing Learning!

Microphone for Zoom for Android Phone: Top Picks!

- Home Theater Speaker System: Ultimate Guide Explained
- Android TV vs Google TV Mounting: Essential Guide
- Uncover The Best Tv Deals: Amazon Setup Made Easy!
Microphone for TikTok: Elevate Your Video Sound!