
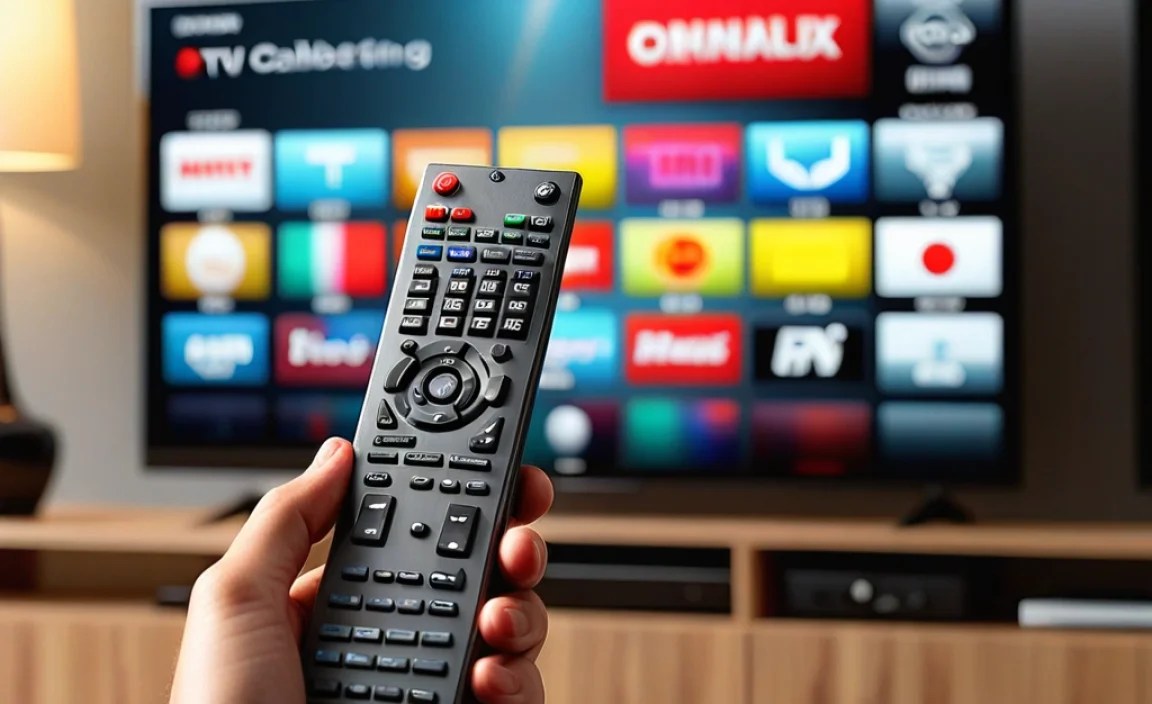
Calibrate your TV settings with your remote control for a vibrant, accurate picture. Adjust brightness, contrast, color, and sharpness using your remote’s picture menu to unlock your TV’s full visual potential. It’s simpler than you think and makes a huge difference!
Are you tired of your TV picture looking a bit off – maybe too dark, colors washing out, or details looking fuzzy? You’re not alone! Many of us have brought home a new TV only to find the out-of-the-box settings aren’t quite right for our living room. The good news is, with just your TV’s remote control, you can make significant improvements and get a picture that truly pops. This guide will walk you through calibrating your TV settings step-by-step, making it easy for anyone to achieve a stunning image. Let’s dive in and unlock the best your TV can offer!
Why Calibrate Your TV Settings?
When you unbox a new TV, it’s usually set to a “standard,” “vivid,” or “shop” mode. These modes are designed to look impressive in a brightly lit store, but they often lead to an unnatural and inaccurate picture at home.
Vivid Mode: Over-saturates colors and can crush detail, making everything look artificial.
Standard/Normal Mode: A compromise, but often still not optimized for your specific viewing environment.
Shop/Demo Mode: Guarantees an overly bright and colorful picture, which is terrible for home viewing and can even burn in images over time.
Calibrating your TV means adjusting these settings to match your room’s lighting and your personal preferences, ensuring you see movies, shows, and games exactly as the creators intended. A well-calibrated TV offers:
Accurate colors that aren’t too blue or too yellow.
Proper contrast, so blacks are truly black and whites are bright without losing detail.
Sharpness that defines edges without creating artificial halos.
A more immersive and enjoyable viewing experience.
Best of all, you don’t need expensive tools or a professional technician. Your TV’s remote control is all you need to make these crucial adjustments.
What You’ll Need: Your TV Remote and a Little Patience

Before we start, let’s make sure you have the essentials.
Your TV Remote Control: This is your primary tool. Familiarize yourself with the buttons, especially the “Menu,” “Settings,” “Picture,” or “Input” buttons.
A Familiar Piece of Content: Pick a Blu-ray disc, 4K HDR movie, or a favorite TV show that you know well. Something with a good mix of dark and bright scenes, vibrant colors, and fine details is ideal.
Your Viewing Environment: Calibrate your TV with the lights on if you usually watch TV with the lights on, and with the lights off if that’s your typical setting. This is crucial because room lighting dramatically affects how you perceive the picture.
Step-by-Step Guide to Calibrating Your TV Settings with Your Remote
Most TV menus are fairly similar, even across different brands. The key is to find the “Picture” or “Display” settings.
Step 1: Access the Picture Settings Menu
1. Turn on your TV and the device playing your chosen content.
2. Press the “Menu,” “Settings,” or the gear icon button on your remote.
3. Navigate to the “Picture,” “Display,” or “Image” settings section. You might need to press the “Down” arrow on your remote to find it.
4. Select the “Picture Mode” or “Image Preset” option.
Step 2: Choose the Right Picture Mode (The Foundation)
This is the most important initial step. Avoid “Vivid,” “Dynamic,” or “Shop” modes. Instead, look for:
“Movie,” “Cinema,” “Filmmaker Mode,” “ISF Expert,” or “Calibrated.” These modes are designed to be closest to the industry standards for video production and offer a much more natural starting point.
If none of these are available, “Standard” or “Normal” is your next best bet, but we’ll fine-tune it from there.
Step 3: Adjust Basic Settings with Your Remote
Once you’ve selected your ideal picture mode, it’s time to tweak the core settings. You’ll be making adjustments based on what you see on the screen, referencing your familiar content.
3.1. Brightness (Black Level)
What it does: Controls the depth of black. Too high, and blacks look gray; too low, and you lose detail in dark scenes.
How to adjust:
1. Find the “Brightness” setting in your Picture menu.
2. Play a scene with very dark areas, like a night sky or a dark room interiors.
3. Slowly increase the Brightness setting until you can just start to discern subtle details in the darkest parts of the image.
4. Then, slightly decrease it until those blacks look deep and inky again, without losing the shadow detail you just found.
5. If you go too far, you’ll see “crushed blacks” where all detail in dark areas disappears.
Example of Brightness Adjustment
| Setting | Effect | What to Look For |
| Too Low | Blacks are too dark, lost shadow detail. | Black areas become solid black blobs, no detail visible. |
| Just Right| Blacks are deep and true, with visible detail. | You can see texture in dark clothing or faint stars in a night sky. |
| Too High | Blacks appear grayish, picture looks washed out. | Shadows lose their depth and look like dark gray instead of black. |
3.2. Contrast (White Level)
What it does: Controls the brightest parts of the image. Too high, and whites become blown out, losing detail; too low, and the picture looks dull.
How to adjust:
1. Locate the “Contrast” setting.
2. Play a scene with bright elements, like a sunny landscape or a brightly lit room.
3. Increase the Contrast setting until you see bright objects starting to lose their detail (e.g., clouds becoming pure white blobs).
4. Slightly decrease the Contrast until those bright areas retain some texture and detail.
5. The goal is to achieve bright whites without “clipping” – where detail is lost.
3.3. Color (Saturation)
What it does: Controls the intensity of all colors. Too high, and colors look unnatural and garish; too low, and they appear faded.
How to adjust:
1. Find the “Color” or “Saturation” setting.
2. Look at objects with known, natural colors, such as skin tones, green grass, or blue skies.
3. Adjust the Color slider until these colors look natural and realistic. Skin tones are a great indicator – they shouldn’t be too orange or too pale.
4. Avoid making colors overly vibrant. It’s better to err on the side of slightly less saturated than wildly over-saturated.
3.4. Tint (Hue)
What it does: Adjusts the balance between green and red in the image. This is often less critical for most viewers but can be adjusted if skin tones look too green or too magenta.
How to adjust:
1. Find the “Tint” or “Hue” setting.
2. Focus on skin tones in your content.
3. Make very small adjustments to shift the balance until skin tones look as natural as possible. Most of the time, the default setting is fine here.
3.5. Sharpness
What it does: Enhances edge definition. Too much sharpness creates artificial-looking bright outlines around objects, known as “halos.” Too little makes the image appear soft or blurry.
How to adjust:
1. Locate the “Sharpness” setting.
2. Look for fine details, like text in a news ticker or the texture on clothing.
3. Increase the sharpness slightly until details become clearer.
4. Stop increasing as soon as you see those artificial white edges or halos around objects. Many experts recommend setting sharpness to a low value or even zero, as modern TVs already process detail very well.
Step 4: Fine-Tune Advanced Settings (Optional but Recommended)
These settings offer more control but can sometimes do more harm than good if overused. Tread carefully!
Backlight/OLED Light: This controls the overall light output of the screen.
For LCD/LED TVs: This is the “Backlight” or “LED Backlight.” Adjust it to suit your room’s lighting. Lower for dark rooms, higher for bright rooms. It impacts power consumption and lifespan too.
For OLED TVs: This is often called “OLED Light” or “Pixel Brightness.” It directly impacts how bright the pixels are. Lower it for dark rooms to prevent eye strain and prolong panel life, and increase it cautiously for bright rooms.
How to adjust: Set this based on your room’s ambient light. You want a comfortable viewing experience without the screen being too dim or too glaring.
Tip: If your TV supports HDR (High Dynamic Range), you might have separate backlight settings for SDR and HDR content. You’ll want to calibrate both!
Color Temperature/White Balance: This affects the color of white. Defaults are often too “cool” (bluish). “Warm” is usually more accurate.
How to adjust: Look for “Warm,” “Warm1,” or “Warm2.” “Warm” settings are generally preferred for accuracy, as they aim to replicate the D65 (6500K) industry standard. If your TV has finer controls, you might see Reds, Greens, and Blues adjustments, but this is where things get more technical and often require calibration patterns. For remote control calibration, sticking to the presets is best.
Motion Smoothing (Motion Interpolation): This feature attempts to make motion look smoother by inserting extra frames. It can introduce an unnatural “soap opera effect” (SOE) or artifacts.
How to adjust: Most people prefer to turn this off for movies and dramas. Gamers might want it on for faster-paced games. Look for settings like “Motionflow,” “TruMotion,” “Auto Motion Plus,” or “Clear Action.” Setting it to “Off,” “Low,” or a custom setting that minimizes artifacts is often ideal. For some, a slight amount can look good if it doesn’t create too much of a SOE.
Dynamic Contrast/Black Enhancers: These settings automatically adjust contrast and black levels on the fly. They can often crush detail or cause distracting shifts in brightness.
How to adjust: Generally, it’s best to turn these off for the most natural and consistent picture.
Noise Reduction (DNR, MPEG NR): These settings try to clean up picture “noise,” which is more common in lower-quality sources.
How to adjust: If you watch a lot of low-resolution content (like older DVDs or fuzzy cable channels), you might benefit from a low setting. For HD and 4K content, turn these off, as they can soften the image.
Step 5: Test with Different Content
Once you’ve made your initial adjustments, switch between different types of content:
Movies/TV Shows: Check for natural colors, good blacks, and clear detail.
Sports: See how motion handling looks.
Video Games: Ensure minimal lag and sharp images.
Go back and tweak settings as needed. Remember, calibration is personal. What looks perfect to one person might not be ideal for another, especially concerning brightness and color intensity.
Using Calibration Patterns (For the Adventurous)
While we’re focusing on remote control settings, if you ever want to advance, there are specific calibration patterns you can display on your TV. These digital test images help you fine-tune settings like Brightness, Contrast, and Color to an even greater degree. You can access these through:
Streaming Services: Some services offer built-in calibration patterns.
YouTube: Search for “TV calibration patterns” or “HD calibration patterns.” Be cautious of which ones you use; look for reputable sources.
Dedicated Calibration Discs: Blu-ray discs like the Spears & Munsil UHD Benchmark or Digital Video Essentials offer comprehensive test patterns.
These patterns provide precise visual cues for settings like black level floors and white clipping points that are harder to judge with regular content alone. For instance, a black level pattern would show a series of gray bars gradually getting darker. You’d adjust brightness until you can just barely distinguish the darkest few bars.
Understanding Different TV Technologies and Settings
While the basic principles are the same, some settings might be named differently or behave slightly differently on various TV technologies.
LED/LCD TVs:
Backlight: Crucial for overall brightness.
Local Dimming: If your TV has this, it can improve contrast by dimming zones of the backlight. It might have different levels (Low, Medium, High). Experiment to see what looks best without creating “blooming” (light haloing around bright objects).
OLED TVs:
OLED Light/Pixel Brightness: Control the actual light output of pixels.
Color Depth/Deep Color: Usually best left on Auto or On for enhanced color.
Motion Handling: OLEDs have near-instantaneous pixel response times, so motion blur is minimal, but judder (choppiness) can still occur.
QLED TVs: These are a type of LED TV with Quantum Dots, offering enhanced color and brightness. Settings are similar to standard LED TVs.
Common Pitfalls to Avoid
Over-sharpening: Creating those ugly white outlines around objects.
Crushing Blacks: Losing detail in dark scenes by setting brightness too high.
Clipping Whites: Losing detail in bright scenes by setting contrast too high.
Exaggerated Colors: Making everything look cartoonish by cranking up saturation.
“Soap Opera Effect”: Turning on motion smoothing for movies, which can make them look unnaturally fluid.
Calibrating in the Wrong Lighting: Your settings will look different in a dark room versus a bright one.
Frequently Asked Questions (FAQ)
Q1: How often should I calibrate my TV?
You don’t need to calibrate your TV constantly. A good calibration should last for months, if not years. However, it’s a good idea to re-check your settings after a few months, if you change your primary viewing habits (e.g., move from a dark room to a bright one), or if you notice the picture starting to look off. Major firmware updates can sometimes reset settings, so it’s wise to check afterward.
Q2: Can I calibrate my TV with just the remote control?
Yes! For most everyday users, using your TV’s remote to access the picture settings menu is sufficient to achieve a significant improvement. Professional calibration uses specialized equipment for ultimate precision, but the basic adjustments you can make with your remote are highly effective.
Q3: What is the best picture mode for gaming?
For gaming, you’ll typically want a mode that prioritizes low input lag and sharp visuals. Look for modes like “Game Mode” if your TV has one, or a custom “Movie” or “Cinema” mode. You might need to disable some motion processing features to reduce lag, which can make games feel more responsive.
Q4: My TV settings look different on different devices (e.g., Blu-ray player vs. streaming stick). Why?
This is normal. Different input sources can send slightly different video signals to your TV. Also, many TVs allow you to set picture modes independently for each input or even for specific apps. Ensure you’re adjusting the picture mode and settings for the input you use most often (e.g., your HDMI 1 for your Blu-ray player or streaming device).
Q5: What does “HDR” calibration involve?
High Dynamic Range (HDR) content requires different calibration than standard dynamic range (SDR) content. HDR offers a much wider range of brightness and color. Your TV likely has separate picture settings for HDR content (like Dolby Vision or HDR10). You’ll want to calibrate these settings on their own using HDR content, paying close attention to peak brightness and contrast to get the most out of HDR’s enhanced picture quality.
Conclusion: Enjoying Your Perfect Picture
There you have it! You’ve learned how to transform your TV’s picture quality using nothing more than your remote control. By understanding and adjusting settings like brightness, contrast, color, and sharpness, you’re no longer just watching TV; you’re experiencing content as it was meant to be seen.
Remember, the goal is a natural, comfortable, and accurate image that suits your viewing environment. Don’t be afraid to experiment a little within the “Movie” or “Cinema” modes until you find what looks best to your eyes. This simple process makes a world of difference, turning everyday viewing into a far more immersive and enjoyable experience. Happy watching!