
Quick Summary: Calibrating your TV settings properly enhances picture quality, bringing out vibrant colors and sharp details for a truly immersive viewing experience. This guide breaks down how to adjust brightness, contrast, color, and more, making your favorite shows and movies look their absolute best, all with simple, step-by-step instructions.
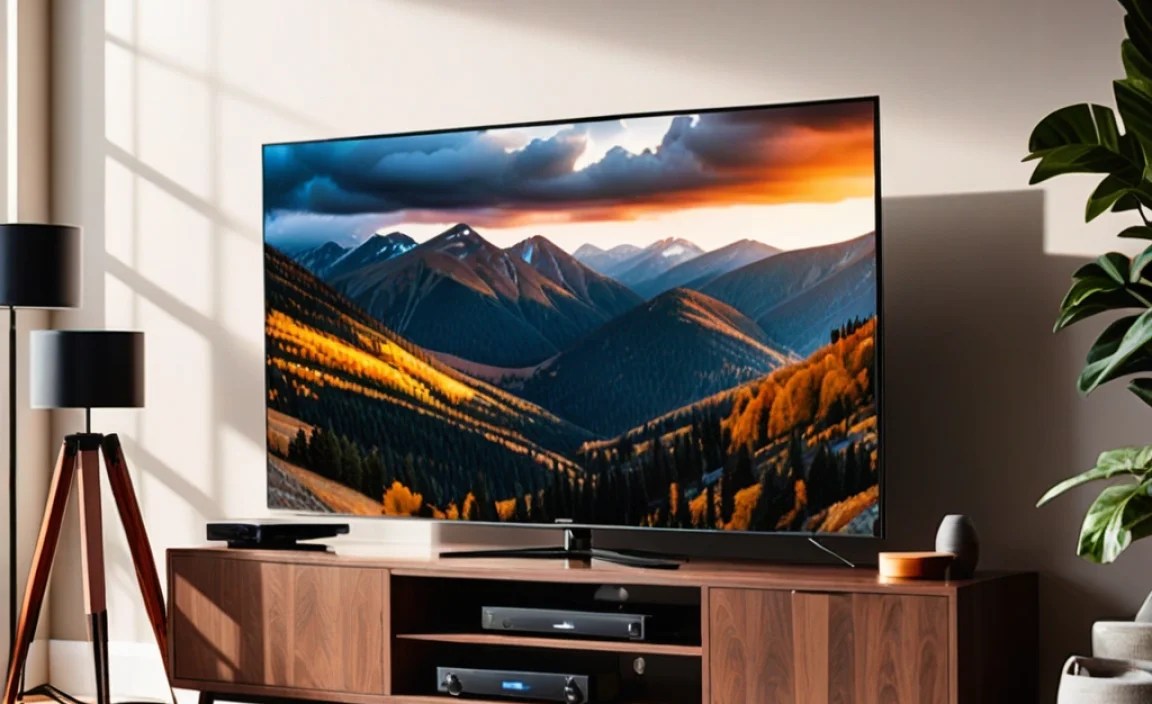
Ever feel like your TV isn’t quite showing movies or games the way they’re meant to be seen? You’re not alone! Many brand-new TVs come with factory settings that prioritize being bright and flashy on store shelves, not necessarily showing the most accurate picture in your cozy living room. This can leave colors looking washed out or overly saturated, blacks appearing gray, and details lost in shadows. But don’t worry, getting a fantastic picture is easier than you think! With a few simple adjustments, you can transform your viewing experience from “okay” to “wow!” Let’s dive into how to calibrate your TV settings and unlock its full potential.
Why Calibrate Your TV Settings?

Think of calibrating your TV like tuning a musical instrument. When an instrument is out of tune, it just doesn’t sound right. The same applies to your TV. The default settings are often a compromise, designed to look good under harsh retail lighting. In your home, these settings can lead to:
- Washed-out colors that lack vibrancy.
- Blacks that look more like dark gray, reducing contrast and depth.
- Details being lost in very dark or very bright scenes.
- Unnatural skin tones that look too red, green, or blue.
- A generally dull or over-processed image.
Proper calibration ensures you’re seeing content as the creators intended. It brings out the subtle nuances in images, makes blacks truly black, and colors pop with realism. This is especially important for discerning viewers, gamers who need to spot details quickly, and anyone who loves a cinematic experience at home.
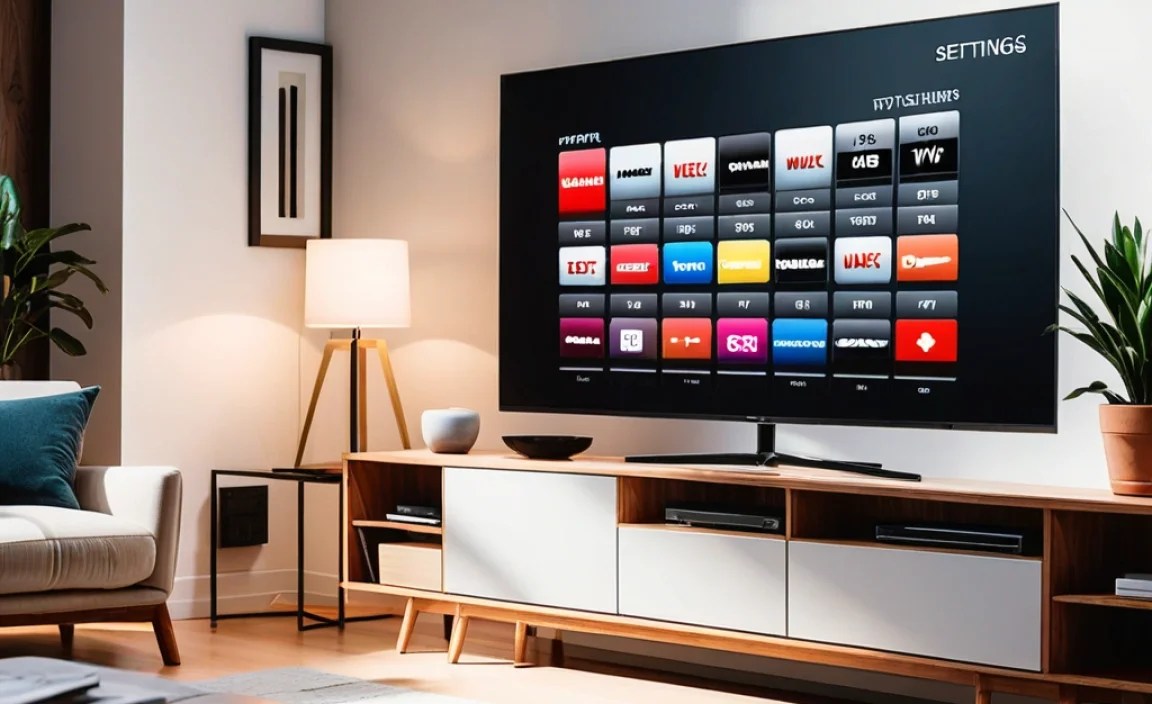
Understanding Your TV’s Picture Settings

Before we start tweaking, let’s get familiar with the most common picture settings you’ll find on your TV. Most TVs have similar controls, even if they’re named slightly differently. You’ll usually find these in a “Picture,” “Display,” or “Image” menu.
Key Picture Settings Explained:
- Brightness (or Black Level): This controls the blackest parts of the image. Setting it too high makes blacks look gray and washes out the picture. Setting it too low can crush shadow detail, making dark areas completely black with no discernible features.
- Contrast (or White Level): This adjusts the brightest parts of the image. Too high, and bright areas will lose detail and “bloom” or appear blown out. Too low, and the picture will look flat and lack punch.
- Color (or Saturation): This setting determines the intensity of the colors. Too high, and colors look unnatural and garish. Too low, and they appear dull and muted.
- Tint (or Hue): This slider adjusts the balance between green and red. Most of the time, you’ll want this set to its default or “normal” position.
- Sharpness: This setting controls edge enhancement. Too much sharpness adds an artificial halo around objects, making the image look grainy and processed. Too little can make the image look soft or blurry.
- Backlight (or OLED Light): For LED and QLED TVs, this controls the intensity of the LED backlight. Higher settings make the screen brighter overall, consuming more power and potentially reducing the lifespan of the LEDs. For OLED TVs, this is often referred to as “OLED Light” and controls the pixel brightness.
- Picture Mode (or Scene Mode): Many TVs offer presets like “Vivid,” “Standard,” “Movie,” “Game,” and “Calibrated.” “Movie” or “Cinema” modes are usually the closest to accurate out-of-home settings, but we’ll fine-tune them.
Don’t be intimidated by the list! We’ll go through each one step-by-step.
Getting Ready: What You’ll Need
To get the best results, you’ll want a few things:
- Your TV Remote: Obviously!
- Access to Your TV’s Picture Settings Menu: Consult your TV’s manual or search online if you’re unsure how to find it.
- Test Content: This is crucial. You need content that allows you to see subtle changes.
- A Dark Room: Ambient light can significantly affect how you perceive picture settings.
For test content, the easiest way is to use built-in calibration patterns if your TV has them. Many smart TVs include basic test screens. Alternatively, you can find calibration patterns and videos online. YouTube is a great resource, but ensure you’re using a reputable source. For example, many professional calibration discs and patterns are available through organizations dedicated to image quality, like the Society of Motion Picture and Television Engineers (SMPTE), although their advanced patterns might be more for professionals. A simpler approach is searching for “TV calibration patterns” or “HDMI calibration pattern” videos on YouTube that focus on black level, white level, and color.
Step-by-Step TV Calibration Guide
Let’s start calibrating! Remember, the goal is accuracy and realism, not the brightest or punchiest picture.
Step 1: Choose the Right Picture Mode
Go into your TV’s picture settings menu and look for the “Picture Mode” or “Scene” option. Select the mode that is closest to accurate. On most TVs, this will be labeled as “Movie,” “Cinema,” “Filmmaker Mode,” or “ISF Expert.” Avoid modes like “Vivid” or “Dynamic” as they distort the image the most.
Why this mode? These modes are designed by the manufacturer to adhere more closely to industry standards for broadcast and film content. They typically have lower contrast and color settings, and often turn off excessive processing that can degrade the image.
Step 2: Set the Backlight (or OLED Light)
This is perhaps the most important setting for overall picture brightness and energy consumption.
- For LED/LCD TVs:
- Turn your room lights down to a comfortable level, similar to how you’d normally watch.
- Set the Backlight. A good starting point for a typical room is between 50% and 75%.
- You’re looking for a level that makes the screen comfortable to view without being too dim or excessively bright and causing eye strain. If you watch in a very dark room, you might aim lower; in a brighter room, you might go higher.
- For OLED TVs:
- OLED Light controls the panel’s brightness. Unlike LED TVs, there’s no separate backlight to manage.
- Set OLED Light to a level that is comfortable for your viewing environment, typically between 30% and 60%. OLEDs can be very bright, and setting this too high will shorten the effective lifespan of the panel.
Important Note: The ideal backlight setting will vary depending on your room’s ambient light. It’s best to calibrate in the lighting conditions you’ll be watching in most often.
Step 3: Calibrate Brightness (Black Level)
This setting affects how the darkest parts of the image look.
- Find a test pattern that shows a range of black shades, ideally with a solid black bar and a couple of shades of gray or very dark gray bars next to it. A black screen with a white rectangle in the middle, where you can see near-black shades inside the rectangle, also works.
- Adjust the Brightness (or Black Level) setting.
- You want to set it so that the black background is as black as possible, but you can still just barely distinguish the darkest gray bars from the solid black bar. If the darkest gray bars disappear into the black, your Brightness is too low. If the black bar starts to look gray, your Brightness is too high.
What to look for: Deep, inky blacks without losing detail in very dark scenes. This is crucial for contrast and depth.
Step 4: Calibrate Contrast (White Level)
This setting affects the brightest parts of the image.
- Find a test pattern that shows a range of white shades, particularly very bright white and near-white shades. A static white bar with a few shades of light gray next to it is ideal.
- Adjust the Contrast (or White Level) setting.
- You want to set it so that the bright white areas are as bright as possible without losing detail. If you see “clipping” (where bright white areas turn into a solid, featureless white blob), turn the Contrast down slightly until you can see the subtle variations in the brightest shades again.
What to look for: Bright highlights that retain detail, making the image feel dynamic and realistic.
Step 5: Adjust Color (Saturation)
This setting controls how intense the colors are.
- Use a color test pattern that shows different primary and secondary colors (red, green, blue, yellow, magenta, cyan).
- Adjust the Color (or Saturation) setting.
- The goal is to make colors look natural and lifelike. Skin tones are often the best indicator here. If colors look too intense and artificial, turn the setting down. If they look muted and washed out, turn it up. For most content, you’ll want the colors to be rich but natural, not overly vibrant.
Tip: Most modern TVs have Color settings around 40-50 (on a scale of 0-100) in their “Movie” modes, which is often a good starting point.
Step 6: Fine-tune Tint (Hue)
This setting adjusts the balance between red and green.
- Use a test pattern that displays skin tones, or a color wheel.
- Adjust the Tint (or Hue) setting.
- Skin tones should look natural. If they appear too reddish, you might need to shift the tint towards green. If they look too green, shift towards red. For most people, the default setting (often labeled “50” or “Normal”) is correct.
Tip: Only adjust this if you notice a clear green or magenta cast to skin tones. Over-adjustment can make other colors look unnatural.
Step 7: Set Sharpness
This controls edge enhancement.
- Use a test pattern that has fine lines, grids, or text.
- Adjust the Sharpness setting.
- You want images to look sharp but natural. If you see bright halos or ringing around lines with the setting too high, it’s adding artificial detail. If the image looks soft or blurry with the setting too low, you’re losing detail.
What to look for: Clear, defined edges without any artificial glowing halos. Many recommend leaving sharpness at 0 or very low. On some TVs, a sharpness of 0 means no sharpening, and you may need to go slightly higher (e.g., 5 or 10 on a 100-point scale) to achieve a natural look.
Step 8: Advanced Settings (Optional but Recommended)
Many TVs have more advanced settings that can further refine the picture. If you’re comfortable, explore these:
- Color Temperature (or White Balance): This setting adjusts the “warmth” or “coolness” of the white point. Most people prefer a “Warm” or “Warm 2” setting, which aims for a D65 white point, standard for broadcast and film. Avoid “Cool” or “Standard.”
- Gamma: This is a complex setting related to how the TV displays mid-tones. A gamma setting of 2.2 or 2.4 is often ideal, providing good shadow detail and contrast. Some TVs have a “BT.1886” option, which is a good standard for dark rooms.
- Noise Reduction (DNR, MPEG NR): These settings are designed to reduce digital artifacts or “noise” in the image. While they can smooth out grainy pictures, they often soften detail. It’s usually best to turn these off for high-quality sources (like Blu-rays or streaming services) and only use them if you’re watching content with noticeable artifacts (like old DVDs or some low-quality broadcasts).
- Motion Smoothing (or TruMotion, MotionFlow, Auto Motion Plus, etc.): This feature interpolates frames to make motion appear smoother. While great for sports, it can create the dreaded “soap opera effect” in movies, making them look unnatural. Most enthusiasts and filmmakers prefer to turn this off for movies and TV shows. Check your TV’s manual for the setting that disables this processing most effectively.
Using Calibration Discs or Apps

While the manual adjustments above are effective, dedicated tools can make the process more precise. These often include more detailed test patterns than what might be found on YouTube.
Professional Calibration Discs: These are Blu-rays or digital files containing a suite of test patterns. Examples include:
- Spears & Munsil UHD HDR Benchmark
- Digital Video Essentials (DVE) HD Basics
These discs are invaluable for fine-tuning, offering patterns for every setting imaginable. You can rent or purchase them.
Calibration Apps: Some apps, like THX Tune-Up, can use your smartphone to help calibrate your TV. While not as precise as professional equipment, they offer a convenient and beginner-friendly way to get close to accurate settings.
Reference Links: For those interested in the technical standards, the ITU-R BT.2020 standard defines the parameters for ultra-high definition television systems, including color space and signal levels. Understanding these standards helps appreciate why calibration is important.
TV Calibration Settings Table Example
Here’s a general guideline for TV settings, but remember, every TV is different. Use these as a starting point and always fine-tune with test patterns.
| Setting | Recommended Setting (General) | Notes |
|---|---|---|
| Picture Mode | Movie, Cinema, Filmmaker, ISF Expert | Closest to accurate out-of-the-box. |
| Backlight / OLED Light | 50%-75% (LED), 30%-60% (OLED) | Adjust based on room lighting. |
| Brightness / Black Level | Adjust to just make out darkest grays | Crucial for shadow detail. |
| Contrast / White Level | Adjust to retain brightest details | Avoid clipping in bright areas. |
| Color / Saturation | Typically 40%-50% | Adjust for natural skin tones. |
| Tint / Hue | Default / 50 | Only adjust if skin tones have a clear color cast. |
| Sharpness | 0 or low (e.g., 5-10 on a 100-point scale) | Avoid artificial halos. |
| Color Temperature | Warm / Warm 2 | For natural whites. |
| Gamma | 2.2, 2.4, or BT.1886 | Depends on room light and TV implementation. |
| Noise Reduction | Off | Unless source material is very noisy. |
| Motion Interpolation | Off (for movies/shows) | Avoid “soap opera effect.” |
Calibrating for Different Content Types
While we aim for a balanced, accurate picture, you might find subtle differences depending on what you’re watching.
Movies and TV Shows
This is where accuracy is paramount. You want to see every detail and experience the intended mood. Use “Movie” or “Filmmaker” modes, and follow the steps above. Turning off motion smoothing is usually a must for that cinematic feel.
Gaming
Gamers often have slightly different priorities. While accuracy is still good, reducing input lag and ensuring vibrancy can be key. Many TVs have a dedicated “Game Mode” which significantly reduces input lag by skipping some image processing. Sometimes, you might choose a slightly higher sharpness or saturation for more “pop.” However, it’s still wise to calibrate the basic brightness.