
Unlock amazing TV audio without spending a fortune! This guide reveals the best TV sound settings for cheap, focusing on simple tweaks and understanding your TV’s built-in options to boost clarity, bass, and overall immersion. Get ready for a richer home theater experience, easily.
Best TV Sound Settings Cheap: Essential Guide

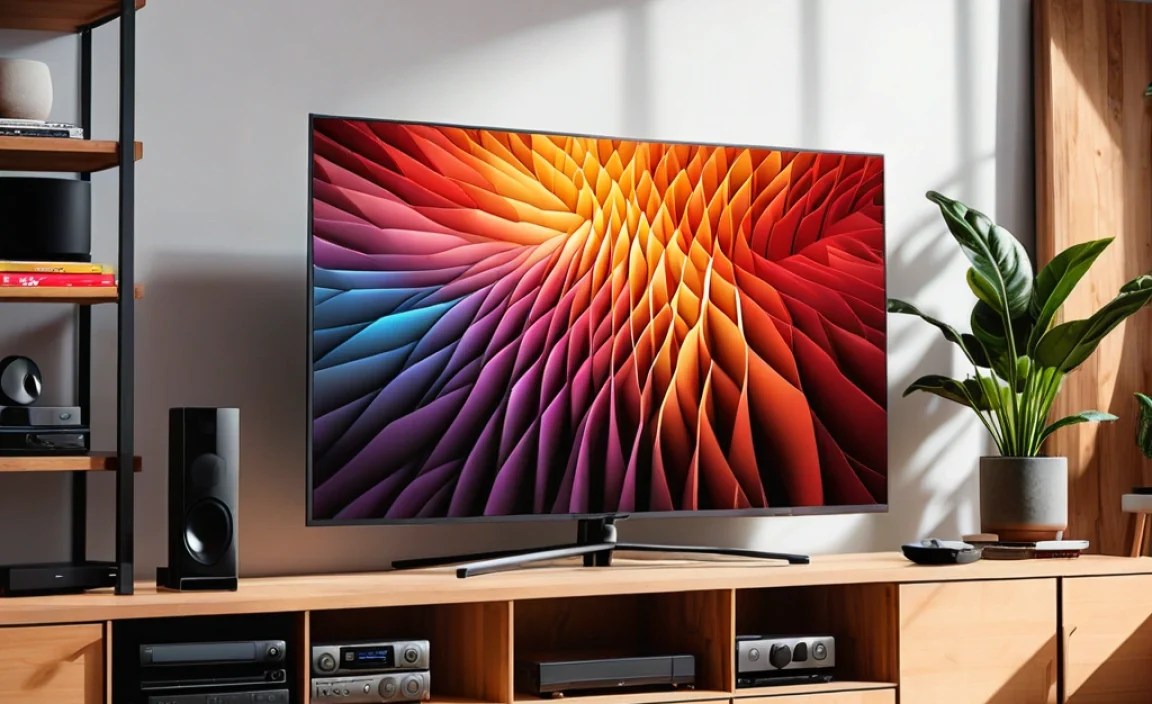
Is your TV sound tinny, muffled, or just… underwhelming? You’re not alone! Many of us settle for mediocre audio, thinking a big sound upgrade means a big price tag. But what if I told you that dialing in the best TV sound settings might be the cheapest and most effective way to transform your viewing experience? You don’t need to buy a fancy soundbar or surround system (though those are great!) to make a noticeable difference. We’re diving into the world of your TV’s own audio controls to find those hidden gems that can make dialogue pop and action explode, all on a budget. Let’s get your TV sounding its best, without breaking the bank!
This guide is all about empowering you to make simple, smart adjustments. We’ll walk through common settings, explain what they actually do, and how to find the sweet spot for your specific TV and viewing habits. Get ready to hear your favorite shows and movies like never before!
Understanding Your TV’s Sound Basics

Before we jump into specific settings, let’s get a grasp on some fundamental concepts. Your TV’s built-in speakers, while convenient, are often designed with size and cost constraints in mind. This can lead to limitations in bass response, clarity, and overall dynamic range. The goal of tweaking settings is to compensate for these limitations as much as possible using the tools your TV provides. Think of it like tuning a musical instrument – you’re adjusting it to sound its best within its capabilities.
Many modern TVs come with a variety of audio modes and settings designed to enhance sound for different types of content. The trick is knowing which ones to use and how to adjust them. We’ll break down the jargon and give you practical advice so you can confidently navigate your TV’s menus.
Common TV Sound Settings Explained
Let’s demystify some of the most common audio settings you’ll find on your TV. Understanding these will be key to making informed adjustments.
- Volume: Seems obvious, right? But remember, louder isn’t always better. Sometimes, finding the right balance is more important for clarity than simply cranking it up.
- Bass (Low Frequencies): This controls the depth and richness of sounds – think explosions, rumbling engines, or the thumping of a bass guitar. Adjusting this can add impact to movies and music.
- Treble (High Frequencies): This affects the brightness and detail of sounds – like the crispness of dialogue, cymbals in music, or the high-pitched sounds of a siren. Boosting treble can improve vocal clarity.
- Balance: This setting allows you to shift the sound output to the left or right speaker. It’s usually only necessary if you have an uneven listening position or a speaker issue. For most, center is ideal.
- Surround Sound (Virtual Surround): Many TVs offer simulated surround sound. This tries to create a wider, more immersive soundstage using just your TV’s speakers by bouncing sound off walls or using phase manipulation. Results vary greatly by TV.
- Clear Voice / Dialogue Enhancement: This setting specifically boosts the frequencies associated with human speech, making dialogue easier to understand, especially during background action or music.
- Equalizer (EQ): Some TVs have a graphic equalizer, allowing you to fine-tune specific frequency bands. This offers more granular control than simple Bass/Treble adjustments but can be more complex.
- Sound Modes (e.g., Movie, Music, Sports, Standard, Game): These are pre-set configurations designed to optimize sound for specific types of content.
- AV Sync / Lip Sync: This setting compensates for any delay between the audio and video, ensuring voices match the on-screen actors’ lips. Crucial for a good viewing experience.
- Dolby Audio / DTS Processing: If your TV supports these technologies, they help decode and enhance audio formats for a more dynamic and immersive sound.
Finding the Best TV Sound Settings for Cheap: Step-by-Step

Ready to roll up your sleeves and optimize your TV’s audio? Here’s a practical, step-by-step approach to finding those perfect, budget-friendly sound settings.
Step 1: Access Your TV’s Sound Menu
First, grab your remote and navigate to your TV’s settings menu. The exact path varies by manufacturer, but it usually involves pressing a ‘Menu,’ ‘Settings,’ or ‘Gear’ button. Look for an option labeled ‘Sound,’ ‘Audio,’ or something similar. It might be a sub-menu within ‘Picture & Sound’ or ‘Display.’ Don’t worry if it’s not immediately obvious; check your TV’s manual (often available online on the manufacturer’s support website) if you’re stuck. For example, Samsung TVs often have sound settings under ‘Sound’ in the main menu, while LG might have them under ‘All Settings’ > ‘Sound.’
Step 2: Start with a Clean Slate – Reset Settings
If you’ve been randomly adjusting settings, it’s best to start fresh. Most TVs have an option to reset sound settings to their factory defaults. This ensures you’re not building on previous, potentially conflicting, adjustments. Look for an option like ‘Reset Sound Settings’ or ‘Initialize Sound.’ This is like clearing your browser cache before troubleshooting – it eliminates variables.
Step 3: Choose the Right Preset Sound Mode
Your TV likely offers several pre-programmed sound modes. These are designed to tailor the audio profile for different types of content. Here’s a general guide:
- Standard/Normal: This is your baseline. It’s a good starting point if you’re unsure.
- Movie/Cinema: Often enhances bass and creates a wider soundscape, ideal for films.
- Music: Typically aims for a more balanced and clear sound, bringing out finer details.
- Sports: May boost commentary and crowd noise for a more lively experience.
- Game: Can prioritize responsiveness and immersive effects, though sometimes at the expense of dialogue clarity.
Recommendation: Switch between ‘Standard’ and ‘Movie’ modes while watching a scene with both action and dialogue. See which one provides a better all-around experience for you. For general viewing, ‘Movie’ or ‘Standard’ are often the best starting points.
Step 4: Fine-Tune Bass and Treble
Once you have a mode selected, it’s time for basic EQ. This is where you can make the most significant impact on perceived sound quality.
For More Impactful Bass: If explosions and music lack punch, try gradually increasing the ‘Bass’ setting. Don’t overdo it! Too much bass can make sound muddy and drown out other frequencies. A small boost (e.g., +2 to +4) is often sufficient. If your TV has an equalizer, and you’re feeling adventurous, try slightly boosting frequencies around 60-150 Hz.
For Clearer Dialogue: If you struggle to hear what characters are saying, focus on ‘Treble’ or ‘Voice’ settings. Gradually increase the ‘Treble’ setting. Alternatively, if your TV has a specific ‘Clear Voice’ or ‘Dialogue Enhancement’ feature, try enabling that. Sometimes, you might even need to slightly reduce bass if it’s overpowering the mids where vocals sit. For EQ users, try a small boost around 1 kHz – 4 kHz.
Finding the Balance: Use a piece of content you know well – perhaps a movie scene with dramatic music and dialogue, or a song with distinct vocals and instrumentation. Adjust Bass and Treble incrementally, listening for the changes. Aim for a sound that feels full without being boomy, and where voices are clear without sounding harsh.
Step 5: Enable Virtual Surround Sound (If Available and Useful)
Many TVs offer a “Virtual Surround” or “Surround Sound” setting. This tries to mimic the effect of having multiple speakers. The effectiveness varies wildly between TV models. Some offer a convincing width, while others can make sound thin or unnatural.
How to Test: Turn it on and play a movie scene with distinct directional audio (e.g., a car chase, someone walking across the screen). Then, turn it off and play the same scene. Did the sound feel more immersive with it on? Or did it sound clearer and more focused with it off? If it adds a pleasing sense of space without sacrificing clarity, keep it enabled. If it makes things sound weird, best to leave it off and focus on Bass & Treble.
Step 6: Utilize Dialogue Enhancement Features
As mentioned, many TVs have a dedicated setting for improving dialogue clarity. This is often more effective than just cranking up the treble.
How to Use: Look for settings like “Clear Voice,” “Dialogue Enhancement,” “Voice Clarity,” or similar. Engage this setting and see if dialogue becomes more prominent and easier to understand. Often, these settings work by slightly reducing overall volume while simultaneously boosting mid-range frequencies crucial for speech. If this setting makes the overall sound too thin, you might need to compensate by slightly increasing Bass.
Step 7: Adjust AV Sync / Lip Sync
Nothing ruins immersion faster than audio being out of sync with the video. If you notice dialogue not matching the lip movements, find the “AV Sync” or “Lip Sync” setting. You’ll usually adjust this using a slider or by inputting a delay value (often in milliseconds). Play a scene you know well and adjust the slider until the lips and audio align perfectly. Some TVs have an auto-sync feature, which is worth trying first.
Step 8: Consider the Equalizer (For the Adventurous)
If your TV has a graphic equalizer, it offers much more precise control. Instead of just “Bass” and “Treble,” you can adjust specific frequency bands. This is powerful but can be intimidating for beginners.
Simple EQ Approach:
- Boost Lows (20-150 Hz): For more warmth and rumble. Be gentle!
- Cut Mids (200-2000 Hz): If voices sound “boxy” or muddy, a slight cut here can help.
- Boost High Mids/Lows (2-5 kHz): Crucial for vocal clarity and intelligibility.
- Boost Highs (5-10 kHz+): For crispness and detail, but avoid making it tinny or harsh.
External Resource: For a deeper dive into understanding audio frequencies, the Federal Communications Commission (FCC) offers resources on understanding audio signals, though many of their public-facing documents are more technical, the underlying principles apply to how sound is formed from different frequencies.
Tip: If unsure, don’t touch the EQ! Or, copy a preset that sounds good and make tiny adjustments. Many online forums dedicated to specific TV models might have user-shared EQ settings.
Optimizing Sound for Different Content Types
The “best” settings aren’t static; they change depending on what you’re watching or listening to. Here’s how to adapt:
Movies and TV Shows
For cinematic experiences at home, you want a good balance of deep bass for action sequences and clear dialogue for plot comprehension. Start with the ‘Movie’ preset if available. Then, try these adjustments:
- Bass: Slightly increased (+2 to +5) for explosions and dramatic scores.
- Treble: Slightly increased (+1 to +3) or use ‘Clear Voice’ to ensure dialogue cuts through the mix.
- Virtual Surround: Experiment. If it adds depth without making dialogue unclear, keep it.
Music Listening
When listening to music through your TV, clarity and a natural sound balance are key. The ‘Music’ preset is often a good starting point.
- Bass: Adjust to taste. A slight boost can add warmth, but don’t let it overpower the mids.
- Treble: Moderate increase (+2 to +4) can bring out details in vocals and instruments.
- EQ (If used): Focus on boosting frequencies around 100-200 Hz for warmth and 2-6 kHz for vocal and instrument clarity. Cut muddy frequencies between 200-500 Hz if needed.
Gaming
Gaming often requires precise audio cues – footsteps, direction of gunfire, etc. It also benefits from immersive soundtracks.
- Game Mode: If available, try this first. It often reduces audio latency (lag).
- Clear Voice/Dialogue: Essential for understanding in-game instructions or chatter.
- Surround Sound: Can be very effective for pinpointing sounds in games.
- Balance: Ensure bass isn’t so overpowering that it masks critical mid-frequency sounds like enemy footsteps.
When Built-in Settings Aren’t Enough: Budget-Friendly Upgrades

Sometimes, even the best TV sound settings can’t overcome the limitations of built-in speakers. If you’ve maxed out your TV’s capabilities and still aren’t satisfied, consider these affordable upgrades. These aren’t “cheap” in the sense of being low quality, but they offer excellent value for money.
1. Soundbars
Soundbars are incredibly popular for a reason. They offer a significant audio upgrade over TV speakers in a compact, easy-to-install form factor.
- Budget:** You can find decent soundbars starting around $50-$100. Brands like Vizio, TCL, and some entry-level Sonys or Samsungs offer great value.
- What to Look For: Aim for at least a 2.0 or 2.1 channel setup (two main channels, or two plus a dedicated subwoofer). Look for features like HDMI ARC (Audio Return Channel) for simple connection and Bluetooth for easy streaming.
- How it Improves Sound: Soundbars have larger drivers and better enclosure designs than TV speakers, leading to clearer dialogue, fuller mids, and often more impactful bass.
External Resource: For detailed explanations on different audio technologies like Dolby Atmos and DTS:X, which some higher-end soundbars support, the Dolby website provides insights into how these formats enhance sound immersion.
2. External Speakers (2.0 System)
A simple stereo setup (two speakers) can sometimes offer better clarity and soundstage than a budget soundbar, especially for music.
- Budget: Look for powered bookshelf speakers. Brands like Edifier, Logitech, and Audioengine have models in the $100-$200 range that connect directly to your TV’s audio output (headphone jack or Optical if available).
- How it Improves Sound: Dedicated speakers are designed purely for sound reproduction, offering a richer, more detailed audio experience.
3. Using Your Headphone Jack
If you live in a shared space or want to enjoy late-night viewing without disturbing others, your TV’s headphone jack is your best friend.
- Budget: Free if you already own headphones! Good quality headphones can be found for $20-$50 that offer superior audio to your TV speakers.
- How it Improves Sound: High-quality headphones provide incredible detail, clarity, and immersion that’s impossible to achieve with small, integrated TV speakers. Just connect them to your TV’s headphone port.
Troubleshooting Common Sound Issues
Even after tweaking settings, you might encounter problems. Here are solutions for common issues:
- No Sound: Double-check that the volume isn’t muted or set to zero. Ensure the correct audio input/output is selected. If using external devices, check their audio settings too.
- Dialogue is Unintelligible: Prioritize ‘Clear Voice’ or boost mid-range frequencies (2-5 kHz) using EQ or Treble. Ensure you’re not over-boosting bass, which can mask vocals.
- Sound is Distorted or Crackly: This often happens when the volume is pushed too high, especially on built-in speakers. Try lowering the overall volume and see if the distortion disappears. If it persists at moderate volumes, your TV’s speakers may be damaged.
- Humming or Buzzing Noise: This can be caused by interference or grounding issues, especially with external audio equipment. Try unplugging other nearby electronics or using different cables. Ensure all connections are secure.
- Audio and Video Out of Sync: Use the AV Sync/Lip Sync settings on your TV. If the delay is consistent, adjust the slider. If it varies, it might be an issue with the source content or the playback device.