
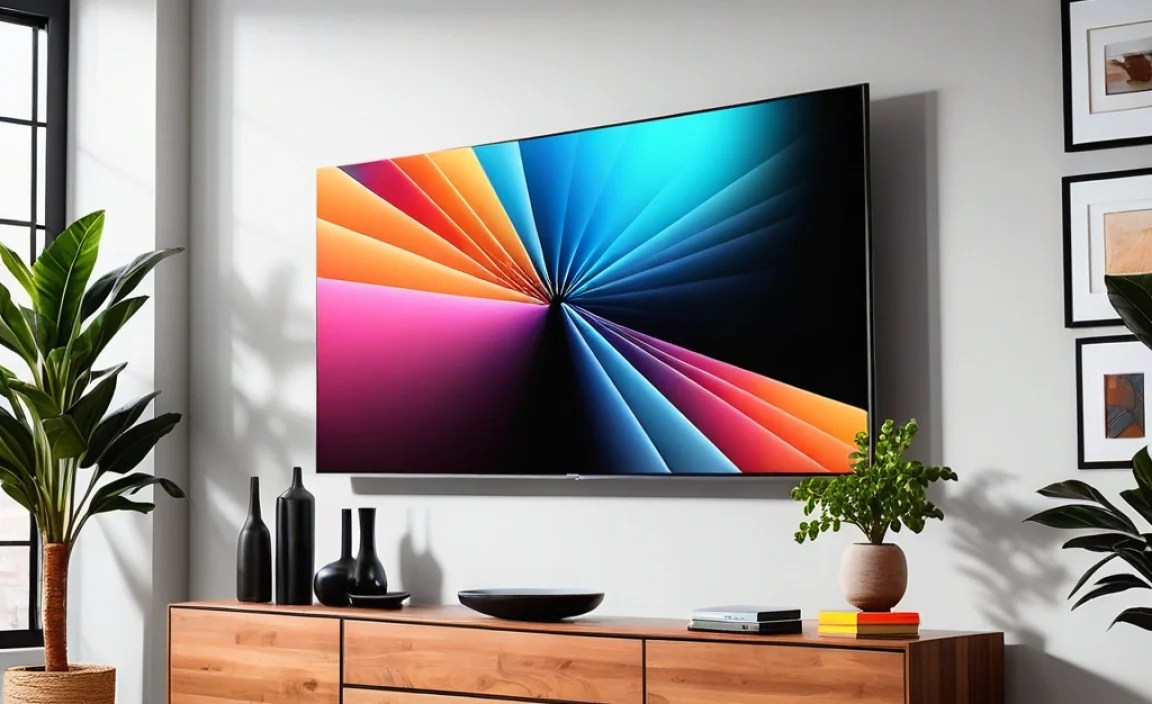
Mounting your flat-screen TV securely to the wall can transform your viewing experience and save space. This guide provides essential tips and a step-by-step process, ensuring a safe and professional-looking installation for your home entertainment setup.
Hey there, home theater enthusiasts! Bob E Riley from Aimguider here. Ever looked at your new, sleek flat-screen TV and thought, “How can I make this look even better and save some precious floor space?” Wall mounting is often the answer. It gives your room a clean, modern vibe and can dramatically improve your viewing angles. But let’s be honest, drilling into your wall to hang a potentially expensive TV can feel a little daunting. The good news? With a few smart tips and a clear plan, you can achieve that professional, gallery-worthy look yourself. We’ll walk through everything you need to know to get your TV securely and stylishly mounted.
Why Wall Mount Your Flat-Screen TV?
Wall mounting your flat-screen TV offers a fantastic upgrade to any entertainment space. It frees up cabinet space, reduces clutter, and often provides a more immersive viewing experience by allowing you to position the TV at the optimal height and angle. For a minimalist aesthetic, seeing your TV seemingly float on the wall is hard to beat. Plus, it’s a great way to keep your valuable electronics out of reach of curious little hands or playful pets.
Choosing the Right Wall Mount
Not all TV wall mounts are created equal. Selecting the correct type is crucial for both safety and functionality. Here’s a breakdown of the most common types:
- Fixed Mounts: These are the simplest and most affordable. They hold your TV flat against the wall, just a few inches away, offering a clean, flush look. They don’t allow for tilting or swiveling, so precise placement is key.
- Tilting Mounts: These mounts allow you to angle the TV up or down. This is excellent for reducing glare from windows or overhead lights, or if you need to mount the TV slightly higher than eye level.
- Full-Motion/Articulating Mounts: These are the most versatile. They let you extend the TV away from the wall, tilt it up or down, and swivel it left or right. They’re perfect for rooms with multiple viewing areas or if you need to turn the TV to avoid glare.
Understanding VESA Patterns
Before you buy a mount, you need to know your TV’s VESA pattern. VESA stands for Video Electronics Standards Association. It’s a standard for the distance between the four mounting holes on the back of your TV. Most TVs have one of the following VESA patterns: 100x100mm, 200x200mm, 300x300mm, 400x400mm, or 600x600mm. The mount you choose must be compatible with your TV’s VESA pattern. You can usually find this information in your TV’s manual or by measuring the distance between the holes yourself.
To measure VESA, simply measure the horizontal distance between the mounting holes and the vertical distance between them. So, if the holes are 400mm apart horizontally and 400mm apart vertically, your VESA pattern is 400x400mm.
Weight Capacity is Key
Every mount has a maximum weight it can safely support. Your TV’s weight is listed in its specifications. Always choose a mount that can hold significantly more weight than your TV. For example, if your TV weighs 40 pounds, opt for a mount rated for at least 60-70 pounds, or even more. This adds a critical safety margin.
Essential Tools You’ll Need
Gathering the right tools before you start will make the installation process smoother and safer. Here’s a list of what you’ll likely need:
- Stud Finder: This is non-negotiable. Mounting a TV directly into drywall without hitting a stud is extremely dangerous and will likely lead to the TV falling. A good electronic stud finder is invaluable. For more detail on how to use one effectively, check out resources from the BuildingAdvisor.
- Drill with Drill Bits: You’ll need a powerful drill to create pilot holes and potentially larger holes for lag bolts. Ensure you have drill bits that match the size of your lag bolts or screws.
- Level: A long level (at least 24 inches) is crucial for ensuring your TV is mounted straight.
- Tape Measure: For accurate measurements of height and placement.
- Pencil: To mark your drilling points.
- Socket Wrench or Ratchet Set: For tightening lag bolts securely.
- Screwdriver: Usually a Phillips head, for attaching the bracket arms to the TV.
- Safety Glasses: Protect your eyes from dust and debris.
- Optional: Wall anchors (if you absolutely cannot find studs in a specific spot, though this is highly discouraged for heavy items like TVs), a stud finder that also detects electrical wiring, a helper to hold the TV.
Step-by-Step: Mounting Your Flat-Screen TV
Let’s get your TV on the wall! Follow these steps carefully for a secure and professional installation.
Step 1: Plan Your TV Location and Height
This is more important than you might think! Consider where you’ll be sitting and how high your eyes will be. The center of the screen should ideally be at or slightly below eye level when you’re in your primary viewing position. Measure the distance from the floor to your eye level and plan accordingly. Also, think about glare from windows or lights and how the TV will look in the room. Use your tape measure and pencil to mark potential areas.
Pro Tip: For a typical living room with standard ceiling heights, the bottom of the TV often ends up around 25-30 inches from the floor when wall-mounted.
Step 2: Locate Wall Studs
This is the most critical step for safety. Turn on your stud finder and scan the wall in the area where you plan to mount the TV. Most residential buildings use wooden studs spaced either 16 or 24 inches apart on center. Mark the center of each stud with your pencil. Most TV mounts are designed to span at least two studs, often with pre-drilled holes to accommodate this spacing. Double-check your findings by gently tapping the wall – a solid thud indicates a stud, while a hollow sound means you’re in between.
Important: Never mount a TV solely relying on drywall anchors or plaster. The weight of the TV and mount can pull these out, causing damage and injury. Always aim for secure mounting into at least two wall studs. You can find more detailed guidance on finding studs from the This Old House website.
Step 3: Mark and Drill Pilot Holes
Hold the wall plate part of your mount against the wall where you want it, using your level to ensure it’s perfectly straight. Mark the mounting holes through the plate onto the wall, making sure your marks align with the centers of the studs you located. Once you’re confident in your markings, drill pilot holes. The size of the pilot hole should be slightly smaller than the lag bolts you’ll be using, as recommended by the mount manufacturer.
Step 4: Attach the Wall Plate
Align the wall plate with your pilot holes. Insert the lag bolts through the plate and into the studs. Use your socket wrench or ratchet to tighten them securely. Don’t overtighten, but ensure they are snug and the plate is firmly attached to the wall. Give it a good yank to test its stability before proceeding. The last thing you want is for this to come loose!
Step 5: Prepare Your TV
Lay your TV face-down on a soft, clean surface like a blanket or carpeted floor. Locate the VESA mounting holes on the back of the TV. Attach the vertical bracket arms (or any necessary adapters) according to the mount manufacturer’s instructions. Ensure you use the correct screws provided with the mount, or those specified by your TV manufacturer, to avoid damaging the TV’s internal components. Some TVs use different screw depths, so pay close attention to the manual and any included spacers.
Step 6: Mount the TV to the Wall Plate
This is where a helper is highly recommended! Carefully lift the TV and align the bracket arms attached to the TV with the corresponding hooks or slots on the wall plate. Most mounts have a system that allows you to hang the TV onto the plate, and then secure it, often with locking screws or clips at the bottom. Make sure the TV is securely seated and locked into place before letting go.
Step 7: Connect Cables and Test
Once the TV is safely on the wall, connect your power and HDMI cables. Many wall mounts offer cable management solutions, like clips or channels, to keep things tidy. Turn the TV on and test all functions. If you have a tilting or full-motion mount, adjust the TV to find your preferred viewing angle and ensure it moves smoothly and holds its position.
Advanced Mounting Considerations
While the basic steps get the job done, a few extra details can elevate your installation.
TV Size and Mount Compatibility Chart
Here’s a helpful chart to give you a general idea of what to look for, but always check specific TV and mount specs:
| TV Screen Size (Diagonal) | Common VESA Patterns | Typical Weight Range (lbs) | Mount Type Recommendations |
|---|---|---|---|
| 20″ – 32″ | 75x75mm, 100x100mm, 200x100mm | 5 – 20 | Fixed, Swivel (for smaller TVs) |
| 32″ – 42″ | 200x200mm, 300x200mm | 15 – 40 | Fixed, Tilting, Full-Motion |
| 42″ – 55″ | 300x300mm, 400x400mm | 30 – 70 | Fixed, Tilting, Full-Motion |
| 55″ – 65″ | 400x400mm, 600x400mm | 50 – 100 | Tilting, Full-Motion (strong enough for weight) |
| 65″ – 75″ | 600x400mm, 800x400mm | 70 – 130 | Heavy-duty Tilting, Full-Motion |
| 75″+ | 600x400mm, 800x400mm, and larger | 100+ | Heavy-duty Tilting, Full-Motion (check specific weight ratings) |
Cable Management
Nothing ruins the clean look of a wall-mounted TV like a bunch of dangling cables. Consider cable management solutions like:
- Cable Sleeves or Wraps: A simple fabric or plastic sleeve to bundle cables together.
- Ceiling to Floor Cable Covers: These can sometimes conceal wiring running from the TV down to a power outlet or media console.
- In-Wall Cable Management Kits: These allow you to run cables behind the drywall. This is a more involved process and may require carefully navigating studs, but it offers the cleanest finish. Always ensure no power lines are near where you drill for these kits. Consult an electrician if you are unsure.
Mounting on Different Wall Types
While the guide focuses on standard drywall with studs, mounting on other surfaces requires different approaches:
- Brick or Concrete Walls: You’ll need a masonry drill bit and appropriate concrete anchors (like sleeve anchors or wedge anchors) to securely attach the mount. These walls are very strong, but the anchoring method is key.
- Plaster and Lath Walls: These are older and can be trickier. Lath is thin wood strips behind the plaster. Finding studs is still paramount, but the plaster can be brittle. Use extreme caution when drilling.
- Metal Studs: Common in commercial buildings or some newer homes. You’ll need specific toggle bolts or self-drilling metal screws designed for studs, and a stud finder that works on metal. Consult the mount manufacturer for specific recommendations for metal stud mounting.
Troubleshooting Common Mounting Issues
Even with careful planning, you might run into minor snags. Here are a few common issues and how to address them:
Issue: The drill bit is not making progress into the wall.
Solution: You might be hitting metal (like a pipe or conduit) or a very dense part of a stud. Try a different location slightly to the left or right, or use a more powerful drill. Be cautious about hitting plumbing or electrical wires.
Issue: The mount feels loose after tightening the lag bolts.
Solution: The lag bolts might not be fully seated in the stud, or the pilot hole might be too large. You might need to remove the mount, use slightly larger lag bolts (if the mount’s holes allow), or re-drill pilot holes at a slightly smaller diameter to get a tighter fit into the wood stud. Ensure you are drilling into the center of the stud.
Issue: Difficulty attaching the TV to the wall plate.
Solution: This is common with heavier TVs. Ensure you have adequate help. Double-check that the bracket arms are correctly oriented on the TV and that the wall plate is perfectly level. Sometimes, slight adjustments to leveling screws on the TV brackets can help it settle into place.
Frequently Asked Questions (FAQ)
Q1: How high should I mount my TV?
A1: The general rule is to have the center of the screen at or slightly below seated eye level. Measure your typical viewing position and adjust accordingly.
Q2: Can I mount a TV on a wall with a fireplace?
A2: Yes, but with caution. Ensure the wall is structurally sound and you can hit studs. Avoid mounting directly above the heat source, as excessive heat can damage the TV over time. If you have concerns, consult a professional installer.
Q3: What if I can’t find any studs?
A3: This is a serious issue. While some mounts can be used with heavy-duty drywall anchors for lighter TVs, it’s generally not recommended for most flat screens. You might need to explore alternative locations, consult a contractor, or use a floor stand instead.
Q4: Do I need a special mount for curved TVs?
A4: Most standard VESA-compatible mounts will work for curved TVs, but it’s essential to check the mount’s specifications and your TV’s VESA pattern. The curvature doesn’t typically affect mounting compatibility itself.
Q5: How much weight can a wall mount hold?
A5: Weight capacities vary widely. Most mounts will clearly state their maximum supported weight. Always choose a mount rated for significantly more than your TV’s actual weight for safety.
Q6: Is it better to mount a TV on studs or use anchors?
A6: Mounting directly into wall studs is always the safest and most secure method. Drywall anchors are only suitable for very light items and should not be used for mounting a flat-screen TV.
Conclusion
Wall mounting your flat-screen TV doesn’t have to be an intimidating task. By following these essential tips, understanding your mount, gathering the right tools, and taking your time with each step, you can achieve a secure, stylish, and professional-looking installation. Remember, checking for studs is paramount, and always prioritize safety. A well-mounted TV not only enhances your viewing experience but also contributes to a cleaner, more organized living space. So go ahead, grab your tools, and enjoy your elevated home entertainment setup!