
Mounting your flat-screen TV yourself is safe and achievable with the right guidance. This guide breaks down wall mounting, from choosing the right mount to securing it firmly, ensuring a professional look and sound experience for your home entertainment.
Hey folks, Bob E Riley here, your go-to guy for making tech make sense! So, you’ve got this awesome new flat-screen TV, and you’re dreaming of that sleek, minimalist look. But those bulky stands? Not quite the vibe you’re after. Wall mounting your TV can totally elevate your space, making it feel more like a home cinema. It can seem a bit daunting, right? All those wires, finding the right spot, making sure it’s actually going to stay put. Don’t sweat it! I’m here to walk you through everything, step-by-step, so you can get that professional finish without the professional price tag. We’ll cover all the essential wall mounting tips for your flat screen, explained simply.
Why Wall Mount Your Flat Screen TV?
There are some great reasons to get your TV off the stand and onto the wall. First off, it just looks fantastic. It frees up space on your entertainment unit, giving you more room for other decor or just a cleaner aesthetic. Plus, it can be a fantastic safety feature, especially if you have curious pets or little ones who might be tempted to pull on the TV. Think about it: no more wobbly TV stand, just a clean, secure display!
Wall mounting also allows you to position your TV at the perfect viewing height and angle, which can significantly improve your viewing experience. No more neck craning from awkward seating positions! It can make gaming more immersive and movie nights more comfortable. We’ll dive into how to achieve this perfect placement.
Choosing the Right TV Wall Mount
This is where we lay the foundation for a successful mount. Not all mounts are created equal, and picking the right one is crucial for compatibility, safety, and functionality. Let’s break down the main types you’ll encounter:
Fixed Mounts
These are the simplest and most affordable mounts. As the name suggests, they hold your TV flat against the wall with no tilting or swiveling. They’re great if you know exactly where you want your TV and don’t need to adjust the viewing angle.
- Pros: Lowest profile, most affordable, very strong and stable.
- Cons: No adjustability, can be difficult to access TV ports.
Tilting Mounts
These mounts allow you to tilt your TV up or down. This is super useful if you’re mounting your TV higher than eye level (like above a fireplace) to reduce glare or improve the viewing angle. They offer a bit more flexibility than fixed mounts.
- Pros: Reduces glare, improves viewing angle for higher mounts, more flexible than fixed.
- Cons: Slightly bulkier than fixed, still no side-to-side adjustment.
Full-Motion (Articulating) Mounts
These are the most versatile. They allow you to tilt, swivel, and extend your TV away from the wall. This is perfect for large rooms, living rooms with multiple seating areas, or if you want to tuck your TV away when not in use. They offer the most flexibility for finding that sweet spot viewing angle.
- Pros: Maximum adjustability (tilt, swivel, extend), great for diverse room layouts.
- Cons: Most expensive, can be bulkier, require more careful installation to ensure stability when extended.
How to Choose the Right Mount: Key Considerations
Before you grab the first mount you see, let’s make sure it’s the perfect fit for your TV and your space:
- TV Size and Weight: Always check the mount’s specifications. It needs to support the diagonal screen size and the weight of your TV. Most manufacturers list a weight limit that you absolutely shouldn’t exceed. Your TV manual or the manufacturer’s website will have this information.
- VESA Mounting Standard: This is crucial! VESA is a pattern of threaded mounting holes on the back of your TV. Mounts are designed to match these patterns (e.g., VESA 200x200mm, 400x400mm). You’ll need to measure the distance between the horizontal and vertical holes on your TV. Most TV manuals or spec sheets will clearly state the VESA pattern.
- Wall Type: This is a big one! Are you mounting into drywall, plaster, concrete, or brick? Most standard mounts are designed for wood studs within drywall or plaster walls. If you have a different wall type, you’ll need a specific mount or anchors. More on this later!
- Desired Viewing Experience: Do you want the TV tucked away, or do you want to position it in a specific spot for optimal viewing? This will guide you between fixed, tilting, or full-motion mounts.
Gathering Your Tools and Materials
Having all your tools ready before you start can save you a trip to the hardware store and a lot of frustration. Here’s a general list of what you’ll likely need. Remember, specific projects might require a few extra bits and pieces.
Essential Tools:
- Stud Finder: Absolutely non-negotiable for mounting into drywall or plaster. It helps you locate the wooden studs behind the wall, which are essential for secure mounting. Find one with both visual and audio indicators for the best results.
- Drill and Drill Bits: You’ll need this for pilot holes and potentially for creating larger holes for anchor bolts. Make sure you have drill bits that match the size recommended by your mount’s instructions for screws and anchors.
- Level: A bubble level (or a digital one on your phone) is key to ensuring your TV is mounted straight and looks professional. A crooked TV is a sure sign of a DIY job!
- Measuring Tape: For accurate placement of the mount and ensuring it’s centered.
- Pencil: For marking drill points on the wall.
- Screwdriver Set: Phillips head and flathead screwdrivers will likely be needed to attach brackets to the TV.
- Socket Wrench or Ratchet Set: Often needed for tightening bolts and lag screws that secure the mount to the wall.
- Safety Glasses: Always wear these when drilling or working overhead.
- Dust Mask: Recommended when drilling into older plaster or dusty walls.
Other Important Materials:
- Your TV Wall Mount Kit: This should come with the main bracket that attaches to the wall, the brackets that attach to your TV, and usually all the necessary screws, bolts, and washers. Double-check the box contents against the manual.
- Wall Anchors (if needed): If you are not drilling directly into studs or are mounting to concrete or brick, you will need appropriate heavy-duty anchors. The mount instructions will usually specify what kind.
- Cable Management Solutions: While not strictly part of mounting, you’ll want to think about hiding those cables. Options include in-wall cable routing kits, raceways, or even simple zip ties.
Quick Tip: Before drilling anything, especially if you’re new to this, consider a practice run on a scrap piece of wood. This helps you get a feel for your drill and the fasteners before committing to your wall.
Step-by-Step: How to Wall Mount Your Flat Screen TV
Alright, deep breaths! We’re going to tackle this together. Follow these steps carefully, and you’ll have your TV mounted securely.
Step 1: Locate Wall Studs
This is arguably the most critical step for safety. Your TV mount needs to grab onto something solid. In most homes with drywall, that means wood studs. If you’re mounting into concrete or brick, this step changes, and you’ll need masonry anchors.
- Get your stud finder and set it to the correct mode for your wall type (drywall, plaster, etc.).
- Start scanning along the wall where you plan to mount the TV. Most mounts require at least two studs for support.
- Mark the edges of each stud you find with your pencil. You’re looking for a solid, consistent width.
- Once you’ve identified the center of the studs, measure the distance between them. This is important because your wall mount bracket needs to span across these studs. Common stud spacing is 16 or 24 inches on center.
- Important Note: Every mount has a specific bolt pattern. Ensure your studs are spaced appropriately to align with the mount’s design.
External Resource: For a deeper dive into identifying studs and understanding wall construction, the This Old House website offers excellent guidance on finding studs in various wall types.
Step 2: Determine TV Height and Position
This is where you decide the perfect spot for your TV. A good rule of thumb is to have the center of the screen at or slightly below eye level when you’re in your primary viewing position.
- Sit in your main viewing spot (couch, favorite chair).
- Imagine the TV is there. Where would the middle of the screen be?
- Use your measuring tape to measure from the floor to that point.
- Transfer this measurement to the wall. You can mark a light horizontal line at this height.
- Consider any components below the TV (soundbar, game consoles) and ensure there’s enough clearance.
- If you’re mounting above a fireplace, aim for the bottom of the TV to be at least 8-10 inches above the mantel.
Step 3: Mark and Drill Pilot Holes for the Wall Bracket
Now, it’s time to get the wall bracket up. Precision here is key!
- Hold your wall bracket against the wall, using your level to ensure it’s perfectly straight.
- Align the bracket with the stud centerlines you marked earlier.
- Mark the exact locations for your pilot holes through the mounting holes on the bracket.
- Remove the bracket.
- Using your drill and the appropriate drill bit size (refer to your mount’s instructions – it’s usually slightly smaller than the lag bolt diameter), drill pilot holes at your marked spots. Drill straight and to the recommended depth.
Step 4: Attach the Wall Bracket
This is the moment of truth for the wall plate. Make sure it’s incredibly secure.
- Hold the wall bracket back up, aligning its holes with the pilot holes you just drilled.
- Insert the lag bolts (or lag screws) that came with your mount.
- Using a socket wrench or ratchet, tighten the lag bolts firmly. Don’t overtighten, as you could strip the wood, but make sure it’s snug and doesn’t budge.
- Check again with your level to confirm the bracket is still perfectly straight. Minor adjustments might be possible before fully tightening the bolts.
Step 5: Attach Brackets to Your TV
Now, let’s get the TV ready to hang.
- Lay your TV face down on a clean, soft surface (like a blanket or the TV box packaging) to prevent scratches.
- Locate the VESA mounting holes on the back of your TV.
- Align the vertical TV brackets from your mount with these holes. They usually have slotted holes to accommodate different VESA patterns.
- Use the screws provided with your mount kit that are specifically designed for your TV. Your mount kit will likely have a selection of screw sizes. It’s crucial to use the correct size – too short won’t secure it, too long can damage your TV. Again, consult your mount’s manual for TV screw recommendations.
- Tighten these screws firmly with your screwdriver.
Step 6: Hang the TV on the Wall Bracket
This is often a two-person job, especially for larger TVs. Safety first!
- With a helper, carefully lift the TV.
- Align the brackets attached to the TV with the main wall bracket.
- Gently hook the TV onto the wall mount. Most mounts have a locking mechanism (like security screws or tabs) to prevent the TV from lifting off the bracket. Make sure you engage these! Refer to your mount’s manual for your specific model.
- Once the TV is securely seated, double-check it feels stable.
Step 7: Connect Cables and Manage Them
Now for the final touches.
- Connect all your HDMI cables, power cords, and other necessary connections.
- If you’re using a tilting or full-motion mount, you might have a bit more slack to work with.
- Consider your cable management solutions. You can route cables through in-wall channels (if you’re comfortable with that, or hire a professional), use adhesive cable raceways that match your wall color, or simply use zip ties to bundle them neatly behind the TV.
- Plug in your TV and power it on to test everything!
Mounting on Different Wall Types
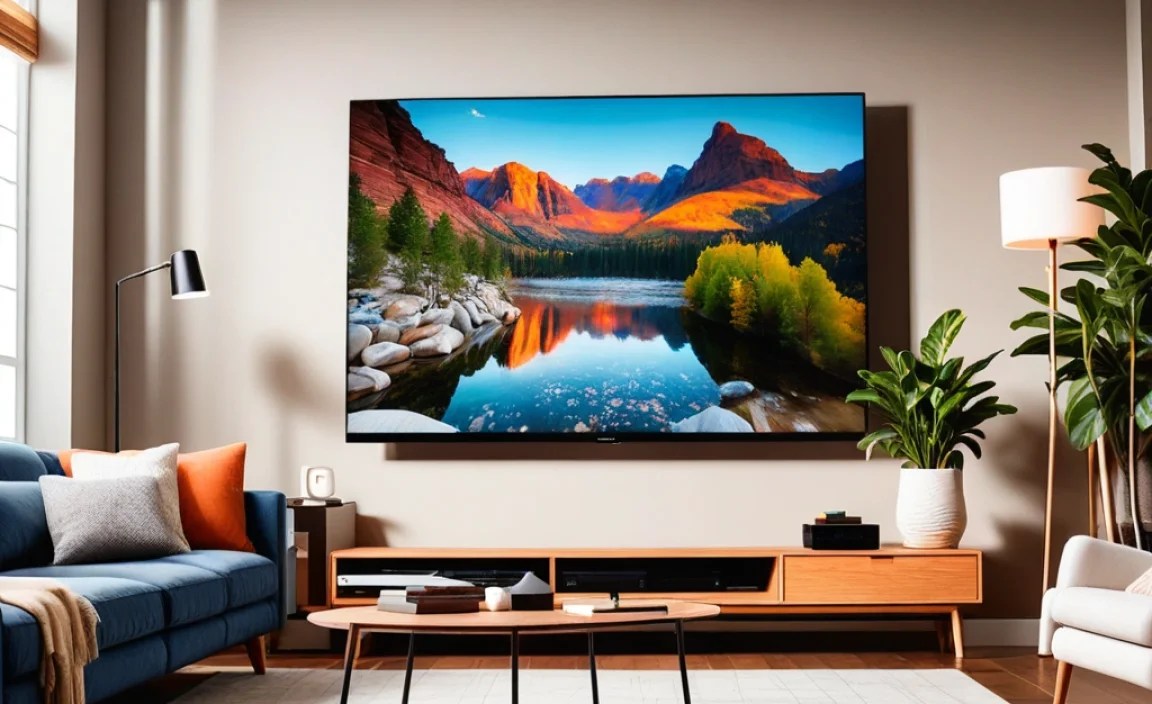
What if you don’t have standard wood studs, or you live in a home with older construction? Here’s a quick rundown:
Concrete or Brick Walls
Mounting on masonry is very secure but requires different hardware.
- Tools: You’ll need a hammer drill and masonry drill bits.
- Hardware: Use heavy-duty concrete anchors (like Tapcons or sleeve anchors) specifically designed for your mount’s weight capacity. Your mount might come with them, or you’ll need to purchase them based on the manufacturer’s recommendations.
- Drilling: For concrete, you’ll drill a hole, insert the anchor, and then bolt the mount to it. For brick, you need to drill into the mortar joints if possible for a more secure hold, avoiding drilling directly into the brick if you can.
Plaster Walls
Plaster walls, especially older ones, can be brittle and may have lath (wood strips or wire mesh) behind them instead of drywall. The process is similar to drywall, but you must find the studs behind the lath. A good stud finder is essential, and sometimes a small nail probe can help confirm you’ve hit solid wood.
Metal Studs
Found in commercial buildings or some newer constructions, metal studs require special toggle bolts or drywall anchors designed for metal framing. Standard screws won’t hold.
Important: Always consult your mount’s manual and if you’re unsure about your wall type or the best hardware, it’s wise to consult a professional installer. For peace of mind, resources like the Consumer Product Safety Commission (CPSC) offer tips on TV safety, including secure mounting.
Common Pitfalls to Avoid
Even with the best intentions, a few common mistakes can turn a great DIY project into a headache. Here are some pitfalls to watch out for:
- Not locating studs correctly: This is the number one reason TV mounts fail. Always use a reliable stud finder.
- Exceeding weight limits: Don’t try to push the boundaries of your mount’s capacity. It’s a recipe for disaster.
- Using the wrong screws/anchors: Always use the hardware specified by the mount manufacturer for your wall type.
- Mounting off-level: A crooked TV is visually jarring. Use your level meticulously.
- Forgetting cable management: Those dangling cables can ruin the sleek look you’re going for. Plan for them!
- Not checking VESA compatibility: This ensures the mount physically attaches to your TV.
- Ignoring the TV’s back panel: Be careful not to drill into any internal components or cover necessary ventilation ports on the TV.
Frequently Asked Questions (FAQ)
Q1: How high should I mount my TV?
Typically, the center of the TV screen should be at or slightly below eye level when you’re seated in your primary viewing position. This minimizes neck strain and provides the best viewing experience.
Q2: Can I mount a TV on a wall that doesn’t have studs?
If you have a wall without studs (like a concrete wall), you can use appropriate concrete anchors. However, for drywall or plaster walls without studs, it’s generally not recommended for anything larger than a very small, lightweight TV, and even then, it requires heavy-duty drywall anchors designed for significant loads. Always prioritize finding studs for maximum safety.