
Safely wall mounting your TV involves choosing the right mount, locating studs, using proper hardware, and following installation steps carefully. This guide ensures a secure and stable setup, giving you peace of mind and a great viewing experience.
Considering mounting your TV on the wall? It’s a fantastic way to save space, improve your room’s look, and get that cinema feel. But let’s be honest, the thought of hanging a big, heavy screen can be a little nerve-wracking. You want it to look great, but more importantly, you need it to be safe and secure. This guide is here to help! We’ll walk you through everything you need to know, step-by-step, so you can mount your TV with confidence.
Why Wall Mount Your TV?
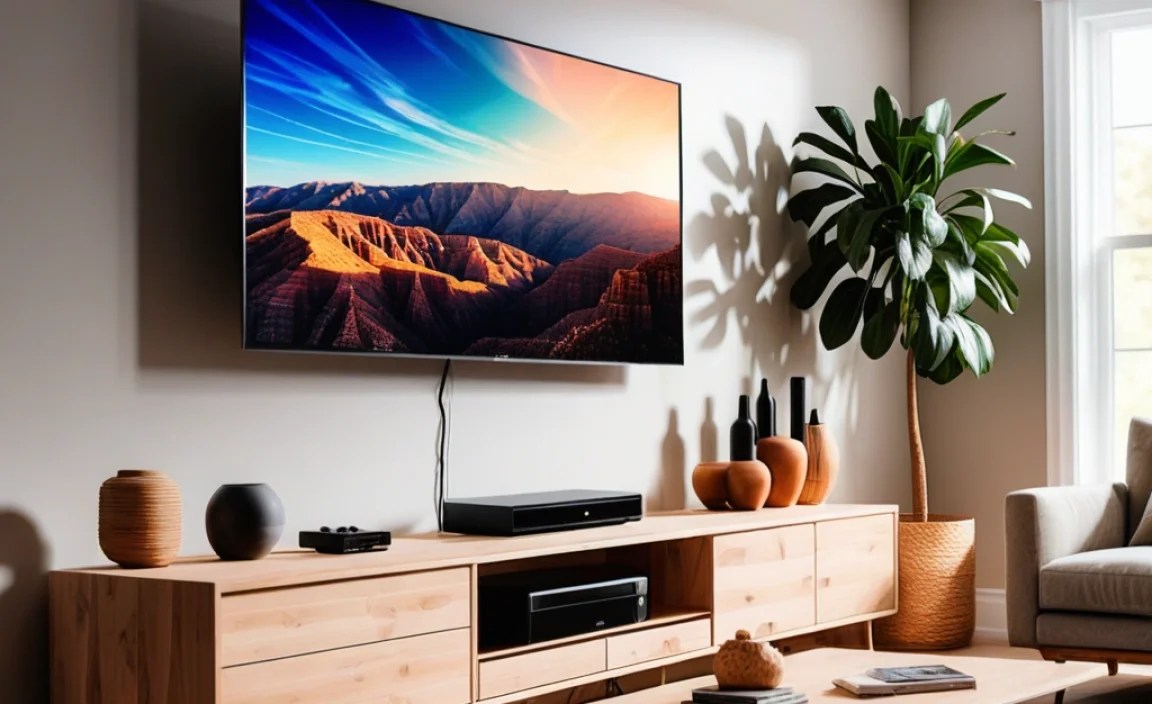
Wall mounting offers a clean, modern aesthetic that’s hard to beat. It frees up valuable surface space usually taken by a TV stand, making your room feel larger and less cluttered. For families, it can also be a safety measure, getting the TV out of reach of curious little hands. Plus, the viewing angles often improve, especially if you choose a tilting or full-motion mount. It’s a upgrade that transforms your entertainment space.
Choosing the Right TV Wall Mount

Not all TV mounts are created equal. Picking the correct one is the first crucial step for a safe setup. You’ll find a few main types, each with its own benefits:
- Fixed Mounts: These hold your TV flat against the wall, like a picture frame. They offer the slimmest profile but no adjustability. Great for dedicated viewing areas where you know your perfect angle.
- Tilting Mounts: These allow you to tilt the TV up or down, which is helpful if you’re mounting the TV higher than eye level or want to reduce glare. Offers a bit more flexibility than fixed mounts.
- Full-Motion/Articulating Mounts: These are the most versatile, allowing you to extend, tilt, and swivel your TV. Perfect for large rooms, rooms with multiple seating areas, or if you want to adjust the TV for different activities (gaming from a desk, watching from the couch).
Consider Your TV’s Size and Weight
Every mount has a maximum weight capacity and is designed for specific VESA patterns. VESA refers to the standardized spacing of the mounting holes on the back of your TV. Check your TV’s manual or measure the distance between the horizontal and vertical mounting holes to find its VESA pattern (e.g., 200x200mm, 400x400mm). Your mount must support both your TV’s weight and its VESA dimensions.
Wall Type Matters
The type of wall you have dictates the type of mount and hardware you’ll need. Most home walls are either:
- Drywall with Wood Studs: This is the most common scenario in residential construction. You must find and anchor into the wood studs for a secure mount.
- Drywall with Metal Studs: Common in some commercial buildings or newer constructions, metal studs require specialized anchors.
- Concrete or Brick: These walls are very strong and require specific masonry anchors.
For drywall with wood studs, you’ll typically need a mount designed to attach directly to wood studs. For other wall types, you might need a specialized mount or additional hardware. Always verify what your wall is made of before you buy!
Essential Tools and Materials
Gathering everything you need before you start will make the process smoother and safer. Here’s a list of common tools and materials you’ll likely need:
Tools:
- Stud Finder: Absolutely crucial for finding the wooden studs behind your drywall. Electronic stud finders are generally the most accurate.
- Drill and Drill Bits: For pre-drilling holes and driving screws. Make sure you have bits appropriate for wood or masonry, depending on your wall.
- Level: To ensure your TV is mounted straight and even.
- Measuring Tape: For precise placement and height.
- Pencil: For marking stud locations and pilot hole positions.
- Socket Wrench or Ratchet Set: To tighten lag bolts securely.
- Screwdriver Set: For attaching brackets to the TV and any smaller screws.
- Safety Glasses: To protect your eyes from dust and debris.
- Optional: C-Clamps – can be helpful to hold the mount in place while you mark holes.
Materials:
- TV Wall Mount Kit: Includes the wall plate, articulating arms (if applicable), and hardware (screws, washers, bolts).
- TV Mounting Screws: These should come with your mount, but double-check they are the correct length and diameter for your TV and mount.
- Shims (sometimes included): Used to ensure the mount sits flush against the wall if it’s not perfectly flat.
Step-by-Step Guide: How to Wall Mount Your TV Safely

Now that you’ve got your mount and tools ready, let’s get to the actual mounting. Safety is paramount, so read each step carefully and don’t rush.
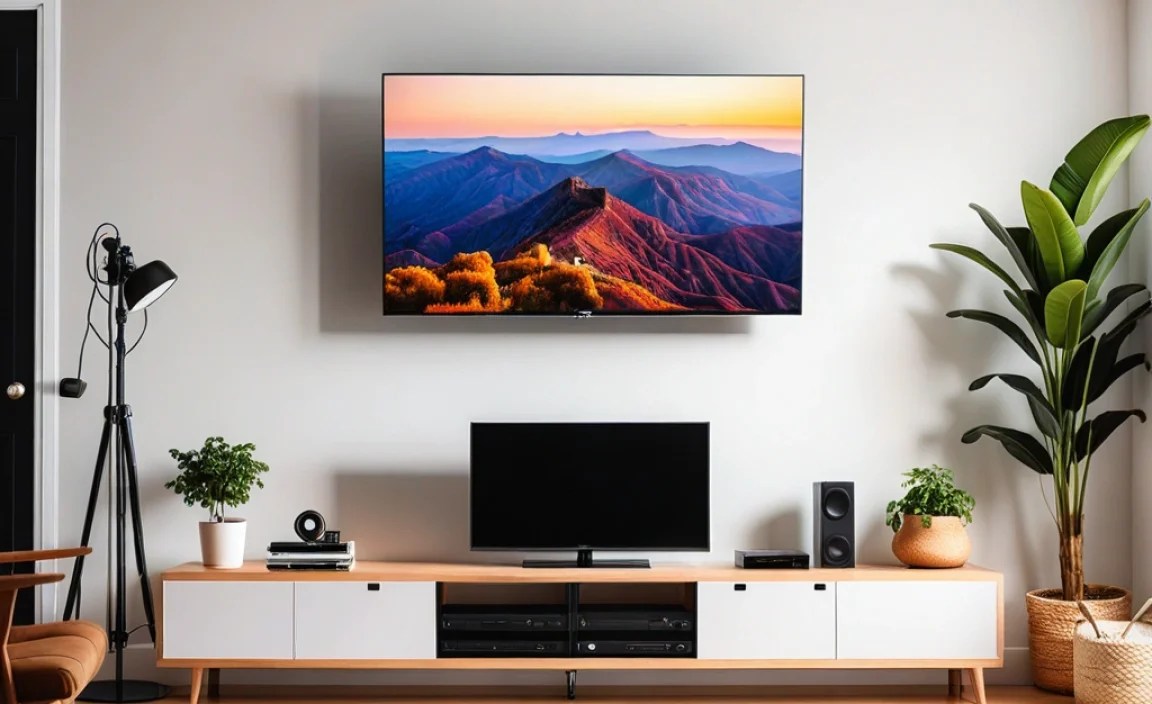
Step 1: Determine the Optimal TV Height and Location
Think about where you’ll be sitting and how high your eyes will be. A general rule of thumb is to have the center of the screen at eye level when you’re in your primary viewing position. For a living room couch, this might be around 42-48 inches from the floor. For a bedroom or kitchen, you might want it higher. Measure your space and mark your desired height lightly with a pencil.
Consider glare from windows or lights. If glare is an issue, you may need to adjust the location or opt for a tilting or full-motion mount. Also, make sure there’s an electrical outlet and cable access nearby. You don’t want unsightly cables dangling!
Step 2: Locate Wall Studs
This is the most critical step for safety, especially for drywall. Your TV mount must be secured to at least two wall studs, or directly into solid concrete/brick. Never mount a TV directly into drywall alone, as it cannot support the weight and will pull away from the wall.
Turn on your stud finder and run it horizontally across the wall where you plan to mount your TV. Most studs are 16 or 24 inches apart on center. Mark the edges of each stud you find. Once you’ve identified the studs, use a small drill bit (less than the screw diameter) to drill a pilot hole into the center of a stud at your desired mounting height. If you feel resistance, you’re likely in a stud. If it goes in easily and feels hollow, you missed.
For a more thorough check, you can gently tap the wall; it will sound more solid over a stud and hollow elsewhere. You can find more detailed information on finding studs from resources like This Old House.
Step 3: Attach the TV Brackets to the TV
Lay your TV face down on a soft, clean surface (like a blanket or the foam packaging). Identify the VESA mounting holes on the back of your TV. Attach the vertical brackets (or specific mounting plate from your mount) to the TV using the screws provided with your mount kit. Ensure you use the correct screw length – too short won’t hold, too long can damage your TV internally.
If the included screws are too long or short for your specific TV, you may need to purchase appropriate VESA screws from an electronics store. Your mount’s manual will specify which screw sizes are typically compatible.
Step 4: Mount the Wall Plate to the Wall
Hold the wall plate of your mount against the wall at your marked height, ensuring it’s centered over the studs you located. Use your level to make sure the wall plate is perfectly horizontal. Once it’s aligned and level, mark the positions of the mounting holes onto the wall. Be sure the marks are centered on the studs!
Now, drill pilot holes at your marked locations. The pilot hole size is critical – it should be slightly smaller than the diameter of the lag bolts you’ll be using. This allows the bolt to thread tightly into the wood. For standard 1/4-inch lag bolts, a 3/16-inch or 7/32-inch drill bit is often recommended, but always check your mount’s instructions.
Align the wall plate with the pilot holes. Using your drill with a socket adapter or a ratchet wrench, drive the lag bolts through the wall plate and into the studs. Tighten them securely, but don’t overtighten, which could strip the wood or the bolt head. Ensure the mount is firmly attached and doesn’t wiggle.
Step 5: Hang the TV onto the Wall Mount
This step usually requires two people, especially for larger TVs. Carefully lift the TV by its sides, aligning the brackets on the TV with the corresponding arms or hooks on the wall plate. Gently lower the TV until it securely locks into place. Most mounts have a clicking mechanism or a way to secure the TV with safety screws.
Refer to your mount’s manual for the specific procedure. Many mounts have a safety strap or screws that you need to tighten to prevent the TV from being accidentally lifted off the mount.
Step 6: Connect Cables and Test
With the TV securely mounted, it’s time to connect your power cables, HDMI cords, and any other accessories. If you need to run cables through the wall for a cleaner look, this is also the time. Many people use in-wall rated cable management kits for this purpose. Resources from the U.S. Consumer Product Safety Commission (CPSC) offer excellent tips on appliance and TV safety, including cable management.
Turn on your TV and test all its functions. Gently try to move the TV (if you have a tilting or articulating mount) to ensure it’s sturdy and holds its position. Double-check that all safety locks are engaged.
Table: Comparing TV Mount Types
Here’s a quick look at the pros and cons of different mount types to help you decide:
| Mount Type | Pros | Cons | Best For |
|---|---|---|---|
| Fixed | Slimmest profile, most secure, often most affordable | No adjustability, can be difficult to access ports | Dedicated viewing areas, TVs mounted at perfect eye-level |
| Tilting | Reduces glare, provides slight vertical adjustment, good for higher mounting positions | Slightly bulkier than fixed, limited movement | Mounting above eye level, rooms with glare issues |
| Full-Motion/Articulating | Maximum flexibility (tilt, swivel, extend), ideal for various seating positions and room layouts | Bulkiest, most complex installation, can be more expensive, requires strong wall support | Large rooms, multi-purpose spaces, gaming setups, corner mounting |
Important Safety Tips to Remember
Beyond following the steps, keep these safety tips in mind:
- Always Read the Manual: Your specific mount and TV may have unique instructions.
- Two-Person Job: Never attempt to lift and mount a large TV by yourself.
- Confirm Studs: Use a stud finder and drill pilot holes to verify stud locations. Attaching only to drywall is a major safety hazard.
- Don’t Overtighten Bolts: Tighten securely but avoid damaging the wall or mount.
- Check Weight Limits: Ensure your mount can safely support your TV’s weight.
- Use Proper Hardware: If your house has concrete walls, use masonry anchors. If it has metal studs, use anchors designed for them.
- Cable Management: Secure cables to prevent tripping hazards and potential damage.
Troubleshooting Common Issues
Even with careful planning, you might run into a snag. Here are a few common issues and how to tackle them:
- Can’t find studs: Try a different section of the wall or a different stud finder. Sometimes, a stud might be slightly off-center from where you expect. If you’re consistently unable to find studs, consider consulting a professional or exploring mounts designed for specific wall types.
- Drill bit breaks: This can happen if you hit a nail or a very hard piece of wood. Try a slightly smaller bit or a more robust drill if available.
- Mount feels loose: Double-check that all lag bolts are fully tightened into the studs. If the studs themselves feel soft or the drywall is damaged, you might need to reinforce the area or use a larger mounting plate that spans more studs.
- TV won’t click into mount: Ensure the TV brackets are correctly aligned with the mount arms and that no cables are obstructing the connection.
Frequently Asked Questions (FAQ)
Q1: How high should I mount my TV?
For most living rooms, the center of the TV screen should be at eye level when you are seated. A common range is 42 to 48 inches from the floor to the center of the screen. For bedrooms or kitchens, you might mount it higher.
Q2: What if my wall doesn’t have studs where I want to mount the TV?
If you have a concrete or brick wall, you’ll need a mount designed for masonry and appropriate masonry anchors. If you have drywall and absolutely cannot find studs, you should not mount the TV directly to the drywall. You may need to explore alternative mounting solutions or consult a professional. For drywall with metal studs, specialized anchors are required.
Q3: Can I mount my TV on a plaster wall?
Yes, but plaster walls can be trickier. Plaster is often applied over lath (thin strips of wood), and you’ll need to find the lath or studs behind it. Use a stud finder designed for thicker walls, and be prepared to drill through potentially brittle material.
Q4: What is VESA? How do I find my TV’s VESA pattern?
VESA is a standard for the spacing of mounting holes on the back of TVs and monitors. You can find your TV’s VESA pattern by looking in your TV’s manual, on the manufacturer’s website, or by measuring the distance (in millimeters) between the horizontal and vertical mounting holes on the back of your TV. Common patterns include 100×100, 200×200, and 400×400.
Q5: Do I need a special drill bit for mounting a TV?
You need drill bits appropriate for your wall type (wood bit for studs, masonry bit for concrete/brick). The crucial aspect is using the correct size pilot hole bit. It should be slightly smaller than the lag bolt you’re using to ensure a tight, secure fit into the stud.
Q6: What tools are absolutely essential for wall mounting a TV?
The absolute essentials are a stud finder, a drill with appropriate bits, a level, a measuring tape, a pencil, and a socket wrench or ratchet. Safety glasses are also highly recommended.
Conclusion
Wall mounting your TV can dramatically enhance your viewing experience and the aesthetics of your room. By carefully selecting the right mount, accurately locating your wall studs, using the correct tools and hardware, and following these step-by-step instructions, you can achieve a safe, secure, and impressive setup. Remember to always prioritize safety, take your time, and enlist help when lifting your television. Enjoy your new, perfectly mounted TV!