
Quick Summary: Ensure your HDR TV is securely mounted for optimal viewing and safety. This guide provides essential steps, from choosing the right mount and locating studs to safe installation, guaranteeing a stable, professional setup for your stunning HDR experience.
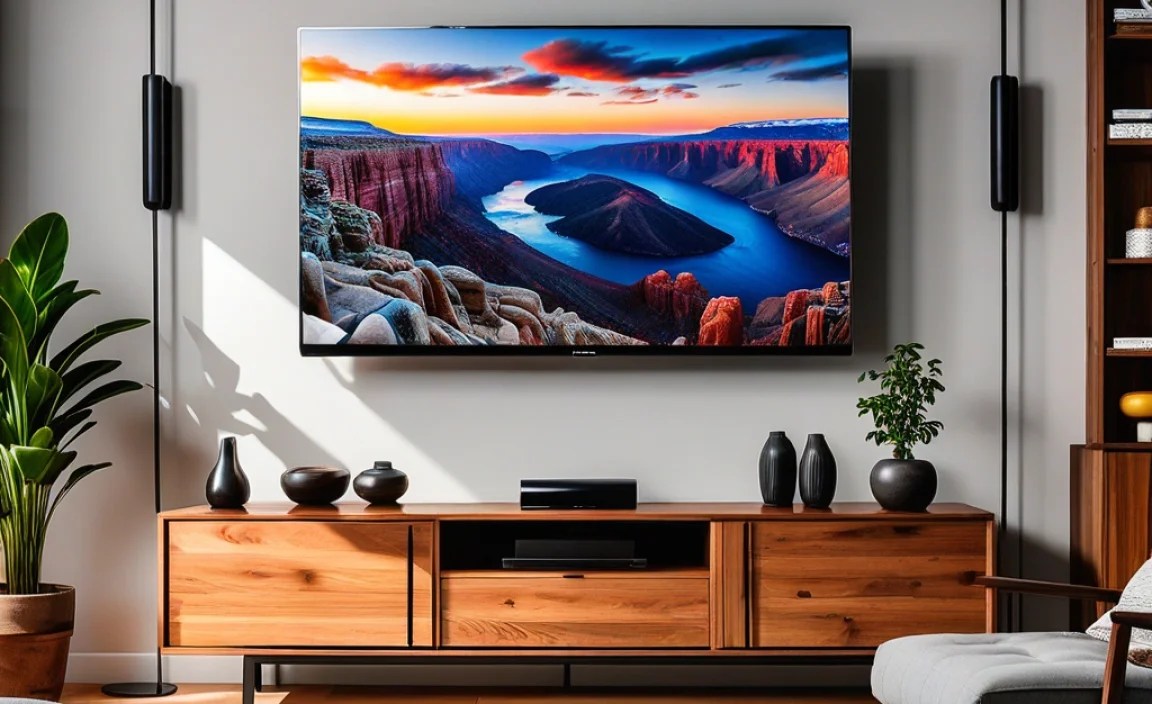
So, you’ve got a brilliant new HDR TV, ready to immerse you in vibrant colors and incredible detail. That’s fantastic! But now, the big question: how do you get it from its stand onto the wall, looking sleek and, more importantly, staying there safely? Mounting a TV can seem a bit daunting, especially with a beautiful, sometimes heavy, and expensive HDR display. You want it to be perfectly positioned, but also worry about it falling. Don’t stress! With the right approach, wall mounting your TV is totally achievable, even for beginners. This guide will walk you through everything, step-by-step, so you can enjoy your crystal-clear HDR picture with complete peace of mind.
Why Wall Mount Your HDR TV?
Wall mounting your TV isn’t just about aesthetics, although a floating TV certainly adds a modern touch to any room. There are practical benefits too. For starters, it can free up valuable space on your entertainment center, making your room feel larger and less cluttered. It also often creates a better viewing angle, especially if you have a living room with furniture positioned at different points. For those with young children or curious pets, a wall-mounted TV is significantly safer, reducing the risk of accidental tip-overs compared to a TV on a stand.
Maximizing Your HDR Experience
When it comes to HDR (High Dynamic Range), a proper wall mount can actually enhance your viewing. Many HDR TVs benefit from being positioned at eye level or slightly below for the best contrast and color accuracy. Wall mounting allows for precise placement that might be difficult with a standard stand. Plus, getting the TV out of direct light sources, which a wall mount often facilitates, can prevent reflections and washout, letting those brilliant HDR colors really pop!
Choosing the Right TV Wall Mount

Not all TV mounts are created equal, and picking the right one is the first crucial step to a safe and successful installation. Think about how you want to position your TV and the type of wall you’re dealing with. Here are the main types of TV mounts:
- Fixed Mounts: These are the simplest and most affordable. They hold your TV flat against the wall, just a few inches away. They’re great for providing a clean look but offer no adjustability.
- Tilting Mounts: These allow you to tilt your TV up or down. This is ideal for reducing glare from windows or overhead lights, and for getting a better viewing angle if your TV is mounted higher than eye level.
- Full-Motion/Articulating Mounts: These are the most versatile. They let you pull the TV away from the wall, tilt it, and swivel it left or right. Perfect for rooms where you need to adjust the viewing angle from multiple seating areas or want to tuck the TV away when not in use.
- Low-Profile Mounts: Similar to fixed mounts, but designed to get your TV even closer to the wall, creating a super sleek, almost picture-frame look.
What to Look For: Key Features
When selecting a mount, keep these factors in mind:
- Weight Capacity: This is non-negotiable. The mount MUST be rated to hold significantly more weight than your TV. Always check your TV’s weight (without the stand) and compare it to the mount’s specifications.
- VESA Compatibility: VESA is a standard for TV mounting points on the back. Look for the VESA pattern (e.g., 200x200mm, 400x400mm). Your TV’s manual or specifications online will tell you its VESA pattern. Most mounts are designed to fit a range of VESA sizes.
- Wall Type: Most mounts are designed for standard wood-stud drywall. If you have a brick or concrete wall, you’ll need a specialized mount and appropriate anchors.
- Screen Size Compatibility: The mount will usually list a range of TV screen sizes it can accommodate (e.g., 32-70 inches).
- Ease of Installation: Some mounts are designed for simpler DIY installation, with clear instructions and included hardware.
Essential Tools and Materials
Before you start, gather everything you need. Having all your tools ready will make the process smoother and safer. Don’t skip any of these!
Tools You’ll Need:
- Stud Finder: An electronic stud finder is highly recommended. It accurately locates wall studs, which are essential for a secure mount.
- Drill and Drill Bits: You’ll need a drill for pilot holes and possibly larger holes depending on your mount’s hardware. Ensure you have the correct drill bit sizes for the screws and lag bolts.
- Level: Absolutely critical for ensuring your TV is mounted straight. A long level is best for this.
- Measuring Tape: For accurate placement of the mount and TV.
- Pencil: For marking your drill points.
- Socket Set/Wrenches: To tighten bolts and lag screws.
- Screwdriver Set: For attaching brackets to the TV and potentially other mount components.
- Safety Glasses: Protect your eyes from dust and debris.
- Gloves: For a better grip and to protect your hands.
Materials Often Included:
- Mounting Bracket: The main assembly that attaches to the wall.
- Hardware Kit: Usually includes various screws, bolts, spacers, and washers. Importantly, this kit should contain lag bolts specifically designed for securing the mount to wall studs.
- TV Brackets/Arms: These attach to the back of your TV and then connect to the main wall bracket.
- Cable Management Accessories: Some mounts come with ties or covers to help hide your cables.
Tip: Always double-check the hardware provided. If it seems insufficient for your TV weight or wall type, it’s worth investing in stronger, appropriate hardware from a reputable hardware store.
Step-by-Step: How to Wall Mount Your TV Safely

Now that you have your mount and tools, let’s get to the actual mounting. Patience and precision are key here!
Step 1: Plan Your TV Placement
Before drilling anything, decide exactly where your TV will go. Consider:
- Viewing Height: The ideal viewing height is typically with the center of the screen at eye level when you are seated. Measure your seated eye height and mark the wall. For a 55-inch TV, the center might be around 40-45 inches from the floor.
- Viewing Distance: Ensure the TV is an appropriate distance from your main seating area. A good rule of thumb for HDR is about 1 to 1.5 times the diagonal screen size.
- Glare: Avoid placing the TV directly opposite windows or bright lights if possible, or choose a tilting mount.
- Power and Cable Access: Make sure power outlets and any cable ports (like for an antenna or Ethernet) are within reach.
Step 2: Locate Wall Studs
This is the most critical safety step. For drywall, your mount absolutely MUST be secured to wall studs. Mounts designed for drywall alone will not hold the weight of a modern TV, especially an HDR one which can be larger and heavier.
- Use your stud finder: Slide it horizontally across the wall where you plan to mount the TV. Most electronic stud finders will indicate when they detect the edge of a stud.
- Mark the edges: Mark both edges of each stud you find.
- Find the center: Measure the distance between the edges and mark the center of the stud. This is where your lag bolts will go.
- Verify stud width: Standard wood studs are usually 1.5 inches wide. Aim to have at least two studs to secure your mount. Many mounts have elongated mounting plates to accommodate this.
- Check for obstructions: Ensure there are no electrical wires or plumbing pipes behind where you plan to drill. If unsure, a quick search for common wall stud layouts can help, or consult a professional. The BuildingGreen website offers insights into common framing practices.
Your mount’s instructions will specify the required number and spacing of studs.
Step 3: Attach Brackets to the TV
This is often best done with two people.
- Lay your TV face down on a soft, protected surface (like a blanket on the floor or a table).
- Locate the four VESA mounting holes on the back of the TV.
- Attach the vertical brackets (or arms) to the back of the TV using the screws provided in the mount’s hardware kit. Your TV manual or the mount’s instructions will specify which screws and spacers (if needed) to use. VESA screws typically have standard threading, but using the wrong size or length could damage your TV.
- Ensure the brackets are oriented correctly (usually with the wider end at the top or bottom, depending on the mount design).
Step 4: Mount the Wall Bracket
This is another step where an extra pair of hands is invaluable.
- Position the bracket: Hold the main wall-mounting bracket against the wall at your desired height, making sure it’s centered over the studs you’ve located and marked.
- Use your level: Place your level on top of the bracket (or use the bubble level often integrated into the bracket itself) and ensure it is perfectly straight. This is crucial! A crooked bracket will result in a crooked TV.
- Mark drill holes: Once perfectly level, use your pencil to mark the center of the pre-drilled holes in the bracket onto the wall.
- Drill pilot holes: Remove the bracket. Using a drill bit that is slightly smaller than the diameter of your lag bolts, drill pilot holes at your marked spots. This makes driving the lag bolts easier and prevents the wood from splitting. The lag bolt size and pilot hole size will be specified in your mount’s instructions and are critical for structural integrity.
- Attach the bracket: Reposition the bracket over the pilot holes. Using a socket wrench, drive the lag bolts through the bracket and into the studs. Tighten them securely, but don’t overtighten, which could strip the threads in the stud or damage the bracket. Ensure the bracket is firmly flush against the wall.
For brick or concrete: You will need a specialized masonry drill bit and appropriate anchors (like wedge anchors or sleeve anchors) as specified by the mount manufacturer. This is a different process and requires different tools. It’s often recommended to consult a professional for masonry mounting. Reputable resources like the International Building Code (ICCsafe.org) provide guidelines on structural integrity.
Step 5: Hang the TV
With the wall bracket securely in place, it’s time to hang your TV.
- Get help: This step absolutely requires at least two people, especially for larger TVs.
- Lift and Hook: Carefully lift the TV by the edges. Align the brackets on the back of the TV with the corresponding hooks or slots on the wall-mounted bracket.
- Secure the TV: Most mounts have a locking mechanism (screws, clips, or tension wire) to prevent the TV from being accidentally lifted off the bracket. Make sure these are engaged and secure according to your mount’s instructions. This is a vital safety feature!
Step 6: Connect Cables and Manage Them
Once the TV is hanging securely:
- Connect cables: Plug in your HDMI cables, power cord, and any other accessories.
- Cable Management: Use zip ties, Velcro straps, or built-in cable guides to neatly bundle and hide your cables. This improves the appearance and prevents them from getting tangled or pulled. For a truly clean look, consider a cord concealment kit that runs cables behind the wall (this is a more advanced DIY step or often a job for an electrician).
Step 7: Final Check and Adjustment
Turn on your TV and check its stability. If you have a tilting or articulating mount, adjust it for the perfect viewing angle. Ensure all connections are working.
Important Safety Considerations for HDR TVs
Modern HDR TVs, especially OLED and QLED models, are often thinner and can be surprisingly heavy due to their advanced panels and internal components. This makes proper mounting even more critical.
| Potential Risk | Mitigation Strategy |
|---|---|
| TV falling | Use a mount rated for at least 4x the TV’s weight. Secure to at least two studs. Engage all locking mechanisms. |
| Mount pulling out of wall | Absolutely ensure you are mounting into solid wood studs. Do not rely on drywall anchors alone. Use appropriate pilot hole size for lag bolts. |
| Damaging TV during installation | Use a soft, protected surface when working on the TV. Use the correct screws and spacers as per manual. Handle with at least two people. |
| Exposing wiring | Carefully route cables. Consider in-wall cable management if comfortable or hire a professional. Ensure no wires are pinched. |
| Incorrect viewing angle impacting HDR | Plan placement meticulously for optimal viewing height and angle. Use tilting/articulating mounts to fine-tune. |
Always refer to your TV manufacturer’s manual for specific weight and mounting recommendations. If you feel any doubt at any point, it’s always best to consult with a professional installer.
Troubleshooting Common Issues
Even with the best intentions, you might run into a snag. Here are a few common issues and how to fix them:
- Can’t find studs? Try a different section of the wall. If you’re in an area with metal studs or plaster and lath, you’ll need specialized mounting hardware and potentially professional help.
- Screws won’t go in? Ensure you’re drilling a pilot hole of the correct size. If it’s still too tight, you might be hitting something solid behind the stud or the stud itself is exceptionally dense. If it’s too loose, the pilot hole might be too large, or the stud may not be reliable.
- Mount seems loose? Re-tighten the lag bolts. If it still feels loose, the pilot holes may be too large, or the stud is damaged. You might need to reposition the mount slightly or consult a professional for reinforcement.
- TV isn’t level? Some mounts have adjustment screws to fine-tune the levelness after hanging. If yours doesn’t, you may need to remove the TV, loosen the wall bracket, re-level it, and re-drill if necessary.
Frequently Asked Questions (FAQ)
Can I mount my TV on a plaster wall?
Yes, but it’s more challenging than drywall. You’ll need to locate the wood lath behind the plaster and find the studs. Specialized hardware may also be required. It’s often best to consult a professional for plaster walls.
How far should my TV be from the wall?
For fixed mounts, TVs are typically only a few inches (often 1-2 inches) from the wall. Tilting and full-motion mounts allow you to pull the TV out further, which is useful for adjusting angles and cable access.
What is VESA and why is it important?
VESA is a standard for the mounting interface on the back of TVs. It’s a set of four screw holes in a square or rectangular pattern. Your TV mount must match your TV’s VESA pattern for a physical connection.
Do I need a professional to mount my TV?
For most standard drywall installations with a simple mount, a confident DIYer can manage. However, if you have a very large or heavy TV, an unusual wall type (brick, concrete, metal studs), or feel uncomfortable with any step, hiring a professional is a wise investment for safety and peace of mind.