Quick Summary:
Unlock the full potential of your TV wall mount with smart remote control solutions! Discover ingenious ways to keep your remotes accessible, organized, and out of sight, transforming your entertainment space.
Ever found yourself frantically searching for the TV remote, only to discover it slipped between couch cushions or disappeared into the abyss of your living room? It’s a common frustration, especially when your TV is mounted sleekly on the wall, leaving fewer convenient spots for those essential control devices. This guide is here to help you conquer remote-control chaos with some brilliant TV wall mount ideas.
We’ll explore simple, effective, and even stylish ways to ensure your remotes are always within reach but neatly tucked away. Get ready to enhance your home entertainment experience and say goodbye to the hunt! Let’s dive into some genius solutions that make managing your TV and its controls a breeze.
Why Remote Control Organization Matters with Wall-Mounted TVs
Mounting your TV often frees up floor space, creating a cleaner, more modern look. However, it can also present a unique organizational challenge for remote controls. Without a coffee table or entertainment stand directly in front of the TV, where do those clickers go? The answer lies in creative and practical solutions that blend seamlessly with your wall-mounted setup. Effective remote control organization isn’t just about aesthetics; it’s about convenience and a better overall viewing experience.
Imagine this: you settle in for a movie night, reach for the remote, and it’s exactly where you expect it to be. No more digging, no more missed opening scenes. This level of effortless control transforms how you interact with your home theater. Beyond just convenience, keeping remotes organized also prevents them from cluttering your space, maintaining the minimalist appeal that a wall-mounted TV often brings.
Innovative TV Wall Mount Ideas for Remote Control Storage
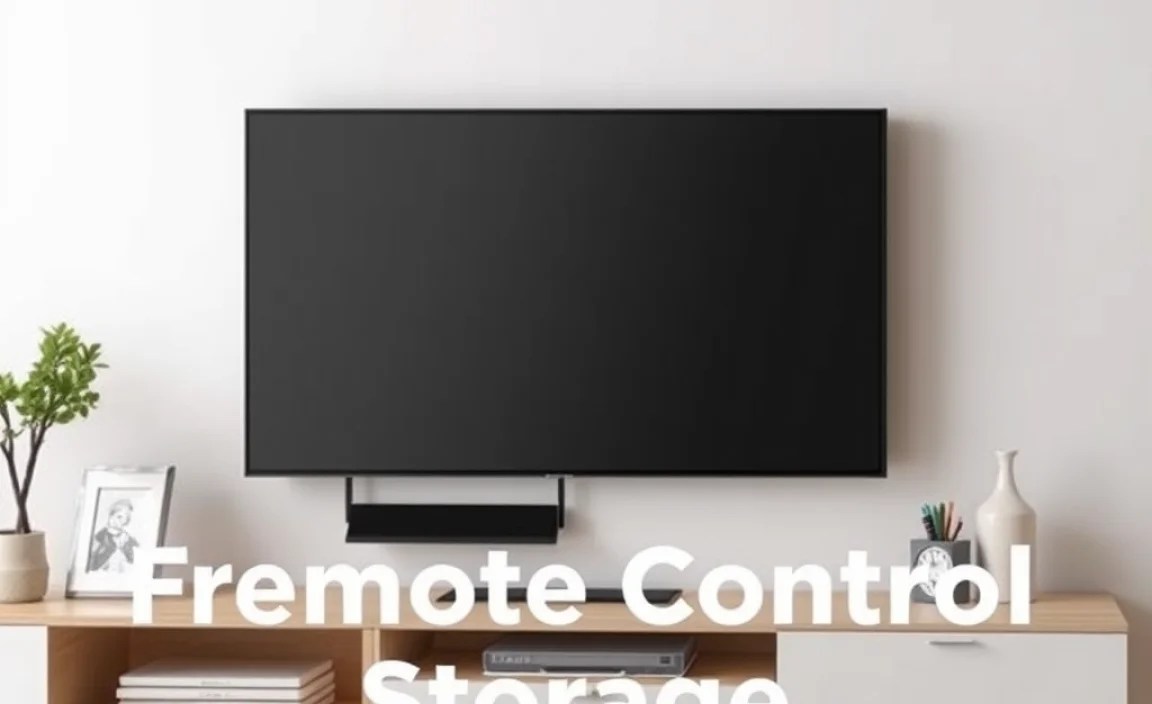
When we talk about TV wall mount ideas and remote controls, we’re looking for solutions that are both functional and aesthetically pleasing. The goal is to create a system where your remotes are easily accessible but don’t detract from the clean look of your mounted TV. Here are some of the most effective and popular approaches:
1. Integrated Wall Mount Shelves
Many modern TV wall mounts come with optional or built-in shelving units. These shelves are perfect for placing not just the remote, but also streaming devices, soundbars, or even decorative items. Look for mounts that offer such accessories, or consider adding a small floating shelf beneath your TV.
- Pros: Provides ample space, keeps components together, can enhance aesthetics.
- Cons: May require drilling additional holes, can add bulk if not chosen carefully.
When selecting a shelf, consider its depth and weight capacity. You’ll want something sturdy enough to hold your remotes securely without the risk of them falling. For a truly integrated look, choose a shelf material and color that complements your TV and wall décor.
2. Magnetic Remote Holders
This is a simple yet brilliant solution for easy access. Magnetic holders can be mounted on the wall near your TV, or even on the side of a metal entertainment unit. Some holders are designed specifically for remotes, featuring elastic straps or pockets to keep them in place. You can also use strong magnetic hooks or strips to attach remotes if they have magnetic components or can be fitted with a small magnetic backing.
- Pros: Extremely easy to install and use, keeps remotes visible and within reach, affordable.
- Cons: Relies on magnetic adhesion or the remote itself being magnetic; might not be suitable for all remotes or installations.
Ensure the magnets are strong enough to hold the weight of the remote, especially if it has batteries. For a cleaner look, you can find magnetic holders in neutral colors that blend into the background.
3. Cable Management Boxes with Remote Slots
Modern TV setups often involve several cables for streaming devices, gaming consoles, and more. Cable management boxes are designed to hide these wires, but some clever designs incorporate small compartments or slots that are perfect for holding remotes. You can mount these boxes discreetly on the wall near your TV.
Cable Management Systems are Key
Proper cable management not only makes your setup look tidier but also creates opportunities for hidden remote storage. Organizations like the Federal Communications Commission (FCC) offer guidance on safely managing electronics and their associated wiring, which indirectly supports a cleaner setup where remote storage can be integrated effectively.
- Pros: Hides cables and remotes, creates a super clean look, often provides a stable surface.
- Cons: Can be a bit DIY-intensive to set up, might require specific types of boxes.
Look for boxes that are large enough to house your streaming device and a remote or two. Many have ventilation to prevent overheating of devices.
4. Wall-Mounted Baskets and Pockets
Fabric or woven baskets that hang on the wall can offer a more organic and decorative way to store remotes. These are often attached with screws or strong adhesive. Wall pockets, similar to those used for mail, can also be adapted for remote control storage. They are great for grouping multiple remotes together.
- Pros: Adds texture and style, can hold multiple items, soft material protects remotes.
- Cons: May not suit all decor styles, can collect dust if not cleaned regularly.
Consider mounting a small basket or a set of pockets on an adjacent wall or even on the side of a cabinet near your TV for convenient access.
5. Adhesive Remote Holsters
These are typically small plastic or silicone holders that stick directly onto the wall or the side of your TV mount using strong adhesive. They are designed to cradle a remote, keeping it easily accessible. This is one of the simplest and most non-invasive solutions.
- Pros: Very easy to install, no drilling required, keeps remotes readily available.
- Cons: Adhesive might damage paint when removed, limited capacity per holster, can look a bit utilitarian.
When choosing an adhesive holster, ensure the adhesive is specifically designed for walls and won’t cause damage upon removal. Many offer a strong grip but are removable without residue.
6. Custom Built-in Solutions
For the ultimate in integration, consider a custom built-in solution. This could involve a carpenter or DIYer creating a small niche or a slim cabinet adjacent to your TV mount. This offers a seamless look that can be designed to perfectly match your room’s architecture.
- Pros: Perfectly integrated, can be customized to exact needs, highest aesthetic appeal.
- Cons: Most expensive option, requires professional skills or significant DIY effort.
A well-designed built-in can also include features like integrated USB charging ports for devices, adding another layer of convenience.
Step-by-Step Guide: Installing a Simple Wall-Mounted Remote Holder
Let’s walk through installing one of the most popular and beginner-friendly solutions: an adhesive remote holster. This requires minimal tools and can be done in minutes.
What You’ll Need:
- Adhesive remote holder
- Measuring tape (optional)
- Level (optional)
- Cleaning cloth
- Rubbing alcohol (or equivalent)
Installation Steps:
- Choose the Location: Decide where you want to place the holder. Common spots include the wall next to the TV, or even the side of the TV mount itself if there’s a suitable flat surface. Consider your usual seating position and arm’s reach for maximum convenience.
- Clean the Surface: Thoroughly clean the chosen area with a damp cloth and then wipe it down with rubbing alcohol. This removes dust, grease, and moisture, ensuring the adhesive sticks well. Allow the surface to dry completely.
- Peel and Stick: Carefully peel the backing off the adhesive strip on the remote holder. Align the holder where you want it and firmly press it against the wall or surface. Hold it in place for about 30 seconds to ensure a strong bond.
- Let it Cure: For best results, allow the adhesive to cure for at least 24 hours before placing your remote in the holder. This allows the adhesive to reach its maximum strength.
- Insert Remote: Once cured, gently slide your remote control into the holder. Enjoy the newfound organization and ease of access!
This simple process can dramatically improve your daily TV viewing experience. Remember to check the holder’s weight limit and ensure it’s compatible with the size and shape of your remote.
Choosing the Right TV Mount for Your Needs

While this article focuses on remote control solutions, the type of TV wall mount you choose can also influence your storage options. Here’s a quick look at common TV mount types and how they might impact remote storage:
| Mount Type | Description | Remote Storage Considerations |
|---|---|---|
| Fixed Mount | Holds the TV flat against the wall. Offers the slimmest profile. | Requires separate wall-mounted solutions as there’s no space behind the TV. |
| Tilting Mount | Allows you to tilt the TV up or down. Offers a bit more flexibility for viewing angles. | Minimal space behind the TV, similar to fixed mounts. |
| Full-Motion (Articulating) Mount | Extends, articulates, and swivels the TV. Provides the most viewing flexibility. | Often has more space around the mount’s arm, which can sometimes be used for small attachments like magnetic holders (though be mindful of balance and aesthetics). |
| Low-Profile Mount | Designed to keep the TV very close to the wall, like a framed picture. | Similar challenges to fixed mounts regarding integrated storage. |
Many full-motion mounts have built-in cable management channels. While primarily for wires, these channels can sometimes accommodate small items like single remotes if designed thoughtfully, though their main purpose is wire concealment. Always prioritize safe and secure installation according to the mount’s manual and general safety guidelines for mounting heavy objects.
For anyone considering a new TV mount, resources from organizations like the Consumer Product Safety Commission (CPSC) highlight the importance of secure installation, which is paramount whether you’re mounting a TV or adding accessories. A well-mounted TV forms the foundation for a stable and organized entertainment center.
Creative Tips for Keeping Remotes in Place
Beyond specific holders and shelves, here are a few extra creative ideas to keep your remotes from wandering off:
- Velcro Strips: Attach one side of a Velcro strip to the back of your remote and the other side to a discreet location on the wall, furniture, or even the back of your TV mount (if appropriate and won’t interfere with ventilation).
- Charging Docks: If you have smart devices or streaming sticks that use remotes, consider charging docks that often come with their own integrated stand or magnetic base. This doubles as storage and ensures your remotes are always powered up.
- Dedicated Drawer or Basket: If you have a nearby cabinet or drawer, designate a specific spot for remotes. A small, attractive basket within that space can corral them neatly.
- Brightly Colored Cases: For remotes that are constantly lost, consider using brightly colored silicone cases. They make the remote harder to miss and can sometimes have tether loops for attachment.
- Smart Home Integration: While not a physical storage solution, integrating your TV and streaming devices with a smart home assistant (like Alexa or Google Assistant) means you can control many functions with your voice, reducing the need to constantly find the physical remote.
The key is to find a system that works for you and your living space. Experiment with these ideas to see which best fits your lifestyle and the aesthetics of your room.
Troubleshooting Common Remote Control Issues
Even with the best organization, you might run into a few snags. Here’s how to handle them:
| Problem | Solution |
|---|---|
| Adhesive holder falls off the wall. | The surface might not have been clean enough, or the adhesive wasn’t strong enough for the weight. Re-clean the surface thoroughly with rubbing alcohol and reapply the holder, pressing firmly. Consider a holder with screws if the weight is substantial. |
| Remotes are too bulky for the holder. | Look for larger holders or multi-remote caddies. You might need to use a wall basket or shelf instead. |
| The chosen spot is awkward to reach. | Re-evaluate the location. Ideally, it should be within easy reach from your primary seating position without excessive stretching. |
| The holder ruins the wall paint. | When removing, gently heat the adhesive with a hairdryer on a low setting, then peel slowly. Use a Goo Gone or similar product for any residue. For future installations, consider screw-mounted options or holders with high-quality, removable adhesives. |
| Multiple remotes make it messy. | Invest in a larger organizer, a multi-compartment basket, or assign specific spots for each remote. |
Remember that part of the genius of these solutions is their simplicity. Don’t overcomplicate it; often, the easiest method is the most effective.
FAQ: Your TV Wall Mount & Remote Control Questions Answered
Q1: How far away from the TV should I place my remote holder?
A1: Place it within easy arm’s reach from your primary viewing position. This is usually within about 18-24 inches (45-60 cm) of your typical seating spot.
Q2: Can I attach a remote holder to the TV mount itself?
A2: Yes, if the mount has a flat, stable surface and it doesn’t obstruct ventilation for the TV or mount. Ensure the surface is clean before applying any adhesive.
Q3: What’s the best way to store multiple remotes?
A3: A wall-mounted basket, a small shelf, or a multi-compartment organizer are excellent choices for keeping several remotes together and accessible.
Q4: Will adhesive holders damage my paint when I remove them?
A4: Some may, especially cheaper ones or if left on for a very long time. Using high-quality removable adhesives and gentle removal techniques (like low heat) can minimize damage. You can also opt for screw-mounted solutions.
Q5: I have a very thin TV. Is there still room for storage?
A5: Yes! Thin TVs often have very low-profile mounts. Your best bet is to attach storage solutions to the wall next to the TV or on an adjacent piece of furniture, rather than directly on the mount or behind the TV.
Q6: What if my remote doesn’t have a flat surface for an adhesive holder?
A6: Use a holder designed with elastic straps or a pouch. Alternatively, attach a small Velcro strip to the remote and a corresponding strip to the wall.
Q7: How can I prevent my remotes from getting lost when I have kids?
A7: Brightly colored silicone cases, tethers, and a designated “home” (like a specific wall pocket or basket) are very effective. Consistency in putting them back in their designated spot is key!
Conclusion: Effortless Control, Elevated Living
Embracing smart TV wall mount ideas for remote control management is about more than just tidiness; it’s about creating a more streamlined and enjoyable home entertainment experience. From simple adhesive holders to integrated shelving and creative magnetic solutions, there’s a perfect fit for every home and every budget.
By implementing even one of these ingenious ideas, you’ll reclaim your couch cushions, banish the remote-hunting blues, and maintain the clean, modern aesthetic that your wall-mounted TV provides. Think of it as the final, essential touch that elevates your A/V setup from functional to truly genius. So, go ahead, pick a solution, and enjoy the effortless control and elevated living that comes with a perfectly organized remote!
.lwrp.link-whisper-related-posts{
margin-top: 40px;
margin-bottom: 30px;
}
.lwrp .lwrp-title{
}.lwrp .lwrp-description{
}
.lwrp .lwrp-list-container{
}
.lwrp .lwrp-list-multi-container{
display: flex;
}
.lwrp .lwrp-list-double{
width: 48%;
}
.lwrp .lwrp-list-triple{
width: 32%;
}
.lwrp .lwrp-list-row-container{
display: flex;
justify-content: space-between;
}
.lwrp .lwrp-list-row-container .lwrp-list-item{
width: calc(25% – 20px);
}
.lwrp .lwrp-list-item:not(.lwrp-no-posts-message-item){
max-width: 150px;
}
.lwrp .lwrp-list-item img{
max-width: 100%;
height: auto;
object-fit: cover;
aspect-ratio: 1 / 1;
}
.lwrp .lwrp-list-item.lwrp-empty-list-item{
background: initial !important;
}
.lwrp .lwrp-list-item .lwrp-list-link .lwrp-list-link-title-text,
.lwrp .lwrp-list-item .lwrp-list-no-posts-message{
}@media screen and (max-width: 480px) {
.lwrp.link-whisper-related-posts{
}
.lwrp .lwrp-title{
}.lwrp .lwrp-description{
}
.lwrp .lwrp-list-multi-container{
flex-direction: column;
}
.lwrp .lwrp-list-multi-container ul.lwrp-list{
margin-top: 0px;
margin-bottom: 0px;
padding-top: 0px;
padding-bottom: 0px;
}
.lwrp .lwrp-list-double,
.lwrp .lwrp-list-triple{
width: 100%;
}
.lwrp .lwrp-list-row-container{
justify-content: initial;
flex-direction: column;
}
.lwrp .lwrp-list-row-container .lwrp-list-item{
width: 100%;
}
.lwrp .lwrp-list-item:not(.lwrp-no-posts-message-item){
max-width: initial;
}
.lwrp .lwrp-list-item .lwrp-list-link .lwrp-list-link-title-text,
.lwrp .lwrp-list-item .lwrp-list-no-posts-message{
};
}
Related Posts
- Top Mini Bluetooth Speaker for Travel Adventures!

Are Digital Audio Players Worth It?- How To Connect Bluetooth Headphones Under 300: Easy Guide
- Tv Ports Explained: All You Need For Perfect Accessories!

- Soundbar vs Speaker Under $50: Best Budget Choice?
- Best Microphone For Pc For Youtube Videos In 2023
- Pros & Cons of Multiroom Speaker Setups Revealed
320 Bitrate Vs FLAC | Which One Is The Better Audio?