
Don’t let mounting your TV ruin your viewing experience! This guide explains how the right contrast ratio impacts your picture and gives you essential tips for mounting your TV perfectly, ensuring vibrant blacks and bright whites every time.
Hey there, tech enthusiasts and home cinema dreamers! Bob E Riley here, your guide to making your entertainment gear sing. Today, we’re tackling a question that might seem a little intertwined: “What does TV contrast ratio have to do with mounting my TV?” It’s a great question, and the answer is simpler than you might think. Getting your TV mounted just right isn’t just about securing it to the wall; it’s also about setting it up to deliver the best possible picture quality.
And that’s where contrast ratio comes in. A beautiful, immersive picture depends on how well your TV can display the difference between the darkest blacks and the brightest whites. Too much glare from a poor mounting position, or simply not understanding what contrast ratio means, can make that stunning HDR movie look washed out. Don’t worry, though! We’re going to break down contrast ratio in an easy-to-understand way and then dive deep into the practical, step-by-step tips for mounting your TV so its contrast truly shines.
Understanding TV Contrast Ratio: What It Means for Your Picture

Before we grab the drill, let’s talk about this “contrast ratio” thing. Think of it like this: it’s the TV’s ability to show a really deep, dark black next to a super bright white. The bigger the number, the better it is at showing this difference. More contrast means more depth, more detail in dark scenes, and more “pop” in bright ones. It’s a key ingredient for that breathtaking picture we all crave.
Static vs. Dynamic Contrast Ratio: The Numbers Game
You’ll often see two numbers when looking at contrast ratio: static and dynamic. Static contrast is the real deal, measured under stable conditions. Dynamic contrast is a marketing term that changes based on the scene, often making the number look much higher than it really is. For practical purposes, especially when thinking about how your TV is lit and viewed, static contrast is what you want to focus on.
Why High Contrast Ratio Matters for Mounting
So, how does this connect to mounting? Simple: ambient light. If your room has a lot of light coming from windows or lamps, it can wash out the blacks on your TV. A TV with a high native contrast ratio handles this better, maintaining those deep blacks even with some light. Mounting your TV in a way that minimizes direct light and glare will allow that high contrast to do its job, giving you a picture that’s rich and immersive, just as the creators intended. It’s about creating the ideal viewing environment for your TV’s capabilities.
Essential TV Mounting Tips for Optimal Contrast
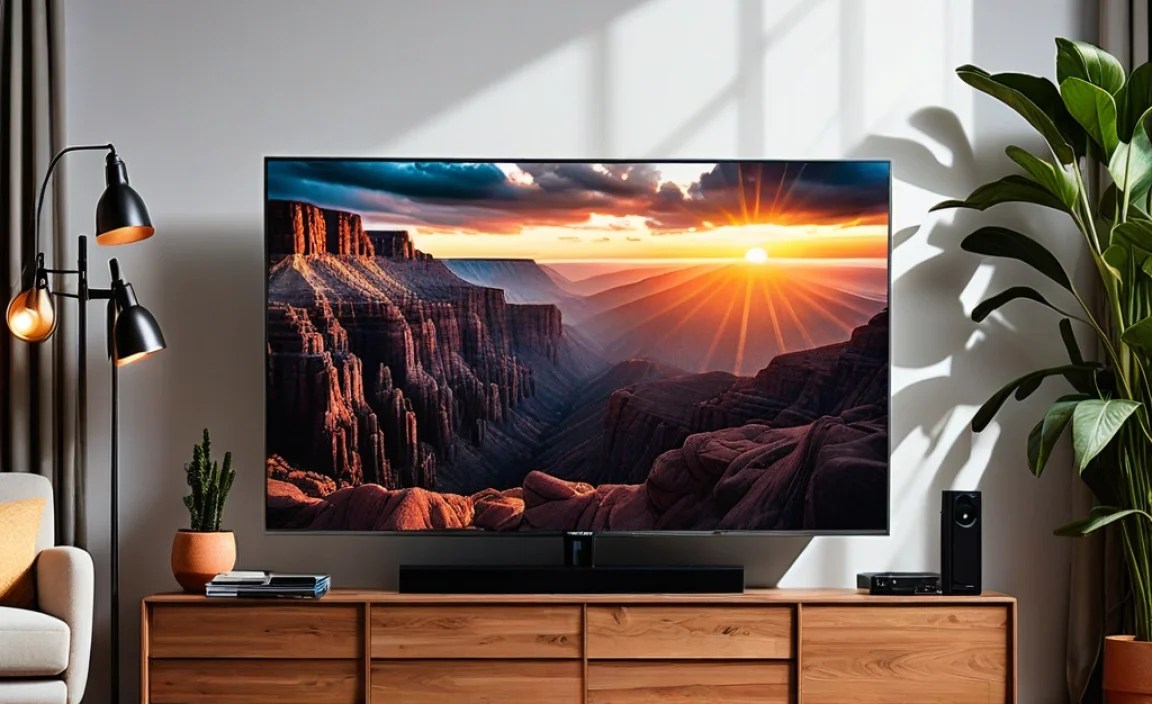
Now, let’s get down to the serious stuff – mounting your TV. This isn’t just about finding studs; it’s about positioning your screen for the best possible visual experience. We want to minimize glare and ensure that amazing contrast ratio shines through.
Step 1: Choose the Right Location – Think About Light!
This is arguably the most crucial step. You need to consider the natural and artificial light sources in your room.
- Avoid Direct Sunlight: Mount your TV away from windows where the sun hits directly during the day. This is the biggest enemy of contrast. Even the best TVs struggle with direct glare.
- Minimize Overhead Lighting Glare: If you have ceiling lights directly above where the TV will be, consider if mounting it slightly higher or lower can help. Smart lighting choices can make a huge difference too – opt for dimmable or indirect lighting.
- Reflections: Look around the room for reflective surfaces like mirrors, glossy furniture, or even glass picture frames. Position your TV so that reflections from these are minimized when you’re in your primary viewing position.
For those who want to delve deeper into controlling room lighting, resources from organizations like the U.S. Department of Energy offer excellent advice on energy-efficient and effective lighting strategies that can benefit your home theater setup.
Step 2: Select the Correct Mounting Height
The ideal TV height is typically at eye level when you’re seated. Here’s how to figure that out:
- Sit in Your Usual Spot: Relax in your favorite couch or chair.
- Measure Your Eye Level: Have someone measure the distance from the floor to your eyes.
- Calculate TV Center: This measurement is roughly where the center of your TV screen should be.
- Adjust for Mount Type: If you’re using a tilting mount, you might mount it slightly higher, as the tilt will bring it down to eye level. For a fixed or full-motion mount, aim for that eye-level sweet spot.
Mounting too high is a common mistake that can lead to neck strain and a less immersive experience. It can also contribute to glare if the screen is angled upwards towards brighter ceiling lights.
Step 3: Consider Viewing Angles
While contrast is key, so is being able to see the picture clearly from different seats.
- Main Viewing Spot: Ensure the ideal height and angle are set for your primary viewing position.
- Secondary Seats: If you have a large room or often have guests, a full-motion mount can be a lifesaver. It allows you to swivel and tilt the TV to accommodate viewers on the sides.
- Fixed Mounts: If you opt for a fixed mount, try to position the TV so that all regularly used seats have a reasonably direct view.
Step 4: Choose the Right Mount Type for Your Needs
Different mounts offer different levels of flexibility, which can impact both viewing angles and glare management.
Types of TV Mounts:
| Mount Type | Pros | Cons | Best For |
|---|---|---|---|
| Fixed Mount | Most affordable, slim profile, low glare potential if placed correctly. | No tilting or swiveling, requires precise placement for optimal viewing angles. | Rooms where you can achieve perfect eye-level placement and have a defined central viewing area. Minimal glare is achievable with careful location planning. |
| Tilting Mount | Allows tilting up/down (typically 15 degrees), great for reducing glare from overhead lights or if mounting slightly higher than eye level. | Still limited without side-to-side movement, can be bulkier than fixed mounts. | Mounting above fireplaces or on walls where precise eye-level placement without tilt isn’t possible. Helps manage overhead light glare. |
| Full-Motion / Articulating Mount | Offers full range of motion (tilt, swivel, extend), ideal for large rooms, corner mounting, or multiple viewing areas. | Prone to more glare if not carefully managed due to its flexibility, often the most expensive, can be more complex to install. | Versatile spaces, rooms with unusual layouts, or when you need to adjust the TV for various seating positions. Requires careful angle adjustments to manage glare. |
For managing contrast ratio effectively, especially in rooms with variable lighting, a tilting or full-motion mount can give you the flexibility to counteract glare by adjusting the screen’s angle. This is crucial for maintaining those deep blacks that are essential for a high contrast picture.
Step 5: Installation – Safety and Stability First!
This is where your drill and level come in! Don’t cut corners here, as a poorly installed mount can damage your TV and your wall.
- Locate Wall Studs: Use a stud finder. Mounting a TV into drywall alone is a recipe for disaster. Studs provide the necessary support.
- Use a Template: Most mounts come with a mounting template. Use it to mark your drill holes accurately.
- Level is Key: Use a spirit level to ensure the mount is perfectly straight. A crooked TV is more than just an aesthetic issue; it can affect viewing comfort.
- Use the Right Hardware: The mount will come with screws and anchors. Use what’s provided, and ensure they are appropriate for your wall type (though you must hit studs for safety). If your wall is concrete or brick, you’ll need specific anchors.
- Follow Manufacturer Instructions: Every mount is slightly different. Read and follow the instructions provided with your specific mount carefully.
If you’re unsure about any part of the installation process, it’s always best to consult a professional installer or an experienced DIY friend. For robust wall anchoring guidance, resources like those provided by the This Old House website offer valuable, practical advice for homeowners tackling DIY projects.
Step 6: Connect and Test Your Setup
Once the mount is securely attached and the TV is on it, connect all your cables (HDMI, power, etc.). Then, turn on your TV and test it with content that has both very dark and very bright scenes.
- Wiggle Test: Gently try to move the TV. It should feel solid and secure.
- Picture Check: Look for any distracting reflections or glare. Adjust the TV’s angle using your mount if necessary.
- Cable Management: Tidy up your cables using zip ties, velcro straps, or in-wall cable management kits for a clean look.
Frequently Asked Questions (FAQs) About TV Contrast Ratio and Mounting
What is the most important factor for a good contrast ratio?
The most important factor is the TV’s native contrast ratio, determined by its panel technology (like OLED or improved LED backlighting). However, for maximizing what your TV can do, minimizing ambient light and glare is equally crucial. A good mounting position helps immensely with this.
Can a poorly mounted TV affect contrast ratio?
Yes, absolutely! If your TV is mounted in a spot with direct glare from windows or lights, it will wash out the image, making dark scenes look gray and reducing the perceived contrast. Proper mounting helps combat this.
How high should I mount my TV for the best contrast?
For optimal viewing and contrast, the center of the screen should be at your eye level when you’re seated. Mounting too high can lead to glare from overhead lights and a less immersive experience.
Should I get a tilting or full-motion mount?
A tilting mount is great for reducing glare from overhead lights or when mounting slightly above eye level. A full-motion mount offers more flexibility for different viewing angles and rooms, but requires more careful adjustment to manage glare and maintain contrast.
Is it okay to mount a TV above a fireplace?
It’s often not ideal, as fireplaces are usually mounted very high, leading to poor viewing angles and potential glare. If you must, use a tilting mount and be mindful of heat and light sources. The height itself can negatively impact contrast perception.
What if my room has lots of windows?
If your room has many windows, you’ll need to be strategic. Mount the TV on a wall perpendicular to the main windows, using heavy curtains or blinds to control light during the day. A full-motion mount also helps you adjust the angle to avoid direct reflections.
How do I know if my TV contrast ratio is good enough?
Look up your TV’s specifications for its native contrast ratio. For general viewing, a ratio of 1,000:1 or higher is decent. For movies and gaming, especially with HDR content, higher is always better (tens of thousands or even millions for some technologies, though those are often dynamic). However, proper lighting and mounting can make even a “good” ratio look “great.”
Conclusion
So there you have it! Mastering your TV’s contrast ratio isn’t just about buying the most expensive screen; it’s a combination of the TV itself and how you present it in your viewing space. By understanding what contrast ratio does for your picture and following these essential mounting tips, you’re well on your way to a truly breathtaking home entertainment experience. Remember to choose your location wisely, considering light sources and viewing angles, select the right mount for your needs, and always prioritize safe and secure installation. Take the time to get it right, and you’ll be rewarded with vibrant colors, deep blacks, and stunning detail that truly brings your movies, shows, and games to life. Happy mounting and happy viewing!