
Wobbly or inadequate speaker stands can ruin your audio. This guide offers genius fixes for common speaker stand problems, from simple DIY solutions to smart product upgrades. Learn how to stabilize, elevate, and optimize your speaker placement for the best sound and a cleaner look.
It’s frustrating, isn’t it? You’ve invested in great speakers, but they’re perched precariously on stacks of books or tiptoeing on flimsy stands that wobble with every bass note. Poor speaker placement and unstable stands don’t just look messy; they can seriously mess with your sound quality. Fear not! We’re here to tackle those pesky speaker stand headaches. We’ll walk you through simple, clever solutions that will have your speakers singing their best tune in no time. Get ready to fix those speaker stand woes and enjoy crystal-clear audio!
As Bob E Riley from Aimguider, I know that getting your audio setup just right can seem daunting, but it doesn’t have to be. Whether you’re a music buff, a gamer, or just want your home cinema to sound amazing, the right speaker placement is key. And that starts with the stands. Let’s dive into some genius ideas to fix your speaker stand problems!
Why Speaker Stands Matter (And Why Yours Might Be Failing)

Your speakers are designed to project sound outwards, often in specific directions. When they’re sitting on the floor or a wobbly surface, that sound gets bounced around, absorbed, or distorted. Dedicated speaker stands help by:
- Elevating speakers: Getting them to ear level for optimal listening.
- Isolating vibrations: Preventing your speakers from rattling furniture or your floor.
- Improving soundstage: Creating a wider, more immersive stereo image.
- Reducing bass boom: Minimizing unwanted resonance that can muddy the sound.
- Aesthetics: Offering a clean, professional look to your audio setup.
Common speaker stand problems can include instability, incorrect height, poor material quality, or simply not having the right type of stand for your speakers. Maybe your current stands are too light, your speakers are too big, or the floor isn’t level. Whatever the issue, there’s a solution!
Let’s get right to the fixes!
Genius Speaker Stand Ideas: Step-by-Step Fixes
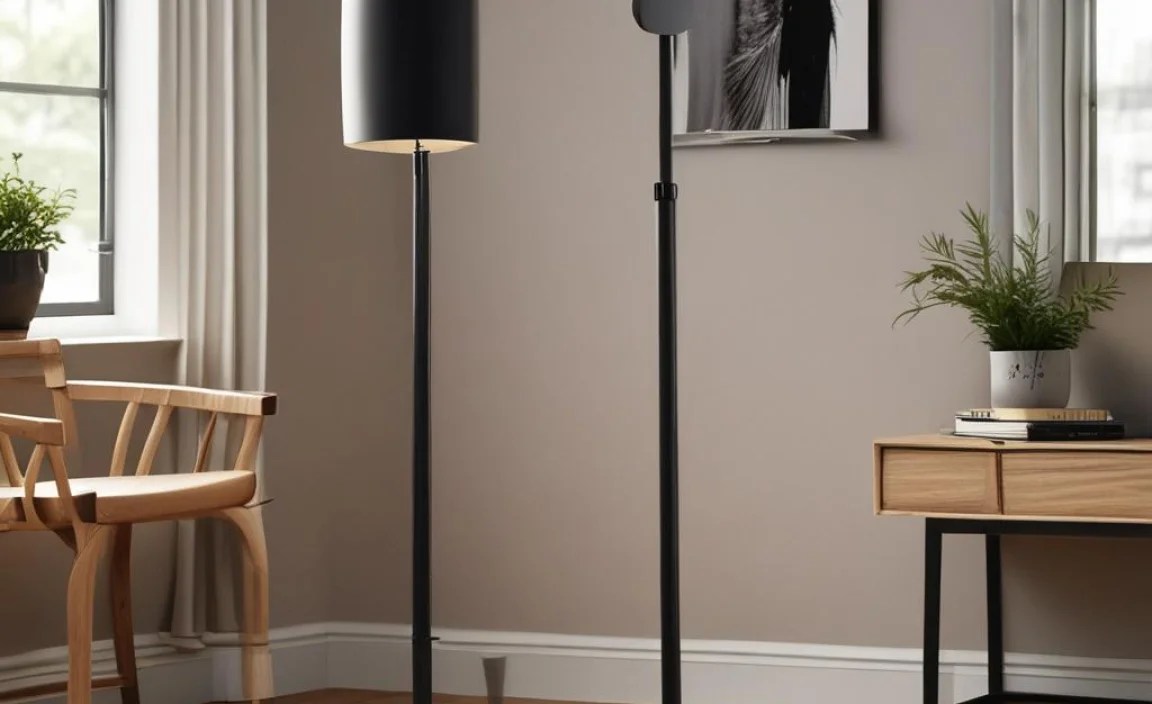
We’ll break down solutions based on common issues. You don’t need to be a DIY expert; many of these are quick, affordable, and effective.
Fix 1: The Wobble Woes – Stabilizing Your Current Stands
This is the most common problem. If your speaker stands feel like they’re about to take a tumble, here’s how to make them rock-solid (without the actual rocking!).
Problem: Stands are too light or have a small base.
Solution A: Add Weight to the Base
Many speaker stands have hollow bases designed for adding weight. This is the easiest and most effective way to increase stability.
- Identify hollow compartments: Check the bottom of your speaker stands. Many have removable panels or are naturally hollow.
- Gather stable materials:
- Sand (play sand or playground sand works well)
- Gravel or small pebbles
- Lead shot (use with caution and proper ventilation)
- Steel or iron slugs
- Fill the base: Carefully pour your chosen material into the speaker stand base. Fill it as much as possible without making it too heavy to move.
- Secure the compartment: Replace any panels or covers. You might use strong tape (like duct tape or gaffer tape) to seal it if needed.
Solution B: Use Adhesive or Grip Pads
If adding weight isn’t an option or isn’t enough, you can improve the grip between the stand and the floor.
- Clean the floor and stand base: Ensure both surfaces are free of dust and debris.
- Apply grip pads:
- Felt pads: Great for wood or laminate floors to prevent scratches and add a little tack.
- Rubber or silicone gel pads: Excellent for providing a non-slip surface on almost any floor type. These are often sold as furniture grippers.
- Specialized speaker isolation pads: These are designed to decouple the speaker from the stand and the stand from the floor, reducing vibrations and improving grip. Brands like SVS Sound Path or IsoAcoustics offer options.
- Placement: Stick them firmly to the underside of the stand’s base. If the stand has spikes, you might need to consider alternative floor protectors in conjunction with these pads.
Solution C: Spike Leveling and Floor Protectors
If your stands have adjustable spikes, they can be used to achieve a level surface even on slightly uneven floors. Always use floor protectors under spikes to avoid damage.
- Adjust spikes: Carefully turn the adjustable spikes in or out until the stand is level. A small spirit level can help here.
- Place protectors: Use dedicated floor protector discs (often included with the stands or sold separately) or even sturdy coasters under each spike.
Fix 2: The Height is Wrong – Optimizing Speaker Placement
Your speakers might be stable but at the wrong height, leading to subpar sound. The ideal tweeter height is typically at ear level when you’re in your primary listening position.
Problem: Stands are too short or too tall.
Solution A: Use Speaker Stand Risers or Extension Kits
These are accessories designed to increase the height of existing stands. They can be simple metal or wood blocks that attach to the top or bottom of your current stand, or specific extension tubes.
- Measure your needs: Determine how much extra height you require.
- Check compatibility: Ensure any riser or extension kit is compatible with your existing stand’s tubing diameter or mounting system.
- Install: Follow the manufacturer’s instructions. This usually involves unscrewing a section of the stand and inserting the riser or extension.
Solution B: DIY Height Adjustments with Solid Materials
For a more permanent or custom height, you can build simple risers.
- Materials:
- Dense wood blocks (e.g., hardwood, plywood) cut to your desired height.
- Solid concrete blocks or pavers (can be heavy and aesthetically challenging).
- Process:
- Cut wood to size.
- For wood blocks, you can drill holes to match your stand’s mounting points or speakers.
- Place the riser between the stand and the speaker, or at the base of the stand if it’s too short.
- For safety, ensure the riser is stable and the speaker is securely mounted on top. Consider using adhesive putty like Blu Tack or specialized dampening pads between surfaces to prevent slippage.
Solution C: Invest in Adjustable Height Stands
If you frequently change your setup or are unsure of the perfect height, adjustable stands are a fantastic investment. Many models allow you to set a precise height within a range.
External Link: For a deeper dive into optimal speaker placement for stereo imaging, check out guides from reputable audio sites. For example, a good starting point on acoustic principles: Acoustic Primer by the American Association of Physics Teachers, which touches on wave behavior relevant to sound.
Fix 3: The Vibration Problem – Decoupling and Dampening
Speakers vibrate when they produce sound. If these vibrations travel into the stand, and then into your floor or furniture, it can color the sound, cause rattling, and even reduce bass definition. This is especially true for subwoofers and larger bookshelf speakers.
Problem: Rattling, muddy bass, or unwanted resonance.
Solution A: Isolation Pads/Feet
These are placed between the speaker and the stand, or between the stand and the floor, to absorb or dissipate vibrations.
- Types:
- Foam pads: Dense acoustic foam is a budget-friendly option.
- Rubber/Silicone pads: Offer good vibration dampening.
- Spikes with decoupling bases: High-end solution that lifts the speaker and isolates it.
- Specialized isolation pucks/platforms: Brands like IsoAcoustics, SVS, and Audient make dedicated products designed to manage speaker vibrations.
- Application: Place them between the speaker and the stand top plate. If vibration is still an issue, place similar pads or a wider isolation platform between the stand base and the floor.
Solution B: Fill Speaker Stand Columns (if applicable)
Some hollow speaker stands can act like resonance chambers, amplifying certain frequencies. Filling them can dampen this effect.
- Materials: Use the same materials as for stabilizing the base (sand, gravel, specialized acoustic damping material).
- Process: Carefully pour the material into the stand columns. Avoid overfilling, which could make the stand too heavy or unstable.
Solution C: Use Blu Tack or Adhesive Putty
For smaller bookshelf speakers, a small amount of Blu Tack or similar adhesive putty can secure the speaker to the stand and provide a degree of isolation. Use sparingly and ensure it doesn’t damage your speaker’s finish.
Fix 4: The Aesthetic Upgrade – Tidying Up Cables and Improving Looks
Beyond sound, speaker stands can be eyesores if cables are a mess or the stands themselves look cheap. Here’s how to make them look as good as they sound.
Problem: Messy cables, unsightly stands.
Solution A: Professional Cable Management
Most speaker stands have channels or holes for routing speaker wire.
- Thread cables: Run your speaker wire through the designated channels or tubes on your stands.
- Secure cables: Use cable ties, Velcro straps, or adhesive cable clips to keep wires neat and taut along the stand’s body or along the wall.
- Hide cables: For a super clean look, consider cable raceways that adhere to your walls to hide speaker wires running from your receiver to the speakers.
Solution B: Upgrading Stand Materials or Finishes
If your current stands are visually unappealing, you can often improve them.
- Spray paint: A can of spray paint designed for metal or plastic can refresh old stands. Clean and prime them thoroughly first. Matte finishes tend to look more professional.
- Wood veneers or wraps: For some stands, you can apply adhesive wood veneer sheets or vinyl wraps to change their appearance.
- DIY Stands: For a truly custom look, consider building your own stands from solid wood or metal. Resources like Woodsmith Magazine offer plans and techniques.
Fix 5: The Wrong Stand Type – Choosing for Your Speakers
Sometimes, the best “fix” is realizing you have the wrong type of stand for your speakers and making a smart upgrade.
Problem: Stands are not suited for the speaker size, weight, or type (e.g., using a tiny satellite speaker stand for a heavy floor-standing speaker).
Solution A: Match Stand to Speaker Size and Weight
Check the manufacturer’s specifications for both your speakers and any stands you consider.
- Bookshelf speakers: Typically require stands with a top plate of adequate size to hold the speaker securely and a weight capacity that exceeds the speaker’s weight.
- Satellite speakers: Often come with their own specific mounts or require very light stands.
- Subwoofers: Subwoofers have unique needs due to their powerful low-frequency output. Many benefit from specialized subwoofer isolation platforms or stands designed to handle significant vibrations and weight.
- Tower/Floorstanding speakers: These are usually designed to sit directly on the floor with their own integrated base, but sometimes can be elevated on specialized platforms for acoustic benefits.
Solution B: Consider the Environment and Speaker Placement Needs
- Corner placement: If speakers must go in corners, consider stands with a smaller footprint or those designed to be less intrusive.
- Near-field listening (Desks): Desktop stands or smaller, adjustable stands are ideal for computer speakers or studio monitors.
- Home Theater surrounds: Small, height-adjustable stands are perfect for rear surround speakers.
| Speaker Type | Typical Stand Needs | Key Considerations |
|---|---|---|
| Bookshelf Speakers | Sturdy stands, adequate top plate size, weight capacity | Height to ear level, isolation, stability |
| Satellite Speakers | Lightweight, often small footprint, sometimes wall-mountable | Secure attachment, optimal aiming |
| Studio Monitors | Adjustable height, robust construction, isolation features | Accurate sound reproduction, flat response |
| Subwoofers | Robust build, vibration isolation platforms recommended | Preventing floor/furniture rattles, handling weight |
Note: For floorstanding speakers, the term “speaker stand” usually refers to optional accessories that elevate them for acoustic tuning, rather than the primary means of support.
Fix 6: The DIY Solution – Building Your Own Stands
If you’re hands-on, building your own speaker stands can provide the perfect solution for custom height, stability, and aesthetics.
Problem: No off-the-shelf solution meets specific needs, or budget is a major constraint.
Solution: Constructing Custom Stands
Materials you might need:
- Wood: Solid hardwood (oak, maple, cherry) or sturdy plywood.
- Metal: Steel or aluminum tubing, angle iron, flat stock.
- Fasteners: Screws, bolts, welding supplies (if applicable).
- Tools: Saw, drill, measuring tape, level, sandpaper, screwdriver, possibly a welder or metal fabricator.
- Finishing: Paint, stain, varnish, acoustic damping material, rubber feet.
Basic Steps (Wood Example):
- Design: Sketch out your desired stand, noting dimensions for height, base, and top plate. Ensure it’s proportionate and stable for your speakers. Online woodworking communities and forums are great sources for designs.
- Cut Materials: Precisely cut your wood pieces for the base, uprights, and top plate.
- Assemble Base and Uprights: Securely attach the uprights to the base using screws and wood glue for maximum strength. Consider using internal bracing if needed.
- Attach Top Plate: Mount the top plate to the uprights. Drill holes if you plan to bolt the speakers directly to the stand.
- Add Features: You can hollow out sections for sand filling, create channels for cables, or integrate features for isolation pads.
- Finishing Touches: Sand smooth, apply your chosen finish (paint, stain), and attach rubber feet or spike-replacements to the base.
Safety First: Always wear safety glasses when cutting or drilling. If working with heavy materials or power tools, ensure you have a stable workspace and understand how to operate them safely. For complex metal fabrication, consider consulting a professional or using pre-fabricated components.
External Link for Inspiration: For detailed woodworking plans and techniques, resources like Fine Cooking’s guide on choosing wood can provide foundational knowledge for any DIY project.