
Looking for cheap speaker stand ideas to elevate your audio without breaking the bank? Discover genius, affordable finds and DIY solutions that boost sound quality and your room’s aesthetic, proving great sound doesn’t need a high price tag.
Ever feel like your speakers are just… sitting there? Not quite at ear level, maybe vibrating against your desk, or just generally underperforming? You’re not alone. Many of us love our music, movies, and games, but investing in dedicated speaker stands can seem like an unnecessary expense, especially when you’re already stretching your budget for good speakers. The good news is, getting your speakers into the optimal position for better sound and a cleaner look doesn’t have to cost a fortune. We’re going to explore some incredibly clever and budget-friendly speaker stand ideas that will make a noticeable difference in your listening experience. Get ready to say goodbye to “good enough” and hello to fantastic sound, even on a tight budget!
Why Bother with Speaker Stands? The Sound (and Style) Difference

Before we dive into the cheap and cheerful solutions, let’s quickly chat about why speaker stands are worth considering. It’s not just about making your speakers look professional; it’s fundamentally about sound quality. Speakers produce sound waves. When they sit directly on a surface (like a desk, shelf, or floor), these vibrations can transfer to the surface, causing unwanted resonance and coloration. This muddies the sound, reduces clarity, and can even create a buzzing or rattling effect. Plus, most speakers are designed to perform best when they are positioned at your ear level, with a slight angle towards your listening position. This is known as the “equilateral triangle” setup for stereo sound.
- Improved Clarity: Stands isolate speakers from surfaces, reducing resonance and allowing your audio to sound cleaner and more defined.
- Better Bass Response: By elevating bass-radiating elements (like ports or passive radiators) away from the floor, you can often achieve a tighter, more accurate bass.
- Optimal Soundstage: Positioning speakers at ear height creates a more immersive and realistic soundstage, letting you hear instruments and vocals as the artist intended.
- Reduced Distortion: When speakers aren’t struggling against room vibrations or poor placement, they generally produce less distortion at higher volumes.
- Aesthetic Appeal: Stands can declutter your space, create a more organized look, and elevate the overall appearance of your listening environment.
So, while many of these cheap ideas won’t be made of solid oak or have intricate adjustable mechanisms, they will achieve the primary goal: getting your speakers off the surface and into a better position. This is where the magic happens, and it’s achievable for everyone, regardless of their budget.
Genius Cheap Speaker Stand Ideas You Can Get Right Now

You don’t need to be a master carpenter or spend hundreds of dollars to get your speakers off that shelf. These ideas leverage common household items, readily available budget-friendly products, and simple modifications to create effective speaker stands.
1. The “Bookshelf” Solution: Your Existing Books!
This is perhaps the most accessible and truly zero-cost idea. If you have shelves, use what you already own. The key is to create a stable, elevated platform. Hardcover books are excellent for this.
How-to:
- Select a few sturdy, similarly sized hardcover books.
- Arrange them to create a stable, flat surface large enough for your speaker to sit on securely.
- Place your speaker on top of the book platform.
- Adjust the height by adding or removing books until the speakers are closer to ear level.
- If your speakers have rubber feet, ensure they are making good contact with the books. If not, you might consider adding small felt pads or even a thin piece of corrugated cardboard on top of the books for a bit more grip and vibration dampening.
Pros: Free, readily available, customizable height, eco-friendly (upcycling).
Cons: Can look untidy if not arranged carefully, might not be extremely stable for very heavy or large speakers, limited aesthetic appeal.
2. The “Furniture Flip”: Inverted Baskets and Crates
Believe it or not, certain types of furniture, when flipped or repurposed, can make surprisingly effective speaker stands. Think sturdy wire baskets, wooden crates, or even small, inverted stools.
How-to:
- Find a sturdy, relatively flat-topped item like a wire storage basket (the kind with a solid base or a tight mesh), a wooden crate, or a small, solid-topped end table or stool.
- Ensure the item is stable when inverted (upside down). The base of the basket or crate now becomes the top surface.
- Clean the item thoroughly.
- Place your speaker on the inverted surface.
- For wire baskets, consider adding a piece of flat wood, dense foam, or a cutting board on top to create a more stable and vibration-dampening platform for the speaker itself.
Pros: Can be very stable, offers a unique aesthetic, often found cheaply secondhand or already owned.
Cons: Requires finding the right item, might need modifications (like adding a top platform for wire baskets), stability can vary.
3. The “DIY Block” Method: Wood Scraps or Foam Blocks
If you’re a bit handy, or can get your hands on some scrap wood, creating simple blocks is a fantastic way to get precise heights and stability.
How-to (Wood Blocks):
- Source some wood scraps. Common choices include 2x4s, 4x4s, or even thicker pieces of plywood.
- Cut the wood to your desired height. Ensure the top surface is wide enough to comfortably support your speaker.
- Sand the edges to remove any splinters for safety and a cleaner look.
- Optional: Paint or stain the wood to match your decor.
- Place the wood blocks on your desired surface and then place your speakers on top.
How-to (Foam Blocks):
- Purchase dense foam blocks. Packaging foam, dense upholstery foam, or even dense packing foam can work. Avoid soft, easily compressible foam.
- Cut the foam to your desired height, ensuring it’s large enough to provide a stable base for your speaker.
- Place the foam blocks and then your speakers on top.
Pros: Very stable, customizable to exact height and size, can be made to look quite nice with wood, foam offers excellent vibration dampening. For wood, check out resources like WoodworkingTalk for basic cutting tips if you’re new to it.
Cons: Requires tools and some DIY skill for wood, sourcing suitable dense foam might take a little searching.
4. The “Brick & Board” Combo: Classic Budget Sound
This is a tried-and-true method for a reason: it’s incredibly stable, cheap, and effective at isolating speakers from surfaces. You’ll need a couple of bricks and a sturdy piece of wood or a thick cutting board.
How-to:
- Get two sturdy bricks (or similar-sized heavy objects like cinder blocks or large paving stones).
- Find a flat, rigid board that is larger than the base of your speaker. A sturdy piece of plywood, a thick cutting board, or even a solid shelf can work.
- Place the bricks on your desk or floor, spaced apart so the board can rest securely on top of them. Ensure they are at the same height.
- Lay the board across the bricks. This creates an elevated platform.
- Place your speaker on top of the board.
- You can fine-tune the height by stacking more bricks (carefully!) or by using taller bricks.
Pros: Extremely stable, excellent vibration isolation, very cheap, simple to set up.
Cons: Can look industrial or utilitarian, requires finding suitable bricks and a rigid board.
5. Repurposed Kitchenware and Shelving: Surprisingly Useful
Don’t overlook items you already have! Think outside the box. Sturdy serving trays, robust cutting boards, or even small, stable shelving units can be adapted.
How-to (Cutting Board/Tray):
- Find a thick, stable cutting board (wood or composite) or a metal serving tray with a solid base.
- If using a tray, ensure it has no sharp edges that could damage your speaker.
- Place the cutting board or tray directly onto your desk or shelf.
- Place the speaker on top. For better results, place this setup on top of something else to elevate it further, like the book solution or furniture flip discussed earlier.
How-to (Small Shelf Unit):
- Look for small, sturdy organizational shelves or cube storage units that are no longer in use.
- Ensure the unit is stable enough to hold your speakers without tipping.
- Position the unit, then place your speakers on its top surface.
Pros: Utilizes existing items, can offer good stability and a cleaner look depending on the item chosen.
Cons: Height might be limited, requires careful selection to ensure stability and an appropriate surface for the speaker.
6. The “Found Object” Approach: Anything Stable!
Sometimes, the best ideas come from looking at everyday objects and asking, “Could this hold a speaker?” The key is rigidity and a relatively flat, non-wobbly surface.
Objects to Consider:
- Old Phone Books or Directories: Layer them up for adjustable height.
- Sturdy Plant Pots (Upside Down): Ensure the base is flat and stable.
- Thick, Flat Rocks or Pavers: If you have access to them, they offer excellent mass and isolation.
- Old Speaker Cabinets (Empty): If you have old, non-functional speaker cabinets lying around, empty them out and use them as stands for your current speakers.
How-to:
- Identify a stable, rigid object that is at least as wide as your speaker’s base.
- Test its stability by gently pressing down on it.
- Place the object, then the speaker on top.
- If using multiple objects for height (like stacking pots), ensure they interlock or are stable atop each other.
Pros: Can be completely free, sparks creativity, unique aesthetic. For those interested in acoustic principles, understanding mass and damping can be helpful. Resources like AudioScienceReview often discuss these concepts.
Cons: Stability and aesthetics can be highly variable; requires careful inspection for safety.
Budget-Friendly Commercial Options: When DIY Isn’t Your Thing

If you’re not keen on DIY, there are still incredibly affordable commercial speaker stands available that offer significant sonic improvements without demanding a premium price. These often use simple designs with basic materials.
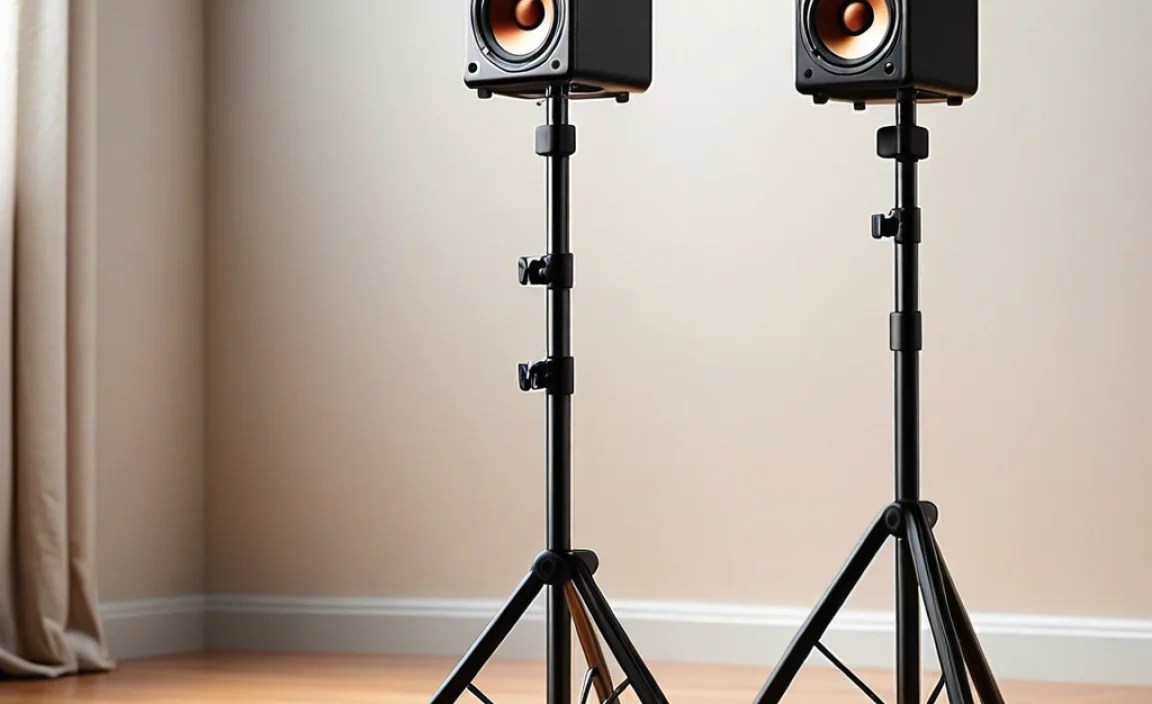
1. Small Bookshelf Speaker Stands (Adjustable Height)
Many online retailers offer basic, adjustable tripod or single-pole stands designed for satellite or small bookshelf speakers. These are often made from metal and plastic.
What to Look For:
- Adjustable Height: Allows you to dial in the perfect listening position.
- Sturdy Base: Tripod or wide square bases generally offer more stability.
- Weight Capacity: Ensure it can handle your speaker’s weight.
- Mounting Options: Some have universal mounting plates, while others rely on just placing the speaker on top.
Price Range: $20 – $50
2. Desktop Speaker Stands
These are specifically designed to sit on a desk or table, elevating your computer speakers or small studio monitors. They often have an angled design to direct sound upwards.
What to Look For:
- Ergonomic Angle: Helps direct sound towards your ears.
- Non-Slip Pads: To keep both the stand and the speaker in place.
- Compact Footprint: To save desk space.
- Durable Materials: Metal or solid acrylic are good choices.
Price Range: $15 – $40
3. Foam Monitor Isolation Pads
While not technically stands, these dense foam wedges are incredibly effective at decoupling your speakers from surfaces. They lift them slightly and absorb vibrations.
What to Look For:
- Dense Acoustic Foam: The firmer, the better for support.
- Angled Design: Many provide a tilt to help with aiming.
- Size Appropriateness: Ensure the pad is larger than your speaker’s base.
Price Range: $10 – $30 for a pair
Table: Comparing Budget Stand Options
To help you decide, here’s a quick comparison of some of the most common cheap speaker stand solutions:
| Option | Approx. Cost | DIY Effort | Stability | Aesthetics | Primary Benefit |
|---|---|---|---|---|---|
| Books | $0 (using existing) | Very Low | Moderate | Variable (can be messy) | Free, readily available height adjustment |
| Inverted Baskets/Crates | $0-$20 (secondhand) | Low | Good | Unique/Industrial | Stable, unique look, repurposing |
| Wood Blocks | $5-$25 (materials) | Medium | Excellent | Good (if finished) | Precise customization, very stable |
| Brick & Board | $5-$20 (materials) | Low | Excellent | Utilitarian | Maximum isolation and stability on a budget |
| Small Commercial Stands | $20-$50 | None | Good to Very Good | Basic/Functional | Convenience, adjustable height, ease of use |
| Foam Isolation Pads | $10-$30 | None | Good (on a flat surface) | Functional/Clean | Excellent vibration damping, compact |
Important Considerations for Any Speaker Stand Setup
No matter which cheap speaker stand idea you choose, keep these crucial points in mind to ensure safety, stability, and the best possible sound performance.
- Speaker Weight: Always ensure your chosen stand (DIY or commercial) can safely support the weight of your speakers. An unstable stand is a recipe for disaster.
- Speaker Dimensions: The surface of your stand needs to be large enough to securely hold your speaker’s base without it overhangin significantly.
- Stability Test: Before placing expensive speakers on any makeshift stand, give it a good wobble test. Gently push and pull it to ensure it won’t tip over easily.
- Vibration Dampening: While many cheap solutions offer some isolation, adding a layer of dense foam, sorbothane, or even a thick mousepad between the speaker and the stand surface can further improve sound clarity.
- Toe-In and Height: Aim to have the tweeters (the small drivers, usually at the top) of your speakers at roughly ear level when you’re in your primary listening position. You can also experiment by slightly angling the speakers inwards towards each other (toe-in) to create a focused soundstage.
- Cable Management: Once your speakers are elevated, you might find cables hanging awkwardly. Consider simple cable ties or clips to keep them tidy and prevent tripping hazards. For more advanced cable management, resources like Cable Matters offer helpful tips.