
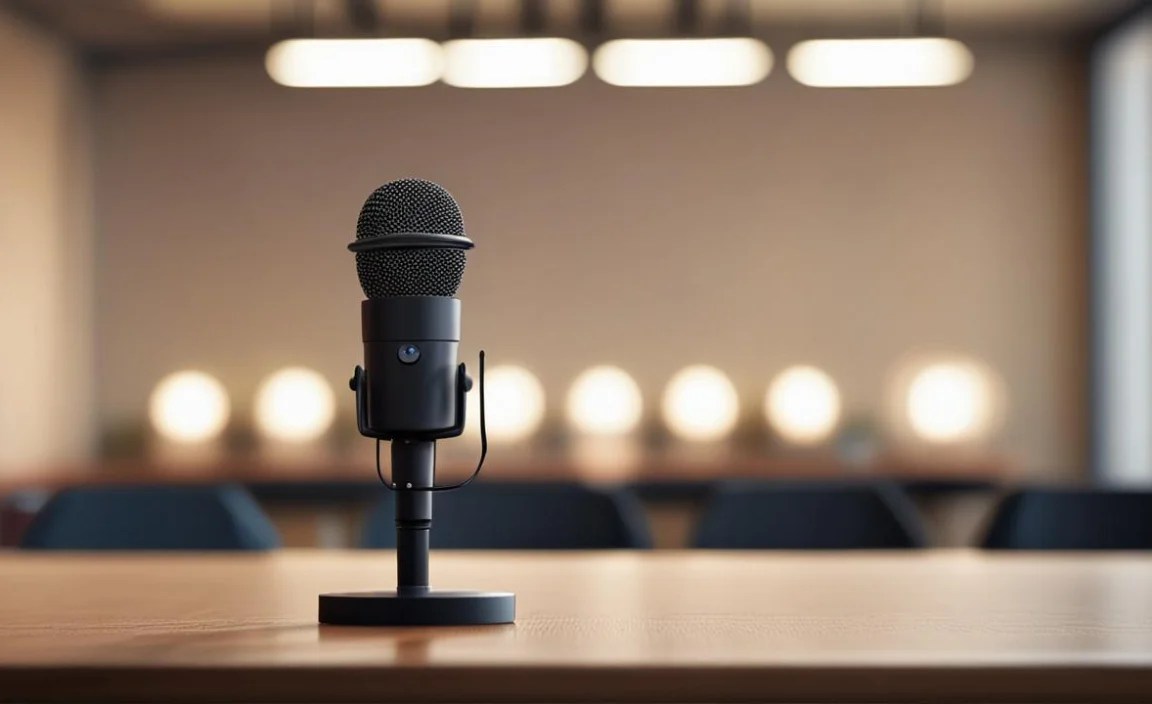
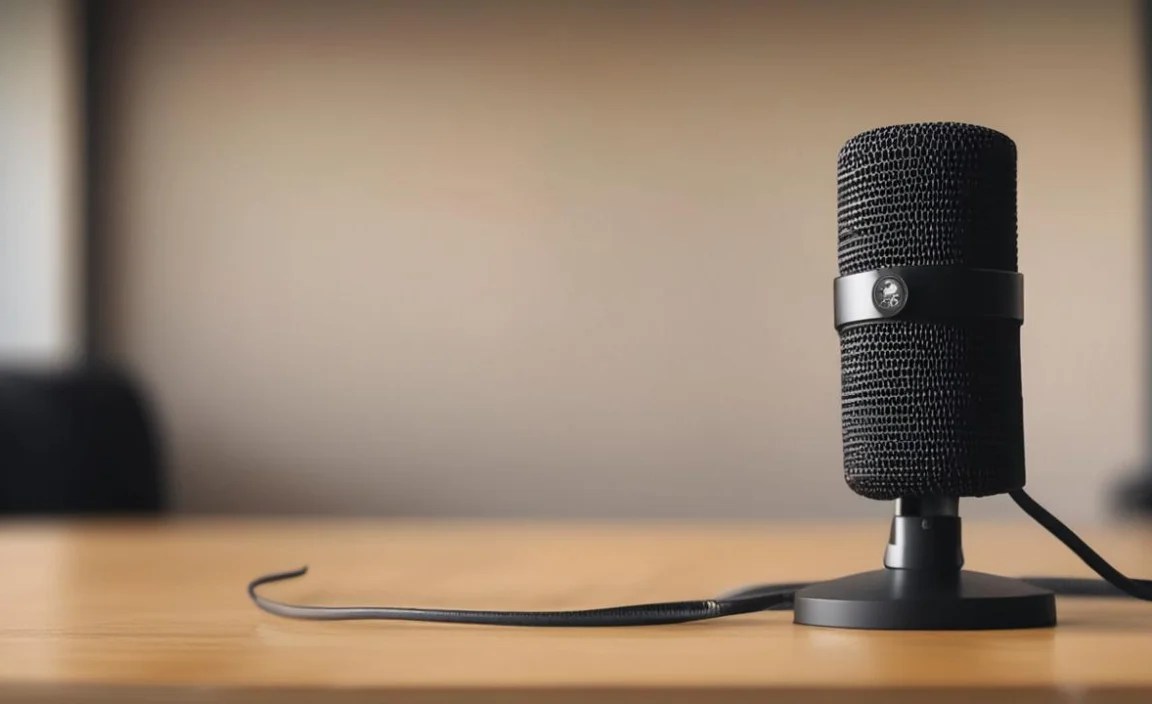
Setting up a speaker with a mic for meetings is simple! Connect your device via USB or Bluetooth, select it as your audio input/output in your meeting software, and test it. This guide walks you through each easy step for clear, professional calls.
Are meeting calls often fuzzy messes? Do you find yourself repeating yourself because nobody can hear you? It’s a common frustration in our connected world. Whether you’re joining a virtual team meeting, catching up with family, or presenting to clients, clear audio is key. A good speakerphone with a built-in microphone can transform your meeting experience from chaotic to calm. This guide is your friendly roadmap to setting up your speaker with mic for meetings, ensuring you sound great every time. Let’s get started and make your voice heard!
Why You Need a Dedicated Speakerphone for Meetings

You might be thinking, “Can’t I just use my laptop’s built-in mic and speakers?” While that’s a starting point, a dedicated speakerphone offers a significant upgrade. Imagine trying to hold a clear conversation in a room with a tinny laptop speaker and a microphone that picks up every keyboard click. It’s less than ideal, right?
Dedicated speakerphones are designed to tackle these exact problems. They offer:
- Improved Audio Quality: Better microphones capture your voice more clearly, reducing background noise. Louder, more resonant speakers make it easier to hear others.
- Wider Pickup Range: Many speakerphones can pick up voices from across a table, perfect for small group settings.
- Reduced Echo and Feedback: Advanced technology in speakerphones works to minimize those annoying echo effects and sudden loud feedback screeches.
- Portability: Many models are compact and portable, allowing you to bring clear communication to any room, or even take it on the go.
- Professionalism: A dedicated device just looks and sounds more professional than relying on makeshift setups.
Investing in a speakerphone isn’t just about better sound; it’s about improving your productivity and making communication smoother and more enjoyable.
Choosing the Right Speakerphone with Mic

Before we dive into the setup, let’s quickly touch on what to look for. The market offers a variety of speakerphones, and the “best” one often depends on your specific needs and budget.
Key Features to Consider:
- Connectivity: Most modern speakerphones connect via USB (plug-and-play simplicity) or Bluetooth (wireless freedom). Some offer both.
- Microphone Quality: Look for omnidirectional microphones (picking up sound from all directions) or directional ones if you’ll be in noisy environments. Features like noise cancellation and echo reduction are a big plus.
- Speaker Performance: Consider the loudness and clarity. If you often have multiple people in the room, a more powerful speaker is beneficial.
- Room Size: Check the manufacturer’s recommended room size. A small personal speakerphone won’t work well for a conference room of 10 people.
- Portability: Do you need to move it between rooms or take it traveling? Look for compact, lightweight models.
- Mute Button: A dedicated, easily accessible mute button is essential for privacy and convenience.
Popular brands often include Jabra, Anker, Poly (formerly Polycom), and Logitech, each offering a range of options. For example, the Jabra Speak series is well-regarded for its professional features and audio quality.
Speakerphone Setup: Step-by-Step Guide
Alright, you’ve got your speakerphone. Congratulations! Now, let’s get it connected and ready for your next meeting. This process is usually straightforward, and we’ll cover the most common connection methods.
Step 1: Unboxing and Initial Inspection
Open the box carefully. You should find your speakerphone unit, a USB cable (if applicable), and perhaps a quick start guide or manual. Ensure there’s no visible damage. Many speakerphones have a protective film on them, so peel that off.
Step 2: Powering Up Your Speakerphone
Most modern USB speakerphones draw power directly from your computer. Simply plug one end of the supplied USB cable into your speakerphone and the other into a USB port on your computer. For Bluetooth models, you might need to charge it first using its included power adapter or USB cable. Check the manual for specific charging instructions. Once plugged in or charged, you’ll usually see a power light or hear a startup sound.
Step 3: Connecting to Your Computer (USB Method)
If your speakerphone came with a USB cable, this is the simplest way to connect.
- Plug the wider end of the USB cable into your speakerphone.
- Plug the standard USB-A (or USB-C, depending on your computer) end into an available USB port on your computer.
- Your computer should automatically detect the new device. You might see a notification saying “Setting up device” or “Installing driver.” For most modern speakerphones, no manual driver installation is needed; they are plug-and-play.
Step 4: Connecting to Your Computer (Bluetooth Method)
If you prefer a wireless connection:
- Make your speakerphone discoverable. Turn on your speakerphone and press and hold the Bluetooth button (often indicated by a Bluetooth logo) until a light flashes or you hear a pairing sound. Consult your device’s manual for the exact procedure.
- Open Bluetooth settings on your computer.
- Windows: Go to Settings > Devices > Bluetooth & other devices.
- macOS: Go to System Preferences > Bluetooth.
- Pair the devices. Click “Add Bluetooth or other device” (Windows) or wait for your speakerphone to appear in the list (macOS). Select your speakerphone from the list and click “Connect” or “Pair.”
- You might need to enter a PIN (often 0000 or 1234), but most modern devices don’t require this. Once connected, your speakerphone should appear as a paired device.
Step 5: Selecting Your Speakerphone in Meeting Software
This is a crucial step! Your computer knows the speakerphone is there, but your meeting application needs to be told to use it.
The exact location of these settings varies slightly between applications like Zoom, Microsoft Teams, Google Meet, etc. Here’s a general guide:
For Zoom:
- Open the Zoom desktop client.
- Click your profile picture or initials in the top right corner.
- Select “Settings.”
- Go to the “Audio” tab.
- Under “Speaker,” select your speakerphone’s name from the dropdown menu.
- Under “Microphone,” select your speakerphone’s name again.
- Click “Join a Test Meeting” to check your audio.
For Microsoft Teams:
- Open the Microsoft Teams desktop app.
- Click your profile picture in the top right.
- Select “Settings.”
- Go to the “Devices” tab.
- Under “Audio devices,” choose your speakerphone for both “Speaker” and “Microphone.”
- Click “Make a test call” to verify your settings.
For Google Meet:
Google Meet settings are typically accessed within a meeting itself:
- Join or start a meeting in Google Meet.
- Click the three vertical dots (More actions) in the bottom right corner.
- Select “Settings.”
- Go to the “Audio” tab.
- Choose your speakerphone from the “Microphone” and “Speaker” dropdown menus.
- You’ll see audio levels change as you speak to indicate it’s working.
Important Note: If you don’t see your speakerphone listed, confirm it’s properly connected to your computer (check USB connection or Bluetooth pairing) and try restarting the meeting application or even your computer.
Step 6: Testing Your Audio
Never skip this step! Before your important meeting begins, always test your setup.
Most meeting applications have a built-in test feature (as noted above). If not, you can often:
- Make a test call: Some platforms allow you to call a test service.
- Join a practice meeting: Create a quick, private meeting with a colleague or join an empty meeting room.
- Record yourself: Use your computer’s built-in voice recorder to record a short message using the speakerphone and then play it back. This is a great way to check both your microphone and speaker output.
Listen carefully for:
- Clear voice pickup from your end.
- That you can hear others clearly without distortion.
- Absence of excessive echo or background noise.
Troubleshooting Common Issues
Even with the best gear, sometimes things don’t work perfectly the first time. Here are some common hiccups and how to fix them.
Problem: Computer Doesn’t Recognize Speakerphone
- USB: Try a different USB port. Ensure the cable is securely plugged into both the speakerphone and the computer. If possible, try a different USB cable.
- Bluetooth: Make sure Bluetooth is enabled on your computer. If it’s already paired, try “forgetting” the device in your Bluetooth settings and re-pairing it. Ensure the speakerphone is in discoverable mode.
- Restart: A simple restart of your computer can often resolve detection issues.
Problem: Muted Microphone
This sounds obvious, but it happens!
- Check the physical mute button on your speakerphone. It’s usually illuminated red or orange when active.
- Check the mute status within your meeting software.
- Ensure the correct microphone is selected in your audio settings within the software.
Problem: Echo or Feedback
This is usually caused by the speaker volume being too high or the microphone picking up the speaker’s output.
- Lower Speaker Volume: Reduce the overall volume on the speakerphone and/or within your computer’s sound settings.
- Adjust Microphone Sensitivity: Some speakerphones have sensitivity adjustments. Lowering it can help.
- Positioning: Try moving the speakerphone further away from your computer’s microphone if you are using separate devices, or ensure the speaker is not directly “pointing” towards the microphone.
- In-built processing: Ensure your speakerphone’s echo cancellation features are working as expected. Modern devices are good at this.
Problem: Poor Audio Quality (Garbled, Robotic Sound)
- Connection: If using Bluetooth, a weak signal or interference can cause this. Try moving closer to your computer or using a USB connection instead.
- Driver Issues: While most devices are plug-and-play, outdated or corrupt drivers can cause problems. Visit the manufacturer’s website for the latest drivers for your specific model.
- Resource Usage: If your computer is running many demanding applications, it might not have enough processing power for clear audio. Close unnecessary programs.
Speakerphone Etiquette: Sounding Your Best

Setting up is only half the battle. Good communication also involves good habits.
- Mute When Not Speaking: This is the golden rule. It prevents background noise (typing, rustling papers, side conversations) from disrupting the meeting. Many speakerphones have a prominent mute button for quick access.
- Speak Clearly and at a Moderate Pace: Enunciate your words and avoid speaking too quickly or too softly.
- Positioning Matters: Place the speakerphone centrally if multiple people are in the room. If you’re alone, ensure your mouth is within a reasonable distance of the microphone (check your device’s range guidelines).
- Minimize Background Noise: If possible, conduct your meetings in a quiet space. Close doors and windows.
- Test Before You Start: Always perform a quick audio test, especially if joining a meeting from a new location or after making changes.
- Know Your Mute Button: Get familiar with how to mute/unmute yourself quickly and discreetly.
Advanced Tip: Using Your Speakerphone with Multiple Devices
Some advanced speakerphones can connect to two devices simultaneously – for example, a computer via USB and a phone via Bluetooth.
This is incredibly useful for:
- Joining a conference call on your computer while having your phone available for important alerts.
- Seamlessly switching between a phone call and a video conference.
To set this up, you typically pair each device separately via USB and Bluetooth (or two Bluetooth connections if supported). The speakerphone will usually prioritize audio from the active call or let you manually switch sources. Consult your specific model’s manual for detailed instructions on multi-device pairing and management.
Conclusion
Setting up your speaker with mic for meetings doesn’t have to be a tech headache. By following these simple steps, you can ensure clear, professional audio for all your virtual interactions. From unpacking and connecting to selecting the right settings in your meeting software and performing that crucial test, you’re now equipped to sound your best. Remember to practice good meeting etiquette, and you’ll not only be heard but understood, making all your collaborations more efficient and enjoyable.
Frequently Asked Questions (FAQ)
Q1: Do “speakerphones” work for both listening and speaking?
A: Yes, that’s their primary purpose! A speakerphone includes both a speaker to hear others clearly and a microphone to transmit your voice, making it an all-in-one audio solution for your meetings.
Q2: Can I use a speakerphone with my smartphone or tablet?
A: Many modern speakerphones support Bluetooth, allowing them to connect wirelessly to smartphones and tablets. You can then use them for calls or audio playback on those devices.
Q3: Is a dedicated speakerphone really better than my laptop’s built-in mic and speakers?
A: In almost all cases, yes. Dedicated speakerphones are engineered with better microphones for clearer pickup and noise reduction, and more robust speakers for consistent sound. They significantly improve the overall audio experience compared to typical laptop hardware.
Q4: How close do I need to be to the microphone on the speakerphone?
A: This varies by model. Small, personal speakerphones designed for one person might require you to be within 3-4 feet. Larger conference room models often have omnidirectional microphones that can pick up voices clearly from 8-10 feet away, or even more.
Q5: What does “plug-and-play” mean for a speakerphone?
A: “Plug-and-play” means you can connect the device to your computer using its USB cable, and your computer will automatically recognize it and install the necessary drivers without you needing to do anything. It’s ready to use almost immediately.
Q6: My speakerphone is connected, but my meeting software isn’t using it. What should I do?
A: You need to manually select the speakerphone as your audio input (microphone) and output (speaker) within the settings of your specific meeting application (like Zoom, Teams, Google Meet). Your computer recognizes the hardware, but the software needs instructions.
Q7: Can I use a speakerphone for gaming or listening to music?
A: While you can, speakerphones are optimized for voice communication, not high-fidelity audio playback for music or immersive gaming. For music and gaming, dedicated speakers or headphones usually offer superior sound quality and range.