
Have you ever tried to record sound outside? It can be a challenge. The wind swirls, birds chirp, and cars zoom by. All these noises can ruin your recording. But with the right microphone setup for outdoor recording, you can capture amazing sounds without distractions.
Imagine capturing the soothing sounds of a flowing river or the rustling leaves in a forest. Wouldn’t it be great to bring those moments to life? A good microphone setup can help you do just that. Using the right tools makes a huge difference.
Did you know that even a small breeze can ruin your recording? That’s why outdoor recording requires thoughtful planning. Getting a proper microphone and knowing how to use it are vital steps.
Ready to explore the world of outdoor sound recording? Let’s dive into how to set up your microphone and make your outdoor adventures even more memorable!
Microphone Setup For Outdoor Recording: Tips And Techniques
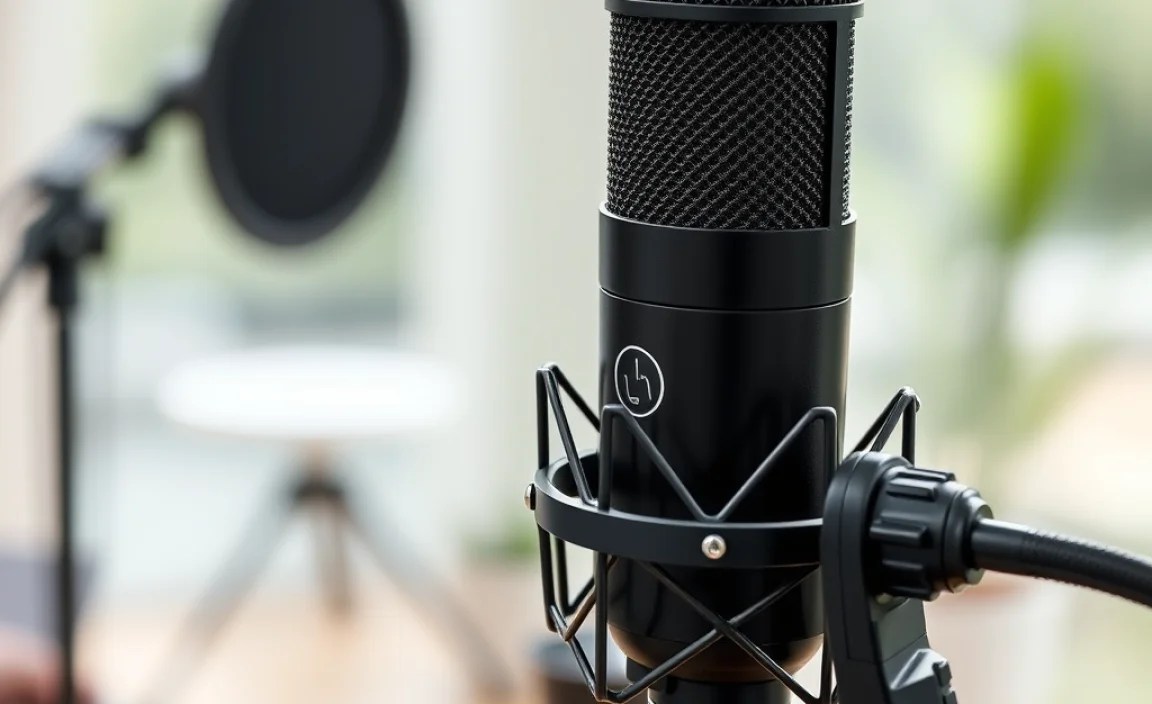
Setting up a microphone for outdoor recording can be a fun adventure. Think about capturing the sounds of nature or an exciting interview. Choosing the right microphone is key. For clear sound, use a shotgun mic. Wind can ruin recordings—don’t forget a windscreen! Positioning your mic carefully helps avoid unwanted noises. Did you know that sound travels differently outdoors? Experiment with distance to discover the best sound. With a good setup, you’ll capture amazing audio anywhere!
Understanding the Basics of Outdoor Microphone Setup

Importance of microphone choice for outdoor environments. Key factors affecting outdoor sound quality.
Choosing the right microphone is key for outdoor sound. Different microphones handle noise, wind, and distance differently. A good choice can make your recordings clear and bright. Factors that affect sound quality include:
- Wind noise.
- Background sounds.
- Distance from the sound source.
- Moisture in the air.
For the best results, consider these factors. The right microphone will help you capture amazing sounds in nature.
What microphone is best for outdoor recording?
Lavalier and shotgun microphones are great for outdoor recording. They reduce wind noise and focus on sounds you want. Choose one that fits your needs for the best results.
Essential Gear for Outdoor Microphone Setup
Recommended accessories (windshields, boom poles, etc.). Importance of portable audio recorders and mixers.
Planning to record outdoors? Don’t forget your gear! Windshields are a must; they keep the wind from messing up your audio. A boom pole helps you reach the mic without chasing after it like a toddler. Portable audio recorders and mixers are vital too—they let you capture sounds anywhere, anytime! Who wants to lug around heavy equipment? Not me! Here’s a quick look at what you need:
| Accessory | Purpose |
|---|---|
| Windshield | Reduces wind noise |
| Boom Pole | Extends microphone reach |
| Portable Recorder | Records audio on-the-go |
| Audio Mixer | Balances sound levels |
With these tools, you’ll sound like a pro—even if you’re wearing flip-flops!
Techniques for Effective Outdoor Recording
Best practices for microphone placement. Tips for minimizing background noise and interference.
To capture great sound outdoors, think carefully about where you place your microphone. Position it as close to your subject as you can—like a loyal puppy! This reduces noise from the environment. Another trick? Use windshields to keep the blustery winds from turning your recording into a sneeze-fest. Don’t forget to check the weather; even a pesky passing truck might ruin your recording! Here are some best practices:
| Technique | Description |
|---|---|
| Close Microphone Placement | Keep it near the speaker’s mouth for clearer sound. |
| Use of Windscreens | Prevent wind noise from ruining your audio. |
| Shielding from Background Noise | Find quiet spots away from loud areas. |
Remember, even the bravest soldier can’t fight against a noisy background! So, keep these tips in your back pocket for a smooth recording experience.
Recording in Different Outdoor Conditions
Adjusting settings for varying weather conditions. Techniques for recording in crowded or noisy environments.
Outdoors can be fun, but recording isn’t easy. Weather changes fast, so know your settings. For wind, use a windscreen on your microphone. In rain, use a waterproof cover. Adjust your gain to avoid noise from the elements. Crowded places can be noisy. To help, record in quiet spots or use a directional mic. This focuses on your sound while ignoring unwanted noise.
How can I improve sound quality outdoors?
You can improve sound by using the right equipment and finding quiet places. Using windshields and placing your mic close to the sound source helps too. Always check your settings before you start recording!
- Use a windscreen in breezy weather.
- Find quiet spots in busy areas.
- Test your equipment before recording.
- Consider a directional microphone.
Post-Recording Tips for Outdoor Audio Enhancement
Editing techniques to improve sound quality. Suggested software for postproduction.
After your outdoor recording, it’s time for some magic! Use simple editing tricks to enhance sound quality. Remove background noise and boost the volume. This can make your audio sound like it was recorded in a fancy studio, not in a windy park. There are great software options like Audacity or GarageBand. They’re user-friendly and pack a punch. Trust me, your listeners will be amazed!
| Software | Features |
|---|---|
| Audacity | Free, easy noise removal |
| GarageBand | Intuitive, good for music |
| Adobe Audition | Professional tools, great effects |
Common Challenges and Solutions in Outdoor Microphone Setup
Identifying and resolving typical outdoor recording issues. Troubleshooting gear and setup problems.
Recording outdoors can be tricky. You might face wind noise or unwanted sounds from nature’s cheerleaders—birds and squirrels. Sometimes your microphone might just refuse to cooperate. The solution? Windshields can save the day, blocking that annoying breeze. Always check your gear before heading out. If something’s not working, try restarting it, since even electronics need a nap sometimes! Here’s a quick guide for common challenges and fixes:
| Challenge | Solution |
|---|---|
| Wind Noise | Use a windshield |
| Background Noise | Find a quieter location |
| Unclear Sound | Check microphone placement |
| Equipment Malfunction | Restart your gear |
With these tips, your outdoor recording sessions will go much smoother. Enjoy the sounds of nature, but maybe not too much of it!
Case Studies: Successful Outdoor Recording Projects
Examples of effective outdoor recording sessions. Lessons learned from experienced audio engineers.
Many successful outdoor recording projects teach us valuable lessons. For example, a nature documentary recorded in a quiet forest showed how important windshields are for microphones. They reduced unwanted wind noise, making the sounds clear. A music group recorded by a riverside and found that placements matter greatly. Choosing a good spot enhances sound quality. These experiences guide others in making better microphone setups for outdoor recording.
What are key lessons from experienced audio engineers?
Experienced audio engineers recommend using good windshields and testing locations before recording. Each project improves skills in microphone setup for outdoor recording.
- Check audio levels before starting.
- Be aware of background sounds.
- Always have backup gear ready.
Conclusion
In summary, a good microphone setup is crucial for outdoor recording. Choose a windscreen to block noise and use a sturdy tripod for stability. Test your gear before recording to ensure everything works well. Experiment with different locations to find the best sound. For more tips, check out helpful