
Connecting your home theater speakers is simpler than you think! This guide will walk you through the essential wiring, components, and setup steps, ensuring you get that immersive audio experience without the hassle. We’ll cover everything from cable types to receiver connections, making your home theater sound incredible.
Ever set up a new TV or sound system, only to be faced with a spaghetti tangle of wires and confusing ports? You’re not alone! Getting your home theater speaker system connected can feel like a puzzle. But don’t worry, it doesn’t have to be a headache. At Aimguider, we believe everyone deserves amazing sound. This guide will break down exactly what you need to know, step-by-step, so you can enjoy rich, room-filling audio for movies, music, and games.
We’ll start with the basics of what’s involved and then dive into the connections themselves. Get ready to transform your living room into a cinematic oasis!
Understanding Your Home Theater Speaker System

Before we jump into connecting things, let’s quickly get familiar with the main players in your home theater audio setup. Knowing these parts will make the connection process much clearer.
The Receiver (or AV Receiver)
Think of your receiver as the brain and heart of your home theater. It’s the central hub that receives audio and video signals from your sources (like a Blu-ray player, streaming device, or game console) and sends them to your TV and speakers. It also does the heavy lifting of processing audio for surround sound formats like Dolby Digital and DTS.
The Speakers
These are what actually produce the sound! A typical home theater setup includes:
- Front Left and Right Speakers: These handle the main stereo sound and play a big role in creating the soundstage.
- Center Channel Speaker: Crucial for dialogue! This speaker usually sits above or below your TV and is dedicated to making sure you hear every word clearly.
- Surround Speakers (Left and Right): Placed to the sides or slightly behind you, these create the immersive, ambient sounds and effects that surround you.
- Subwoofer: This low-frequency effects (LFE) speaker handles the deep bass – the rumbles, explosions, and powerful music notes that add impact.
More advanced systems can include additional speakers like rear surrounds or height speakers (for Dolby Atmos), but the core components above are standard for a 5.1 system.
The Sources
These are the devices that provide the content you’ll be listening to. Common sources include:
- Blu-ray or DVD players
- Streaming devices (Apple TV, Roku, Amazon Fire TV)
- Gaming consoles (PlayStation, Xbox)
- Cable or satellite boxes
- Smart TVs
Essential Connectivity Components: What You Need
To connect your system, you’ll need a few key items. Thankfully, most of these are pretty standard and might even be included with your speakers or receiver.
Speaker Wire
This is the most common type of connection between your receiver and your satellite speakers. It’s usually made of copper and comes in different gauges (thicknesses). A thicker gauge (lower number, like 16-gauge or 14-gauge) is generally better for longer runs or more powerful speakers, as it carries the signal with less loss.
- Gauge: For most home theater setups, 16-gauge is perfectly adequate. If you have very long wire runs (over 50 feet) or high-power speakers, consider 14-gauge or even 12-gauge.
- Material: Oxygen-Free Copper (OFC) is preferred for better sound quality compared to Copper Clad Aluminum (CCA).
- Polarity: Speaker wire has two conductors, often distinguished by a stripe, ribbing, or color on one of the wires. It’s vital to maintain this polarity (+ to +, – to -) throughout your system.
HDMI Cables
HDMI (High-Definition Multimedia Interface) is the standard for connecting your sources to your receiver and your receiver to your TV. It carries both audio and high-definition video signals digitally, ensuring the best possible quality. For modern setups, ensure you’re using HDMI cables that support the latest standards, like HDMI 2.0 or 2.1, for higher resolutions, refresh rates, and features like HDR (High Dynamic Range).
Subwoofer Cable (RCA Cable)
Subwoofers typically connect to the receiver using a special RCA cable, often labeled as an “LFE” or “Subwoofer” cable. This single cable carries the low-frequency audio signal specifically designed for the subwoofer.
Banana Plugs (Optional but Recommended)
Banana plugs are small connectors that attach to the end of your speaker wire. They make connecting and disconnecting speaker wires to your receiver and speakers a breeze. They also ensure a secure and clean connection, often with better conductivity than bare wire.
Step-by-Step Guide to Connecting Your Home Theater Speakers

Now that you know the players and the tools, let’s get down to connecting them. We’ll assume you have a standard 5.1 surround sound system and an AV receiver.
Step 1: Position Your Speakers
Before running any wires, it’s best to place your speakers in their intended locations. This will help you determine the exact length of speaker wire you’ll need.
- Front Left & Right: Positioned at ear level, equidistant from the TV and the primary listening area, forming an equilateral triangle with the listener.
- Center Channel: Placed directly above or below the TV, also at ear level, and angled slightly towards the listener.
- Surround Left & Right: Positioned to the sides or slightly behind the primary listening position, generally at or slightly above ear level.
- Subwoofer: Placement is more flexible, but common spots include a corner or along the front wall. Experimenting with subwoofer placement can significantly impact bass performance. You can find resources on subwoofer crawl techniques to optimize its position for your room.
Step 2: Connect Speaker Wire to Speakers
Each speaker will have two terminals: one positive (+) and one negative (-). Usually, the positive terminal is red, and the negative is black. If you’re using bare wire, strip about half an inch of insulation from the end of each wire. Twist the exposed copper strands tightly.
Match the speaker wire’s polarity:
- Connect the wire with the stripe (or ribbing, or red insulation) to the positive (+) terminal on the speaker.
- Connect the other wire (solid color or black insulation) to the negative (-) terminal on the speaker.
If you are using banana plugs, crimp or screw them onto the stripped wire ends according to their instructions, ensuring no stray copper strands are exposed that could cause a short circuit.
Step 3: Connect Speaker Wire to the Receiver
Your AV receiver will have a bank of speaker outputs, usually labeled for each speaker channel (e.g., FRONT L, CENTER, SURROUND R, SUBWOOFER/LFE). These terminals will also be color-coded (red for positive, black for negative).
Ensure your receiver is unplugged from the wall at this stage for safety. Carefully connect the other end of each speaker wire to the corresponding terminals on the receiver, making sure to maintain polarity:
- Connect the wire going to the Front Left speaker’s positive terminal to the receiver’s FRONT L positive terminal.
- Connect the wire going to the Front Left speaker’s negative terminal to the receiver’s FRONT L negative terminal.
- Repeat this process for the Center, Surround Left, Surround Right, and any other speakers.
Important: Double-check that you are connecting the correct wire to the correct terminal for each speaker. Reversing polarity on even one speaker can negatively impact sound quality, making bass sound weak or “out of phase.”
Step 4: Connect the Subwoofer
The subwoofer connects differently than the other speakers. It doesn’t use speaker wire. Instead, it uses an RCA cable.
Look for a connection on the back of your AV receiver labeled “SUBWOOFER,” “LFE” (Low-Frequency Effects), or “PRE OUT.” Plug one end of the RCA subwoofer cable into this port.
On the back of your subwoofer, find the corresponding “LINE IN,” “LFE IN,” or “RCA IN” port and plug the other end of the RCA cable into it. Some subwoofers have a stereo RCA input (left and right), in which case it’s usually best to use the “L” or “LEFT” input for a mono subwoofer signal.
Step 5: Connect Your Sources and TV
This is where HDMI cables come into play. You’ll typically connect your sources (Blu-ray player, game console, streaming box) to the HDMI inputs on your AV receiver.
These inputs are usually labeled with device names (e.g., “HDMI 1,” “BD/DVD,” “GAME,” “CBL/SAT”). Connect your source device to an appropriate HDMI input on the receiver using an HDMI cable.
Finally, you’ll need to connect your AV receiver to your TV. Use another HDMI cable to connect the HDMI output port on the receiver (often labeled “HDMI OUT,” “TV OUT,” or “ARC/eARC”) to an HDMI input port on your TV. Most modern TVs have a port labeled “HDMI ARC” or “eARC,” which is highly recommended as it allows audio to flow back from the TV to the receiver, which is useful for smart TV apps.
For more details on HDMI, you can refer to resources like HDMI.org’s consumer information.
Step 6: Power Up and Configure
Once all connections are made and double-checked:
- Plug in your AV receiver and your TV.
- Turn on your TV.
- Turn on your AV receiver.
- Turn on your connected source devices.
Using your TV remote, select the correct HDMI input that your receiver is connected to. Then, using your receiver’s remote, select the HDMI input corresponding to the source device you want to use (e.g., select the input labeled “BD/DVD” if you want to watch a Blu-ray).
Your receiver will likely have an on-screen setup menu that appears on your TV. Follow the on-screen prompts. Most receivers have an auto-calibration feature (often using a microphone that will come with the receiver). This system measures the distance to each speaker, their volume levels, and their frequency response to optimize the sound for your room. It’s a crucial step for getting the best audio experience.
Connecting Different Speaker Types and Setups
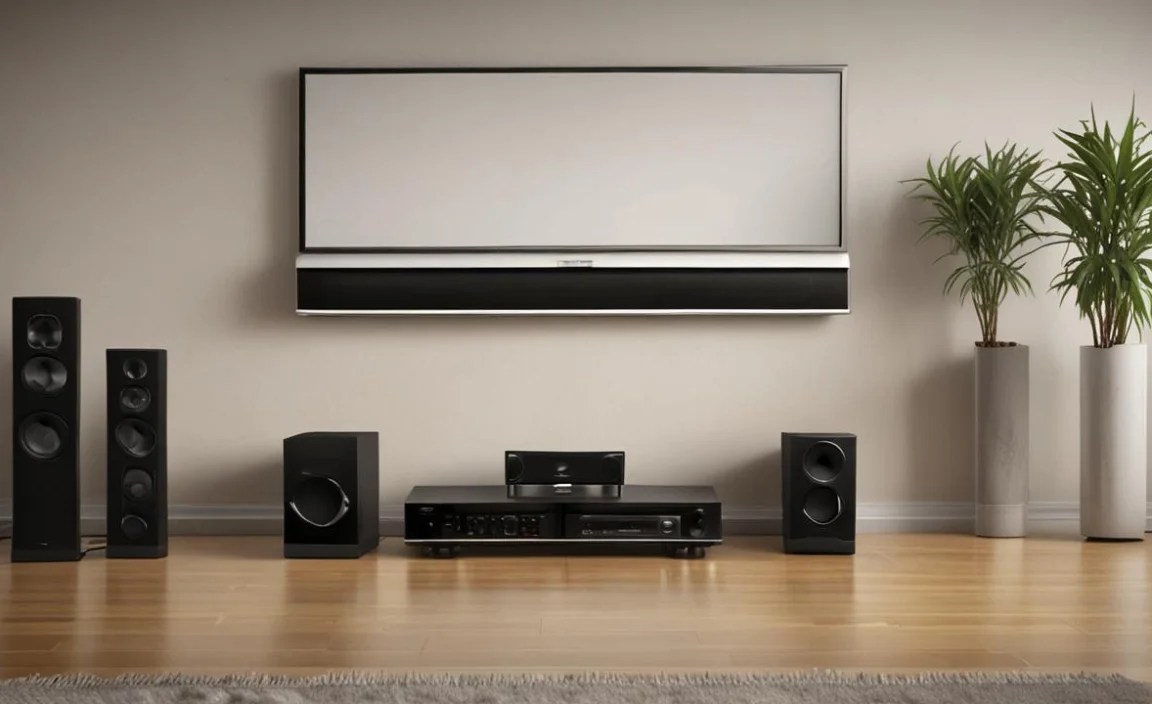
While the 5.1 system covered above is very common, you might have different speaker configurations or a simpler stereo setup. The core principles remain the same, but here’s how it applies:
Stereo (2.0 or 2.1 System)
This is the most basic setup, involving just two front speakers (Left and Right).
- Connection: You’ll only need to connect speaker wires to the FRONT L and FRONT R speaker terminals on your receiver.
- 2.1 System: If you add a subwoofer, you’ll connect it to the LFE/SUBWOOFER OUT on the receiver using an RCA cable, just as described in Step 4 above.
Surround Sound Beyond 5.1 (6.1, 7.1, Dolby Atmos)
As you add more speakers, your receiver needs the appropriate channels to support them.
- 7.1 System: Typically adds Surround Back Left and Surround Back Right speakers. Your receiver will need to have at least 7 amplified channels, and you’ll connect these additional speakers to the corresponding terminals (e.g., SURR BACK L, SURR BACK R).
- Dolby Atmos/DTS:X: These immersive audio formats add height channels. This might be achieved with upward-firing speakers placed on your front speakers, or with ceiling-mounted speakers. You’ll connect these height speakers to specific “HEIGHT” or “TOP” terminals on your receiver. The exact terminals depend on your receiver’s capabilities. For example, a 7.1.2 system means 7 surround speakers, 1 subwoofer, and 2 height speakers.
Soundbars with Wireless Subwoofers
Soundbars offer a simpler approach. They are often used as a replacement for TV speakers or as a simplified surround system.
- Connection: Most soundbars connect to your TV via HDMI ARC/eARC or an Optical audio cable. If it has a wireless subwoofer, it will typically pair automatically with the soundbar when powered on. Refer to your soundbar’s manual for specific pairing instructions, but the physical connection is usually just between the soundbar and the TV.
Troubleshooting Common Connectivity Issues
Even with the best guides, sometimes things don’t work perfectly the first time. Here are a few common hiccups and how to fix them:
- No Sound:
- Check that all components are powered on.
- Ensure the correct input is selected on your TV and receiver.
- Verify your speaker wires are securely connected at both ends and that polarity (+ to +, – to -) is correct.
- If you’re using HDMI, try a different HDMI cable or port.
- If using optical audio, ensure the dust caps are removed from the cable ends and that it’s securely plugged in.
- Sound Only From Some Speakers:
- Check your receiver’s speaker settings – ensure all speakers are enabled and configured correctly for your setup (e.g., a 5.1 setup shouldn’t have surrounds muted).
- Verify the speaker wires for the silent speakers are properly connected and have correct polarity.
- Run the receiver’s auto-calibration routine again.
- Humming or Buzzing Noise:
- This is often a “ground loop” issue. Try connecting all components to the same power strip or surge protector.
- Ensure speaker wires aren’t touching each other or any metal components.
- Try a different RCA cable for your subwoofer.
- Check that your subwoofer’s volume isn’t set too high, which can sometimes introduce noise.
- Distorted Sound:
- Volume might be too high on the receiver or the source device.
- Speaker wire might be damaged or the connection is loose. Check for stray strands of copper touching across terminals.
- The speaker itself might be faulty.
Choosing the Right Speaker Wire Gauge
The “gauge” of speaker wire refers to its thickness. A lower gauge number means a thicker wire, which is better for resisting electrical resistance. This resistance can lead to signal loss, especially over longer distances.
Here’s a general guideline for speaker wire gauge based on the length of the wire run:
| Speaker Wire Gauge (AWG) | Maximum Recommended Wire Run Length | Typical Use |
|---|---|---|
| 18 AWG | Up to 50 feet | Small satellite speakers, short runs, lower power systems. |
| 16 AWG | Up to 75 feet | Most standard home theater setups, bookshelf speakers, moderate runs. |
| 14 AWG | Up to 100 feet | Larger floorstanding speakers, longer runs, higher power systems. |
| 12 AWG | Over 100 feet | Very long runs, high-demand/high-power speakers, critical installations. |
For most average-sized rooms and standard home theater speakers, 16-gauge wire is an excellent balance of performance and cost. If you’re unsure or have very long wire runs (over 50 feet) to your front speakers, stepping up to 14-gauge is a safe bet. Always opt for Oxygen-Free Copper (OFC) if your budget allows, as it offers superior conductivity.
Frequently Asked Questions (FAQ)
Q1: What’s the difference between an AV receiver and a soundbar?
An AV receiver is a component that powers multiple speakers, decodes surround sound formats, and switches between different audio/video sources. A soundbar is a single, long speaker unit designed to be simpler, often connecting directly to your TV and providing a significant audio upgrade over TV speakers, sometimes with a wireless subwoofer.