
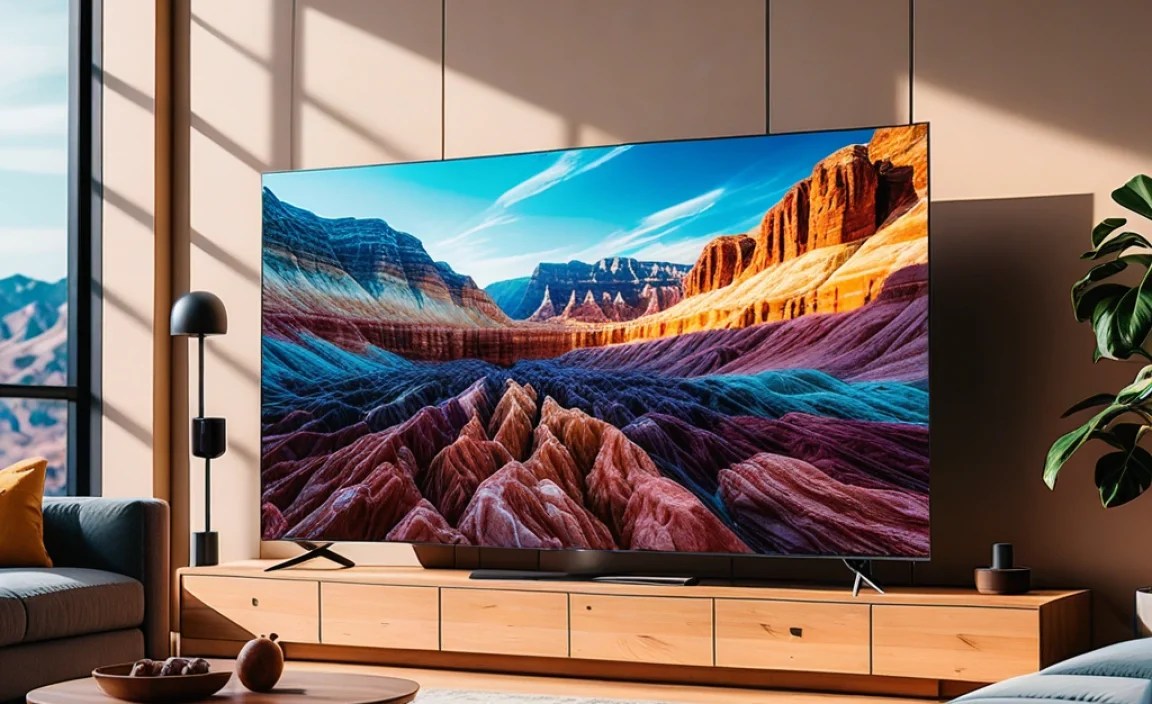
Is an 8K TV worth it? Yes, if you can find native 8K content or high-quality upscaled 4K content, and you optimize its essential settings for the best picture. Investing in optimal 8K TV settings transforms your viewing experience, unlocking the incredible detail and vibrant colors this advanced technology offers. Don’t let a great TV show its potential – let’s dive in!
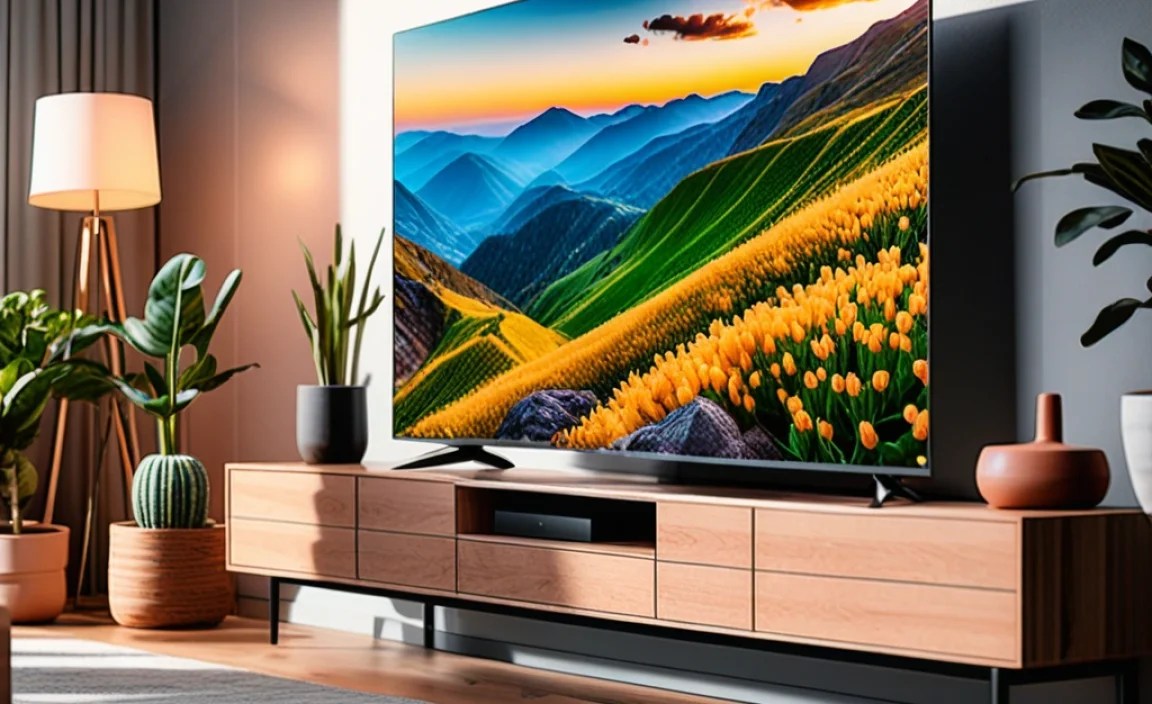
So, you’ve got your eyes on an 8K TV, or maybe you just brought one home! That’s exciting! These TVs boast a mind-blowing number of pixels – four times as many as a 4K TV. But sometimes, out of the box, that incredible picture might not look quite as stunning as you expected. Don’t worry, this is totally normal. Getting the most out of any new TV, especially one as advanced as an 8K model, often comes down to tweaking a few settings.
Think of it like getting a new high-performance car. You wouldn’t just hop in and expect it to deliver its best race-day performance without any adjustments, right? It’s the same with 8K TVs. The difference between “good” and “absolutely breathtaking” can be as simple as adjusting Picture Mode, Brightness, Contrast, and a few other key settings. We’ll walk through it step-by-step, making sure you unlock the full potential of your new 8K investment. Ready to see your favorite shows and movies in incredible detail?
Why Bother With 8K TV Settings?

You spent a good amount on an 8K TV because you want the best picture possible. Those extra pixels mean sharper images, smoother textures, and a more immersive experience. However, TV manufacturers often set default settings that prioritize bright showrooms, not your cozy living room. These defaults can sometimes oversaturate colors, crush blacks, or blow out whites, actually hiding the very details you paid for.
Optimizing your 8K TV settings ensures you’re not just watching, but truly experiencing the content. It means enjoying true-to-life colors, deep blacks, brilliant whites, and incredible detail. Plus, it helps protect your eyes by reducing eye strain. Getting these settings right means the difference between a good picture and a mind-blowing one. Let’s make sure your 8K TV delivers on its promise!
We’ll cover:
- The best starting Picture Modes.
- How to adjust Brightness and Contrast for depth.
- Tuning Color and Tint for accuracy.
- Key settings for motion and clarity.
- Advanced settings explained simply.
- How content affects settings choices.
Understanding Your 8K TV’s Purpose
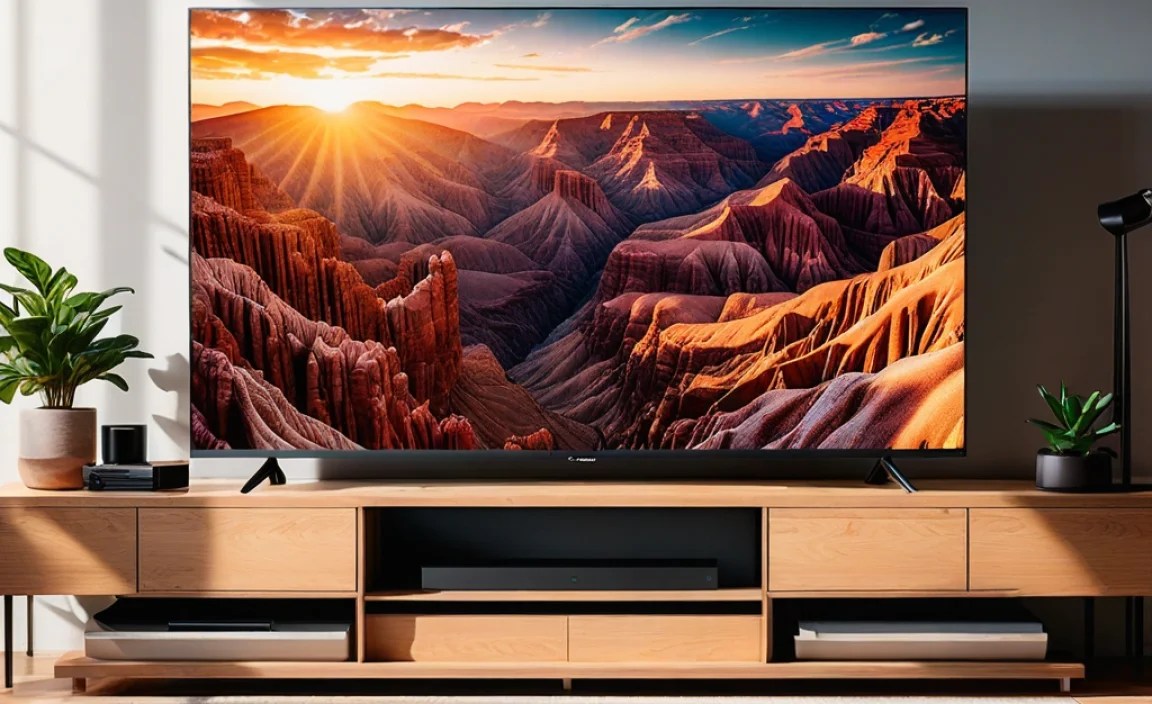
Before we dive into the settings, it’s helpful to understand what an 8K TV is truly designed for. It’s the pinnacle of display resolution currently available to consumers, boasting a resolution of 7680 x 4320 pixels. This is four times the number of pixels found in 4K (3840 x 2160) and a staggering 16 times that of Full HD (1920 x 1080).
The primary benefit of 8K is the sheer detail it can render. However, this benefit is most apparent on larger screen sizes where the pixel density is high enough that individual pixels are indistinguishable up close. It also relies heavily on the quality of the source material. While a native 8K video is a rare treat right now, 8K TVs are exceptionally good at upscaling lower-resolution content, making 4K and even high-quality HD look better than ever before.
For a deep dive into the technology and its current state, you can explore resources like the International Telecommunication Union (ITU), which helps set global standards for broadcasting and technology, including ultra-high definition.
Essential 8K TV Settings: A Step-by-Step Guide

Let’s get your 8K TV looking its absolute best. We’ll go through the most important settings that will make the biggest impact on your viewing experience.
1. Choose the Right Picture Mode
This is your foundation. Most 8K TVs come with several preset picture modes. While names can vary slightly between brands, they generally mean the same thing. Avoid modes like “Vivid” or “Dynamic” for everyday viewing, as they often over-process the image. They make things look brighter and more colorful in a store, but they distort the intended picture.
Recommended Picture Modes:
- Movie/Cinema/Filmmaker Mode: These modes are designed to display content as the director intended, with accurate colors, balanced contrast, and natural-looking brightness. This is usually the best place to start.
- Standard/Normal: A decent all-rounder if Movie mode looks too dim for your room. It’s usually more accurate than Vivid.
- Game Mode: Essential for gamers! This mode significantly reduces input lag, making your games feel responsive. Color accuracy might be slightly compromised here, but responsiveness is key for gaming.
Action: Cycle through the Picture Mode options while watching a familiar scene from a movie or TV show. See which one looks the most natural before making further adjustments.
2. Adjusting Brightness and Contrast
These two settings control the light and dark areas of the picture, respectively. Getting them right adds depth and prevents detail loss.
- Brightness (sometimes called Black Level): This setting controls the black levels of the image. You want blacks to be as deep as possible without crushing (hiding) detail in dark scenes.
- To set: Watch a scene with significant dark areas, like a night sky or a dimly lit room. Gradually increase the Brightness until you can just start to see detail in the darkest parts of the image. Too high, and blacks will look gray; too low, and you’ll lose detail.
- Contrast (sometimes called White Level): This controls the brightest whites in the image. You want whites to be bright and luminous without being blown out (losing detail in bright areas).
- To set: Watch a scene with bright highlights, like a sunny outdoor shot or on-screen text. Gradually increase Contrast until the brightest parts are striking but still show texture and detail. Too high, and bright objects will look like flat white blobs.
Pro Tip: Many TVs have an “Advanced Contrast Enhancer” or “Dynamic Contrast” setting. For maximum accuracy, it’s often best to turn these off and let your manual adjustments do the work. They can sometimes lead to unnatural-looking images.
3. Tuning Color and Tint
Getting colors right makes everything look more vibrant and lifelike. Your TV will have settings for Color (or Saturation) and Tint (or Hue).
- Color (Saturation): Controls the intensity of all colors. You want colors to be rich but not garish or artificial.
- Tint (Hue): Adjusts the balance between red and green. Most of the time, this setting is best left at its default, but you might tweak it slightly for flesh tones.
To set:
- Watch content with varied skin tones and colorful subjects.
- Increase Color slightly if it looks washed out. Decrease it if colors look like they’re bleeding or overly intense.
- For Tint, focus on skin tones. If someone’s face looks too red or too green, make small adjustments to Tint until it looks natural.
Color Temperature (or White Balance): This is a crucial but often overlooked setting. It determines how “warm” (reddish) or “cool” (bluish) the white color appears. For accuracy, “Warm” or “Warm2” is usually recommended, as it mimics how we see colors in natural daylight. Cool settings can make whites look stark and unnatural.
4. Sharpness and Detail Settings
Sharpness is one of those settings that can quickly go from good to bad. While you want a sharp image, excessive sharpening creates artificial halos around objects and can make the picture look noisy.
- Sharpness: This setting doesn’t add true detail; it just exaggerates edges. For most content, setting Sharpness to 0 or a very low number is best, especially with native 4K and 8K content. Your TV’s excellent upscaling will handle fine detail.
- Detail Enhancement/Edge Enhancement: Similar to Sharpness, these can often be better left off or at their lowest setting to maintain a natural image.
Action: Look for fine lines or small text on screen. If you see a bright halo around them, your Sharpness is too high. Aim for clean lines without halos.
5. Motion Smoothing (Interpolation)
This is a setting that divides opinion! Motion Smoothing technologies (often called TruMotion, Motionflow, Auto Motion Plus, etc.) insert artificially generated frames between real frames to make motion appear smoother. This is great for fast-paced sports or action movies, preventing judder and blur.
However, it can also create the dreaded “soap opera effect” (SOE), where movies look unnaturally fluid, losing their cinematic feel. It can also introduce visual artifacts.
Recommendation:
- For Sports & Fast Action: Experiment with moderate levels of motion smoothing.
- For Movies & TV Shows: Set motion smoothing to OFF or a very low Custom setting to preserve the intended cinematic look.
Action: Watch a movie scene known for its motion (e.g., a panning camera shot) and then a fast-paced sports clip. See what works best for each type of content. Many TVs allow you to set motion smoothing differently per input or picture mode.
Advanced 8K Settings Explained Simply
Beyond the basics, there are a few more advanced settings that can fine-tune your 8K TV experience. Don’t let the jargon scare you; they’re not as complicated as they sound.
1. HDR Settings (High Dynamic Range)
If you’re watching HDR content (which is becoming more common on streaming services and Blu-rays), your 8K TV can display a much wider range of colors and brightness than standard (SDR) content. You’ll typically find settings related to this within your picture menu.
- HDR Brightness/Contrast: Similar to SDR, but specifically for HDR content. You might have options like “Peak Brightness” which can often be set to High for the most impactful HDR.
- HDR Tone Mapping: This is how the TV adapts HDR content to its specific capabilities. Options like “Static” or “Dynamic” (or brand-specific names like “HDR Optimizer”) exist. Dynamic often provides a more consistent experience across different HDR scenes, but can sometimes be too aggressive. Experiment to see what looks best for your display and content.
- To learn more about HDR standards, the Display Central is a great resource.
Note: Native HDR content will automatically activate HDR mode on your TV. If it doesn’t, check your input settings to ensure it’s enabled for that HDMI port.
2. Black Frame Insertion (BFI)
Some TVs offer a Black Frame Insertion (BFI) option. This works similarly to motion smoothing by inserting black frames to reduce motion blur. However, BFI typically dims the overall image significantly and can cause flickering or dimming artifacts. It’s often best left OFF for most viewing unless motion blur is a major annoyance for you and you can tolerate the downsides.
3. Dynamic Blacklight Control / Local Dimming
Many higher-end 8K TVs use local dimming to improve contrast. This technology divides the screen into zones that can be dimmed independently. When set correctly, it creates deeper blacks without losing detail in bright areas.
- Settings: You might see options like “Low,” “Mid,” “High,” or “Off.” For most 8K TVs, setting this to “Mid” or “High” can enhance the picture, especially for movie watching. However, too aggressive settings can cause noticeable blooming (light bleeding into dark areas).
Experimentation is key here. Watch a scene with bright objects on a dark background to see how local dimming affects it.
4. AI Picture Settings
Many modern 8K TVs feature AI or machine learning processors that aim to automatically optimize picture settings based on the content being displayed. While these can be impressive, they sometimes misinterpret content or apply processing that isn’t to your taste.
Recommendation: Try using the AI settings for a while. If you find the picture is constantly changing in distracting ways or doesn’t look right for specific content, consider turning the AI processing off and relying on your manual calibration. You can often select different levels of AI processing too, allowing for a compromise.
Content-Specific Settings Adjustments
The “perfect” settings aren’t one-size-fits-all; they depend on what you’re watching and your viewing environment. Here’s a breakdown:
SDR Content (Standard Dynamic Range)
This includes most regular TV broadcasts, older movies, and many streaming shows that aren’t explicitly labeled HDR. For SDR, you’ll want a balanced picture.
- Picture Mode: Movie/Cinema or Standard.
- Brightness: Adjusted for your room’s light level (lower for dim rooms, higher for bright rooms).
- Contrast: Balanced to show detail in bright and dark areas.
- Color: Natural, not oversaturated.
- Sharpness: Low to zero.
- Motion Smoothing: Off or low for cinematic content; moderate for sports.
HDR Content (High Dynamic Range)
This is where 8K TVs truly shine, thanks to their increased brightness, contrast, and color gamut capabilities. Content will typically be HDR10, HDR10+, or Dolby Vision.
- Picture Mode: Any HDR-specific mode (e.g., HDR Movie, Dolby Vision IQ).
- Brightness/Peak Brightness: Set to High or the maximum available setting for the most impact.
- Contrast: Let the HDR tone mapping handle this, or use very high settings if available.
- Color: Naturally vibrant, but be mindful of oversaturation.
- Sharpness: Low to zero.
- Motion Smoothing: Generally advisable to keep OFF for movies to avoid digital artifacts in bright HDR scenes. May be useful for HDR sports.
Gaming
For gamers, input lag is the enemy. Responsiveness is paramount.
- Picture Mode: Game Mode. This is non-negotiable for the best experience.
- Brightness/Contrast: Adjust to your preference, but don’t sacrifice too much visibility for extreme contrast.
- Color: Can be slightly more saturated for a punchier look if desired, but aim for accuracy if possible.
- Sharpness: Low to zero.
- Motion Smoothing: Typically OFF in Game Mode, as it can increase lag.
- ALLM & VRR: Ensure Auto Low Latency Mode (ALLM) and Variable Refresh Rate (VRR) are enabled in your TV and console/PC settings if supported. These are crucial for smooth, lag-free gaming. Visit Rtings.com’s guide to ALLM/VRR for more technical details.
Viewing Environment Matters
Your room’s lighting can significantly impact how your settings look. What appears perfect in a dark room might need adjustment in a brightly lit space.
- Dark Room: You can get away with lower brightness and deeper blacks. Avoid overly bright settings that can cause eye strain.
- Bright Room: You’ll need higher brightness and contrast to combat ambient light and make the picture pop. Colors might appear less saturated in bright light, so you may need to slightly boost Color.
Consider using different picture modes for different lighting conditions, or even creating custom profiles for day and night viewing. Some advanced TVs allow for multiple picture modes per input, so you can have one for daytime SDR, one for nighttime SDR, one for HDR, and one for gaming.