Have you ever wondered why your voice sounds different in recordings? One reason might be the lavalier microphone settings. These tiny mics can capture clear sound, but only if set up right. Imagine speaking into one while doing an exciting interview. If your settings are wrong, listeners may hear too much background noise instead of your voice.
Many people think using a lavalier microphone is easy. But there’s more to it than just clipping it on your shirt! There are various settings that can change how your voice comes across. Do you know how to check these settings? It’s not just about turning it on. You also have to adjust levels to make sure your voice shines through.
Did you know that the right settings can make you sound like a pro? Whether for school projects, podcasts, or YouTube videos, great audio makes a big difference. Follow along as we explore how to find the perfect lavalier microphone settings to capture your voice just right!
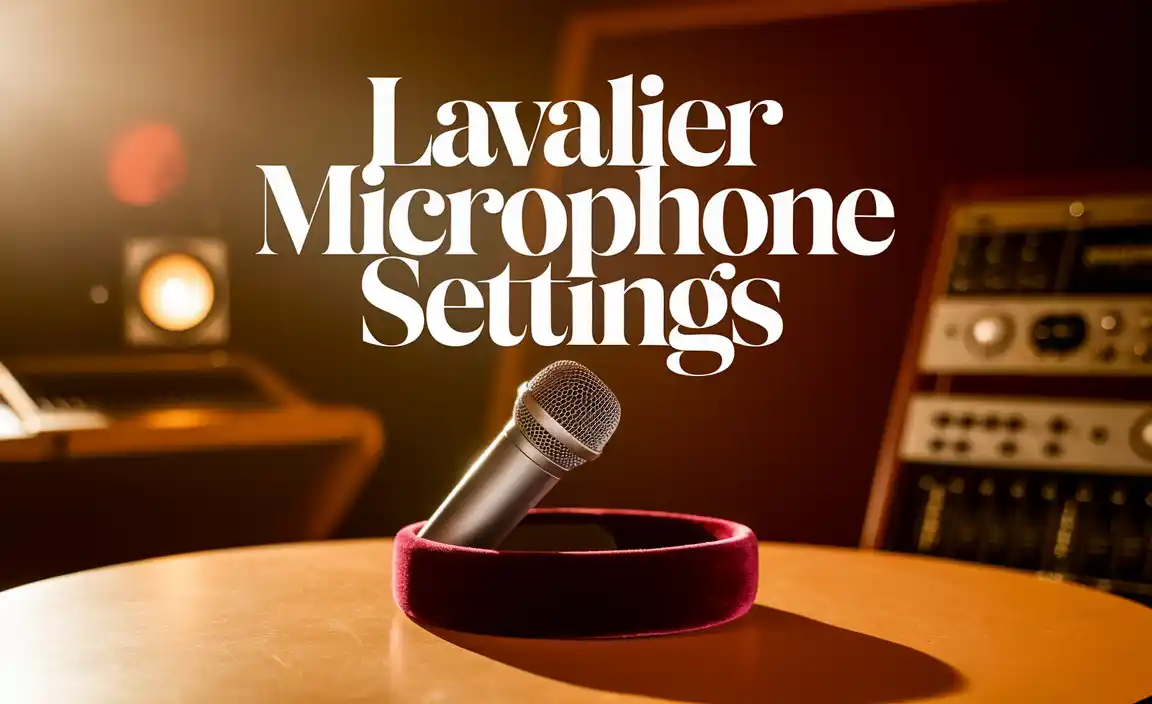
Mastering Lavalier Microphone Settings For Optimal Sound Quality

Understanding Lavalier Microphones
Definition and types of lavalier microphones. Common uses in interviews, presentations, and performances.
Lavalier microphones, often called lapel mics, are small, clip-on devices. They capture clear audio without being seen. There are different types, including wired and wireless. Each has its own use.
These mics are popular in many settings:
- Interviews: They help capture conversations.
- Presentations: Speakers can move freely while talking.
- Performances: Actors and singers use them for clear sound.
Lavalier mics make communication easy and effective. They are important tools in media and entertainment.
What types of lavalier microphones are available?
There are two main types: wired and wireless. Wired mics connect directly to a device. Wireless mics use batteries and a receiver, giving more freedom to move.
Essential Settings for Lavalier Microphones
Explanation of gain settings and their importance. Best practices for adjusting input levels.
When using a lavalier microphone, getting the gain setting right is key. Gain controls how loud your voice sounds in recordings. Too high can cause distortion, while too low can make you hard to hear. Follow these tips for better audio:
- Start with a low gain setting. Gradually increase until it’s clear.
- Test your levels. Speak at your normal volume while adjusting.
- Monitor sound with headphones. This helps catch any issues.
Adjusting input levels correctly can save you from re-recording. Remember that clear sound makes a huge difference!
What is the best gain setting for a lavalier microphone?
The best gain setting is usually between -12 dB to -6 dB. This allows you to capture clear audio without distortion. Experiment to find what works best for your voice!
Placement Techniques for Optimal Sound Quality
Recommended locations for attaching the microphone. Avoiding common placement mistakes for clearer audio.
Choosing the right spot for your lavalier microphone makes a big difference. Here are some great places to attach it:
- On your shirt collar
- Near the center of your chest
- On a tie or scarf, if wearing one
- Don’t clip it on your hair or behind your back.
- Avoid placing it near noisy items, like zippers.
This will help capture clear sound for everyone to hear your voice well.
Where should I attach my lavalier microphone for best sound?
The best spots are on your collar or chest. Keep it clear of noisy areas.
Wired vs. Wireless Lavalier Microphones
Pros and cons of each type. Specific settings adjustments required for both types.
Choosing between wired and wireless lavalier microphones is like picking between pizza and tacos. Both have their own tasty perks and a few downsides. Wired mics are reliable. They won’t run out of battery while you chat. But, getting tangled in the wires can feel like a game of Twister! Wireless mics give you freedom to move around, but you may have to fiddle with settings to prevent drops or interference. Here’s a quick look at both:
| Type | Pros | Cons | Settings Adjustments |
|---|---|---|---|
| Wired | Always on, cheaper | Can get tangled | Simple, just connect and go! |
| Wireless | Movement freedom | Battery issues, signals drop | Sync the receiver and adjust levels |
Each type works best in different situations. Choose wisely, and you’ll be ready to rock your next event!
Common Issues and Troubleshooting Tips
Identifying and resolving common sound issues. Tips for reducing interference and noise.
Sometimes, using a lavalier microphone can lead to sound issues. It’s important to quickly find and fix these problems. Here’s how:
- Check if the microphone is plugged in properly.
- Make sure the battery is charged.
- Look for background noise like fans or loud voices.
- Try to move away from electronic devices that might cause interference.
These steps can help troubleshoot poor sound quality. Remember, a good setup leads to clear audio.
What are common sound issues with lavalier microphones?
Common sound issues include low volume, background noise, and interference. Identifying these can help resolve problems quickly.
Advanced Settings for Professionals
Utilizing equalization settings for enhanced audio. Tips for adding effects and processing sound.
Once you master the basics, it’s time to dive deeper. Try using equalization settings to make your audio sound richer. Boost the bass for warmth or enhance highs for clarity. This can make voices sound even better! You can also add effects like echo or reverb for a cool feel. Remember, a little goes a long way.
- Experiment with equalization for clearer sound.
- Add effects to give your audio personality.
- Use processing carefully for a professional touch.
How can I improve sound quality using lavalier microphones?
You can improve sound quality by adjusting equalization settings and carefully adding effects. This makes voices clearer and more engaging.
Best Equipment and Accessories
Recommended models of lavalier microphones. Additional gear that can improve performance (e.g., windshields, adapters).
Choosing the right equipment can make a big difference. There are excellent lavalier microphones available today. Some top models include:
- Rode SmartLav+
- Audio-Technica ATR3350xiS
- Zoom F1-SP
Accessories also play a key role. For better sound, consider using:
- Windshields to reduce noise from wind
- Adapters to connect to different devices
- Clip-on holders for secure attachment
These tools can enhance your recordings!
What are some highly recommended lavalier microphones?
The Rode SmartLav+ and Audio-Technica ATR3350xiS are both fantastic choices that deliver clear sound and versatility.
Post-Recording Considerations
How to edit and enhance audio in postproduction. Importance of monitoring audio quality during playback.
After recording, enhancing your audio is essential. First, take a listen to your clips. You’ll want to ensure the sound is clear, crisp, and free from annoying pops or hisses. Use software to fine-tune levels and remove background noise. Think of it as giving your audio a spa day! Remember, monitoring audio quality during playback is key. If it sounds like a robot shouting in a tin can, it needs work!
| Task | Tip |
|---|---|
| Listen Closely | Check for clarity and background noise. |
| Edit Levels | Balance volume for smooth listening. |
| Remove Noise | Use tools to filter out unwanted sounds. |
When you’re done, your audio will sound like a professional radio show instead of a cat stuck in a blender!
Conclusion
In conclusion, understanding lavalier microphone settings is crucial for good sound. You should adjust gain, position the mic close to your mouth, and test your setup. This ensures clear audio during recordings. Don’t forget to practice using these settings and experiment with your equipment. For more tips, check out online guides or videos to improve your skills!
FAQs
Sure! Here Are Five Related Questions On The Topic Of Lavalier Microphone Settings:
Sure! Here are some questions about lavalier microphones. 1. What is a lavalier microphone? A lavalier microphone is a small mic you can clip onto your clothes. It helps you talk clearly while keeping your hands free. 2. How do you turn on the microphone? You usually find a switch on the microphone. Just slide it to the “on” position to start using it. 3. How can you adjust the volume? Look for a knob or button on the body pack. Turn it up or down to change how loud you sound. 4. Why is position important for the microphone? The closer it is to your mouth, the clearer your voice will be. Make sure it isn’t too far away or covered by clothes. 5. What should you do if the sound isn’t clear? Check the microphone’s position and volume. You can also make sure there are no other noises nearby.
Sure! Please ask your question, and I will be happy to help you with a short answer.
What Are The Ideal Gains And Levels To Set For A Lavalier Microphone In Different Recording Environments?
When using a lavalier microphone, we want to adjust the volume, or gain, based on where we are recording. In a quiet room, set the gain to a lower level. This helps avoid loud noises. In a noisy place, like outside, increase the gain a bit. This way, your voice will be clearer over the background sounds. Always test your mic before recording to find the best level!
How Can You Minimize Background Noise When Using A Lavalier Microphone For Interviews?
To reduce background noise with a lavalier microphone, you can do a few things. First, pick a quiet place for the interview. Make sure fans or air conditioners are turned off. You can also clip the microphone close to your voice for clearer sounds. Lastly, speak directly into the mic and avoid moving around too much to keep the sound good.
What Types Of Connectors Are Commonly Used With Lavalier Microphones, And How Do They Affect Compatibility With Audio Recording Devices?
Lavalier microphones often use connectors like TRS (tip-ring-sleeve) or TRRS (tip-ring-ring-sleeve). TRS connectors have three parts, while TRRS has four. These connectors help the microphone work with different devices, like cameras and smartphones. If you have the right connector, you can record sound easily. If not, you might need an adapter to make them fit.
How Should You Position A Lavalier Microphone On A Subject To Ensure Optimal Sound Quality?
To get the best sound, you should clip the lavalier microphone to your shirt or collar. Make sure it’s about 6 to 8 inches from your mouth. This way, it can pick up your voice clearly. Avoid placing it too close to your chin or too far away. Check that it’s not rubbing against your clothes to prevent extra noise.
What Are The Differences In Settings For Wired Versus Wireless Lavalier Microphones, And How Do They Impact Performance?
Wired lavalier microphones connect to a device using a cable. This means you can’t move too far away from the device while using it. Wireless lavalier microphones don’t use a cable and let you move freely. However, they need batteries and can sometimes pick up other sounds. Both types can work well, but choosing one depends on how much you want to move around!