Have you ever wondered why some podcasts sound great while others don’t? The secret often lies in their microphone setup. A proper microphone setup can make a huge difference in sound quality. Whether you’re starting a YouTube channel or just want to sound better in online meetings, knowing how to set up a microphone is important.
Imagine recording your voice, and it sounds like you are talking through a thick wall. That could happen without the right setup! But with the right steps, you can avoid this problem easily. Many people think that setting up a microphone is hard. However, it is simpler than you think.
In this tutorial, we will guide you through each step of microphone setup. You’ll learn how to choose the right microphone, adjust its position, and connect it with your devices. With our help, you can sound as clear as a bell and impress your listeners!
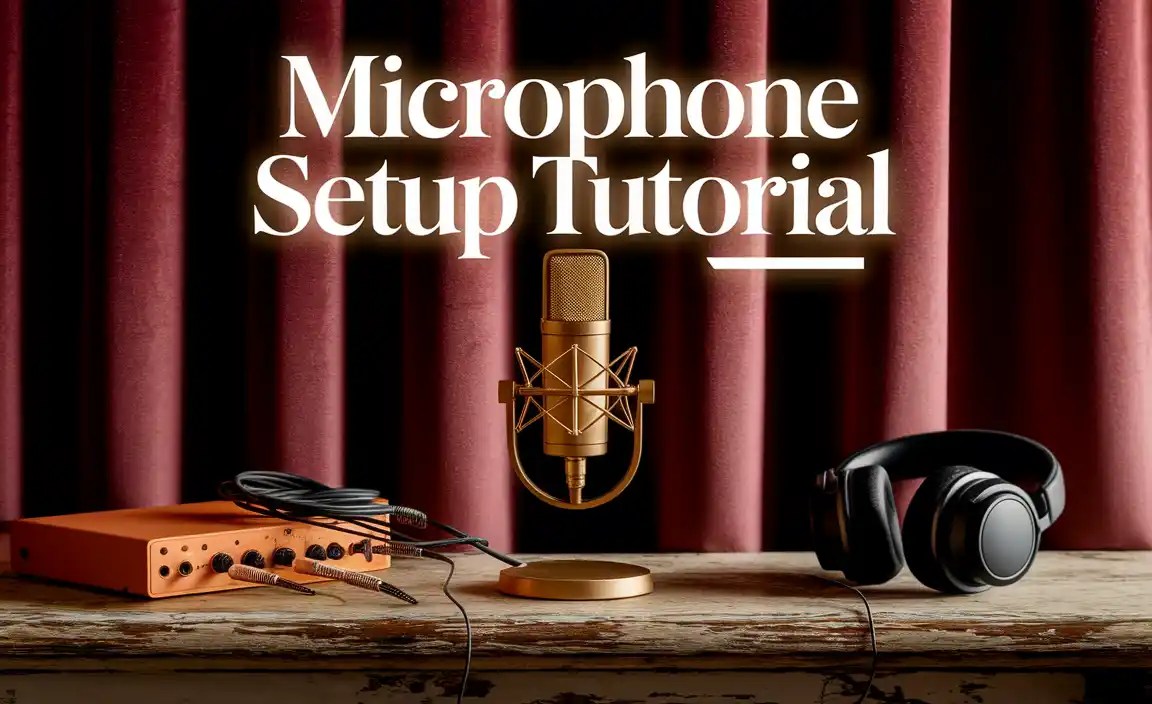
Microphone Setup Tutorial: A Step-By-Step Guide For Beginners
Essential Equipment for Microphone Setup
Key components: audio interfaces, mixers, and pop filters. Recommendations for budgetfriendly and highend options.
To set up a microphone well, you need some important tools. Key items include audio interfaces, mixers, and pop filters. These tools help improve sound quality and make voices clearer. For those on a budget, the Behringer UMC22 is a great audio interface. For a high-end option, consider the Focusrite Scarlett 2i2. Mixers like the Yamaha MG10XU work for both budgets. Don’t forget pop filters to block unwanted sounds! The Aokeo Professional Pop Filter is affordable, while the Stedman Proscreen will cost more but offers great quality.
What are some key microphone setup tools?
The key tools for microphone setup are:
- Audio Interfaces
- Mixers
- Pop Filters
Choosing the Right Microphone for Your Needs
Factors to consider: pickup patterns, frequency response, and usage. Comparing popular microphone models.
Picking the perfect microphone can feel like searching for a needle in a haystack. First, think about pickup patterns. Do you need a mic that captures sound from all directions, or just one? Next, check the frequency response to ensure it suits your voice or instrument. Lastly, consider how you’ll use it. For podcasts, a dynamic mic might be your best friend. Below is a handy comparison of popular models:
| Microphone Model | Pickup Pattern | Best For |
|---|---|---|
| Shure SM58 | Cardioid | Vocals |
| Blue Yeti | Multi-pattern | Podcasts and streaming |
| Audio-Technica AT2020 | Cardioid | Studio recordings |
Remember, finding the right mic is like finding the right shoe. If it doesn’t fit, you’ll be itchy! Happy hunting!
Acoustic Treatment of Your Recording Space
Importance of soundproofing and acoustic panels. Simple DIY techniques for improving room acoustics.
To make your recordings sound great, you need to treat your space like a sound spa. Soundproofing stops outside noise from crashing your recording party. Think of it as a big cozy blanket for your room! Acoustic panels are like the superheroes of sound, absorbing echoes and making everything clearer. Want an easy DIY fix? Hang some thick curtains or pile up soft pillows. It’s cheap, and hey, they double as comfy seating!
| DIY Acoustic Tips | Effect |
|---|---|
| Thick Curtains | Reduce noise from outside |
| Pillows | Absorb echo and improve sound |
| Rugs | Help stop sound from bouncing off floors |
Microphone Placement Techniques
Best practices for positioning microphones for optimal sound quality. Common mistakes to avoid during setup.
Getting your microphone positioned correctly is key for great sound. Aim to keep it about six inches from your mouth. This distance helps avoid bad sounds and keeps your voice clear. Don’t point the microphone directly at your mouth. Instead, angle it slightly to catch the best sound. Also, avoid placing it near noisy devices like fans; they are not great company!
| Technique | Why It Works | Mistake to Avoid |
|---|---|---|
| 6-inch rule | Prevents distortion | Getting too close |
| Angled placement | Catches better sound | Aiming directly at mouth |
| Quiet spot | Less background noise | Close to loud devices |
Remember, even the best microphones need a little TLC. Don’t let them feel neglected or squished up against your cheek! Positioning them well helps you sound your best. And let’s face it, nobody wants to be the star of a muffled audio show!
Connecting Your Microphone to Recording Software
Stepbystep guide to setting up audio interfaces with DAWs. Troubleshooting common connectivity issues.
Plugging your microphone into recording software can be as fun as it is simple! First, connect your audio interface using a USB cable. Then, open your Digital Audio Workstation (DAW) and select the right input. It’s like setting the table before dinner—everything has to go in the right spot!
If you run into hiccups, don’t worry! Check your cable connections and make sure the microphone is powered, if needed. Sometimes, a quick restart of the software can work wonders. Look at the quick guide below for common snags:
| Issue | Solution |
|---|---|
| No sound detected | Check mic settings in DAW |
| Noise or static | Inspect cables for damage |
| Connectivity problems | Restart your computer and DAW |
Following these steps will make your recording adventure smoother than a fresh jar of peanut butter!
Adjusting Gain and Levels for Optimal Recording
Importance of setting correct gain levels. How to prevent clipping and distortion in recordings.
Setting the right gain level is like adjusting the volume on your favorite cartoon. You want it clear, not screechy! If the gain is too high, your recording might sound distorted or clipped, like a cat singing opera—definitely not ideal. To keep things smooth, aim for a level around -12 dB. This way, your voice shines and doesn’t scare the neighbors! Remember, a good recording is just a tweaked knob away.
| Gain Level | Description |
|---|---|
| -12 dB | Optimal for clear sound |
| -6 dB | Pushed too high, risk of distortion |
| 0 dB | Clipping zone, avoid at all costs! |
Post-Setup Maintenance and Troubleshooting
Regular checks and maintenance routines for gear longevity. Solutions for common microphone issues.
Keeping your microphone in good shape is important. Regular checks can help it last longer. Always inspect cables for damage. Clean your microphone regularly and store it properly. If you face common issues like low sound or buzzing, check these:
- Make sure connections are secure.
- Replace batteries if needed.
- Test different locations for interference.
Taking these steps will keep your gear ready for great sound!
What are some common microphone issues?
Common microphone issues include low volume, static noise, and connection problems. Troubleshooting can often fix these quickly!
Advanced Tips for Professional Sound Quality
Utilizing EQ, compression, and effects in postproduction. Techniques for achieving broadcastquality audio.
To achieve top-notch audio, it’s important to use tools like EQ, compression, and effects. Think of EQ as a magic wand; it helps balance your sound. Want clearer vocals? Boost those high frequencies! Compression keeps loud sounds under control so your audio remains friendly, not screamy. And don’t forget effects! They can be like sprinkles on your audio cupcake. Remember, a well-mixed track is like a good joke—it should have a clear punchline without any awkward pauses!
| Technique | Purpose |
|---|---|
| EQ | Balances sound frequencies |
| Compression | Controls volume levels |
| Effects | Adds character |
Conclusion
In conclusion, a microphone setup tutorial helps you connect your microphone easily. Remember to check your cables and settings. Position your mic correctly for the best sound. Practice recording to improve your skills. Now that you know the basics, try setting up your own microphone. For more tips, consider reading additional guides or watching video tutorials. Enjoy your audio journey!
FAQs
What Are The Essential Equipment And Accessories Needed For A Professional Microphone Setup?
To set up a professional microphone, you need a few important things. Firstly, you need a good microphone. Then, you should have a pop filter to block unwanted sounds. An audio interface helps connect the microphone to your computer. You also need quality headphones to listen carefully. Finally, a sturdy stand keeps your microphone steady while you use it.
How Do I Choose The Right Microphone Type (Dynamic, Condenser, Or Ribbon) For My Specific Recording Needs?
To choose the right microphone, think about what you want to record. Dynamic microphones are great for loud sounds, like drums. Condenser microphones work well for soft sounds, like singing. Ribbon microphones are nice for warm, smooth sounds but can be more fragile. Pick the microphone that best fits the sounds you want to capture!
What Are The Best Practices For Positioning A Microphone To Capture Optimal Sound Quality?
To get the best sound from a microphone, start by placing it close to what you want to record. For voice, aim for about 6 to 12 inches away. Make sure the microphone doesn’t pick up unwanted sounds. You can tilt it slightly toward the sound source for better results. Finally, avoid any noisy spots like fans or busy places.
How Can I Troubleshoot Common Microphone Issues During Setup, Such As Unwanted Noise Or Low Volume?
To fix microphone problems, start by checking the connection. Make sure your microphone is plugged in tightly. If you hear noise, try moving away from loud sounds or sources like fans. You can also adjust the volume settings on your computer or recording device. If it’s still too quiet, consider using a microphone boost option, if available.
What Software Or Tools Can I Use To Monitor And Adjust Microphone Levels During A Recording Session?
You can use software like Audacity or GarageBand to monitor and adjust microphone levels. These programs let you hear your voice while recording. You can also use a digital audio workstation (DAW) like Ableton Live or FL Studio. They have easy controls for changing the volume. Using headphones helps you listen closely during your recording!