Quick Summary
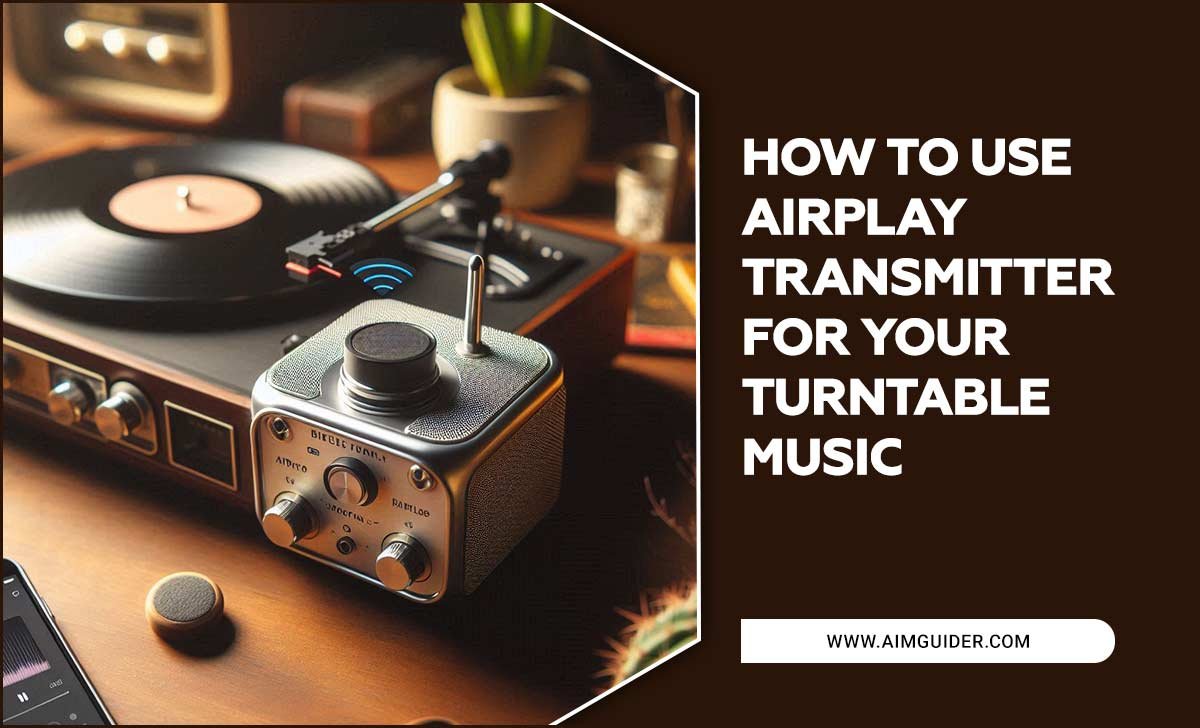
Choosing the right vlogging microphone for vlogging is key to clear audio. A good mic makes your videos sound professional, keeping viewers engaged. This guide breaks down the best options for beginners, making it easy to pick essential gear that fits your budget and needs.
Hey there, vlogging enthusiasts! Bob E. Riley here from Aimguider. Ever watched a vlogger with crystal-clear audio and wondered how they do it? Chances are, it’s not just their camera. Audio quality is a massive part of what makes a YouTube video enjoyable. If your videos sound muffled, full of background noise, or just plain bad, viewers might click away faster than you can say “subscribe.” It can be frustrating when you’ve put so much effort into your visuals, only to have the sound fall flat. But don’t worry! Getting great audio for your vlogs doesn’t have to be complicated or break the bank. We’re going to walk through everything you need to know to pick the perfect vlogging microphone, turning your “good” videos into “great” ones. Let’s dive in and find the essential gear that will make your voice shine!
Why Your Vlogging Microphone Matters (More Than You Think!)
Think about your favorite YouTubers. What makes you keep watching? It’s a combination of things, sure, but high-quality audio plays a HUGE role. When your voice is clear, easy to understand, and free from distracting noises, viewers can focus on your message and personality. This keeps them hooked, increases watch time, and encourages them to subscribe.
A bad microphone, on the other hand, can introduce all sorts of problems: wind noise (especially if you vlog outdoors), echo, background chatter drowning out your voice, or a tinny, distant sound. These issues can make your content feel amateurish and unprofessional, no matter how stunning your video footage is. Investing in a decent vlogging microphone is one of the smartest upgrades you can make to your YouTube setup.
Understanding Different Types of Vlogging Microphones
Not all microphones are created equal, and knowing the main types will help you choose the best one for your vlogging style. Here are the most common types you’ll encounter:
1. Lavalier (Lapel) Microphones
These are small, clip-on microphones that attach to your shirt or collar. They are fantastic for capturing your voice directly, minimizing background noise.
- Pros: Excellent voice isolation, discreet, great for interviews or when you’re on the move.
- Cons: Can sometimes pick up clothing rustle, need to be careful with placement, wired versions can limit movement.
Lavalier mics are often used for talking-head style vlogs, tutorials, and situations where you need your hands free. You can find both wired and wireless versions. Wireless lav mics offer the most freedom but come at a higher price point.
2. Shotgun Microphones
These are directional microphones that are designed to pick up sound from a specific direction while rejecting sound from the sides and rear. They are often mounted on top of your camera or on a boom pole.
- Pros: Highly directional, good for isolating dialogue, can capture sound from a distance.
- Cons: Can be sensitive to wind noise if not used with a windscreen, less effective in noisy environments if not pointed precisely.
Shotgun mics are a popular choice for vloggers who want to mount a mic on their camera and maintain a more run-and-gun filming style. They are great for capturing a single subject’s voice clearly.
3. USB Microphones
These microphones plug directly into your computer via a USB port. They are incredibly popular for voiceovers, podcasting, and home studio setups. While not always ideal for on-the-go vlogging with a camera, they are excellent for any voice-over work or if you primarily edit and record audio separately on your computer.
- Pros: Easy to use (plug-and-play), no extra audio interface needed, great sound quality for stationary recording.
- Cons: Not practical for filming with a camera unless you’re doing voiceovers later, less mobile.
If your vlogging involves a lot of narration recorded in a quiet room, a USB mic is a fantastic option. Many of these also come with headphone jacks for real-time monitoring.
4. Handheld Microphones
These are often dynamic microphones used for interviews or live performances. While less common for typical vlogging setups, they can be useful if you’re doing a lot of street interviews or need a robust mic that can handle being passed around.
- Pros: Durable, good for interviews, can handle loud sound sources.
- Cons: Can be bulky, might require an adapter to connect to a camera.
Key Features to Look For in a Vlogging Microphone
When you’re browsing for your first vlogging microphone, a few features will make a big difference in your audio quality and overall experience. Let’s break them down:
Polar Patterns
This refers to how sensitive a microphone is to sound coming from different directions. For vlogging, you’ll most often encounter:
- Cardioid: Picks up sound from the front, rejects sound from the sides and rear. This is excellent for getting your voice clearly while minimizing ambient noise. Most shotgun and many lavalier mics use a cardioid pattern.
- Omnidirectional: Picks up sound equally from all directions. This is good for capturing the general ambiance of a location but not ideal for isolating a single voice.
For most vlogging scenarios, a cardioid pattern is your best bet to keep your voice front and center.
Connectivity (3.5mm Jack vs. XLR vs. USB)
How does the microphone connect to your camera or recording device? This is crucial!
- 3.5mm (1/8-inch) Jack: This is the most common headphone-style jack. Many cameras have a dedicated microphone input for this. It’s simple and widely compatible.
- XLR: This is a professional audio connector. It usually requires an adapter or a dedicated audio interface to connect to a camera or computer. XLR mics often offer superior sound quality and build but are more complex for beginners.
- USB: As mentioned, these plug directly into computers. Great for studio work, less so for on-camera vlogging unless you’re recording audio separately.
For most beginner vloggers using their camera’s microphone input, a 3.5mm connection is the easiest and most practical.
Power Source
Some microphones need their own power, while others draw power from the device they’re plugged into (like your camera).
- Plug-in Power: Many microphones that use a 3.5mm jack get their power directly from the camera or recorder. This is the most convenient as you don’t need batteries.
- Batteries: Some microphones, especially higher-end models or wireless systems, require their own batteries (AA, AAA, or rechargeable).
- Phantom Power: Primarily for XLR microphones, this supplies power through the XLR cable from a mixer or audio interface.
For simplicity, look for mics that use plug-in power from your camera.
Build Quality and Durability
If you’re vlogging on the go, your microphone might get bumped around. A solid build can ensure it lasts. Plastic is common and usually fine, but metal construction often feels more robust and professional.
Included Accessories
Some microphones come with helpful extras:
- Windscreens/Deadcats: Essential for reducing wind noise, especially if you vlog outdoors. A “deadcat” is a furry cover that’s highly effective.
- Shock Mounts: These help isolate the microphone from vibrations and handling noise.
- Cables: Ensure the mic comes with the right cable for your device (e.g., TRS for camera, TRRS for smartphone).
Top Microphone Choices for Beginner Vloggers
Alright, let’s get practical! Here are some types of microphones that are excellent starting points for new vloggers, offering a great balance of performance, ease of use, and affordability.
1. On-Camera Shotgun Microphones
These are fantastic if you want a simple, direct solution that attaches to your camera. They help you capture focused audio right in front of your lens.
Why they’re great for beginners: They’re easy to mount and use, and you’ll notice an immediate improvement over your camera’s built-in mic.
Example Popular Models:
- Rode VideoMicro / VideoMic GO II
- Deity V-Mic D3
- Comica CVM-V30 PRO
These mics typically connect via a 3.5mm TRS cable (which plugs into your camera’s mic input), and they’re often powered by plug-in power from the camera. They usually feature a cardioid polar pattern, meaning they focus on the sound directly in front of them, reducing distractions from the sides.
2. Lavalier Microphones (Wired)
If you’re on a tight budget and want the best voice isolation for talking directly to the camera, a wired lavalier mic is a killer option. They plug directly into your camera or even your smartphone.
Why they’re great for beginners: Super affordable, excellent for clear voice capture, and very easy to set up. No batteries needed usually.
Example Popular Models:
- Boya BY-M1
- Rode SmartLav+ (Requires TRRS adapter for smartphones)
- DJI Mic (Though this is a wireless system, it’s a strong contender for ease of use and quality)
Make sure the lav mic you choose comes with an adapter that works with your camera or phone. For example, a camera usually needs a TRS cable, while a smartphone might need a TRRS cable.
3. Basic USB Microphones (For Studio/Voiceover Vlogs)
If your vlogging style involves recording voiceovers in front of a screen, or you do talking-head videos where the camera is stationary, a USB microphone is incredibly convenient.
Why they’re great for beginners: They are very simple to use – just plug them in. They offer a significant audio upgrade from computer microphones.
Example Popular Models:
- Blue Yeti (A classic, versatile option)
- Audio-Technica AT2020 USB+
- Rode NT-USB Mini
These are perfect for creating polished voiceovers or podcast-style segments that you can later edit into your video footage. Check out resources like AudioTechnology’s guide on choosing microphones for more in-depth technical details.
How to Connect Your Vlogging Microphone
Connecting your microphone correctly is just as important as choosing the right one. Here’s a simplified breakdown:
Connecting to a Camera (DSLR/Mirrorless/Camcorder)
Most cameras that accept external microphones have a 3.5mm microphone input jack.
- Identify the Jack: Look for a small icon that looks like a microphone or headphones.
- Get the Right Cable:
- If your microphone has a 3.5mm TRS cable, it will plug directly into the camera.
- If your microphone has a 3.5mm TRRS cable (common for smartphones), you’ll likely need a TRS to TRRS adapter to connect it to your camera.
- Plug It In: Connect the microphone to the camera’s input.
- Adjust Settings: On your camera, go into the audio settings and switch from “Internal Mic” to “External Mic.” You might also need to adjust the input level (gain) to prevent audio from being too quiet or too loud (clipping/distorting).
Connecting to a Smartphone
This can be a bit trickier depending on your phone model:
For phones with a headphone jack (older models):
- Use a TRRS Cable: Most microphones designed for smartphones come with or need a 3.5mm TRRS cable. This cable has three black rings on the plug, indicating it supports microphone input as well as headphone output.
- Plug and Record: Plug the microphone into your phone’s headphone jack. Your phone’s recording app should automatically recognize it.
For phones with no headphone jack (newer iPhone/Android models):
- Use an Adapter: You’ll need a specific adapter:
- For iPhones: A “Lightning to 3.5mm Headphone Jack Adapter” (Apple official or reputable third-party).
- For Android: A “USB-C to 3.5mm Headphone Jack Adapter” (ensure it supports audio input, not just output).
- Connect Microphone to Adapter: Plug your microphone’s 3.5mm TRS cable into the adapter.
- Connect Adapter to Phone: Plug the adapter into your phone’s charging port (Lightning or USB-C).
- Some Wireless Options: Wireless lavalier systems sometimes connect directly to your phone via USB-C or Lightning receivers, bypassing the need for adapters.
Always test your audio before you start recording your main content! Do a short test recording and listen back with headphones.
Making the Most of Your Vlogging Microphone
Once you’ve got your microphone, here are some tips to ensure you’re getting the best possible sound:
Placement is Key
For Lavalier Mics: Clip it onto your shirt, about 6-8 inches (15-20 cm) below your chin. Avoid placing it too close to your mouth (can cause popping) or too low (can pick up chest sounds). Ensure it’s not rubbing against fabric, which causes rustling noise.
For Shotgun Mics: Mount it on your camera’s hot shoe and point it directly at your mouth. The closer it can be to you without being in the shot, the better. If you’re indoors, try to position it slightly above and in front of your mouth to minimize plosives (popping sounds from ‘p’ and ‘b’ sounds).
Minimize Background Noise
Even with a good microphone, a quiet environment is your best friend.
- Indoors: Film in rooms with soft furnishings (carpets, curtains, couches) which help absorb sound and reduce echo. Turn off noisy appliances like fans or air conditioners if possible.
- Outdoors: Wind is the enemy! Always use a foam windscreen or a furry “deadcat” on your microphone. Try to film when it’s less breezy. Be aware of traffic, construction, or other ambient sounds and try to find quieter spots.
Monitor Your Audio
If your microphone or camera has a headphone output, use it! Plug in a pair of headphones while you’re recording to listen in real-time. This allows you to catch any issues (like clipping, wind noise, or low volume) as they happen, so you can fix them immediately. Many vlogging cameras allow you to monitor audio levels via the screen, which is also helpful.
Use a Pop Filter or Windscreen
These are small but mighty. A foam pop filter helps soften plosive sounds (‘p’, ‘b’). A furry windscreen (deadcat) is essential for any outdoor shooting to cut down wind noise. Most mics designed for vlogging will either come with one or have an optional accessory.
Understand Gain Staging
Gain is the level of amplification for your microphone’s signal.
- Too Low Gain: Your audio will be quiet and you might have to boost it a lot in editing, which can also amplify background noise.
- Too High Gain: Your audio will distort and sound “clipped” – this is usually unfixable.
Start with your camera’s gain set to a moderate level (often around 50-75%) and do a test recording. Adjust so your voice is clear and strong on the meter, but consistently below the maximum level. You can find detailed guides on audio gain staging from resources like the Yamaha Pro Audio site.
Table: Microphone Types at a Glance
Here’s a quick comparison to help you visualize which mic might suit your vlogging style best:
Microphone Type
Related Posts |
|---|