
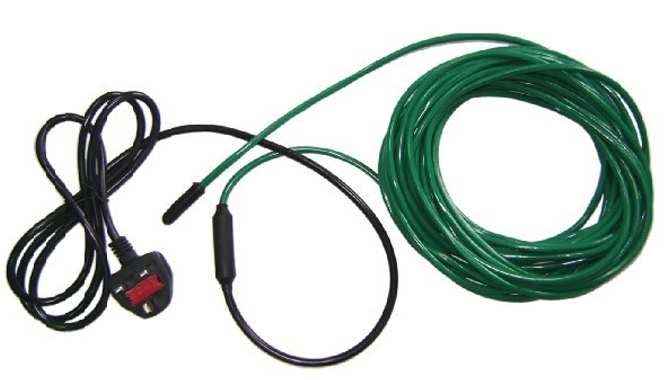
Enjoy a train journey on a fine sunny day and watch the beauty of the vast green valley outside the window. Wouldn’t it be better if we hear some favorite music now? Going to grab the headphones, earbuds, or IEMs from the pocket or the backpack.
Darn! It is all twisted, knotted, and tangled mess. Now we have to undo the messy cable instead of enjoying the natural beauty outside. Isn’t it unpleasant? On top of that, the cable is no longer straighten, and it does not look good; twisted cable touching your face and neck.
This situation brings forth the question, how to straighten IEM cables? It is always a good idea to learn how to wind the cable so that it does not get messy in the first place. And, of course, straightening the cable helps it to look good and avoid further cable damage.
We will guide you through these processes in the main part of this article. But first, we will get a sneak peek of what IEM and IEM cable is right below.
Pull Your Headphone Cord Through The Headphone.

To avoid damage to the cord, you must pull your headphone wire through the headphones before wrapping it around the earbuds or IEMs.
Pinch and Wrap: With one hand holding on to either side of the neckband, wrap one inch of cord around each earbud/IEM four times – pinching when covering so that no slack exists. After winding all four cables in opposite directions (clockwise for right-handers, counter-clockwise for lefties), overlap a few inches at both ends and tie them together with an overhand knot.
If your headphone cord already wraps in a clean coil. Pin the coil’s beginnings together and pull it through the headphones. Do not tie any knots at this stage. Now you can untangle the ring by gently pulling on each strand. The goal is to make a neat, continuous coil about 2-3 inches long. Some people prefer a slightly shorter or longer cord, depending on your preferences. When you do, your headphones should look like the image below.
Hang The Headphones From A Stand, A Hook, Or Desk Edge

Now it’s time to hang your headphones. If you have a stand, use that. If not, try hanging them from a hook or desk edge.
Be sure the cord is straight and tangle-free before hanging
Once your headphones are hung up, be sure they’re straight and tangle-free before turning off your device or disconnecting the cable. It will help prevent any further damage to the cord.
Enjoy your newly-hired headphones.
IEM And IEM Cables
IEM refers to a device named In-Ear Monitor. It is a kind of compact audio device identical to earbuds. Singers, music lovers, and stage performers widely use this device all across the globe.
They put the IEMs into the ears. It helps the stage performers listen to the mix of music and what they are singing. To block the outside noise effectively is another feature of IEMs.
This device uses an IEM cable to transfer the electric signal, though some wireless IEMs are available. IEMs and many headphones, headsets, and earbuds companies use IEM cables in their devices. The headphones you are using right now, maybe its cable is IEM.
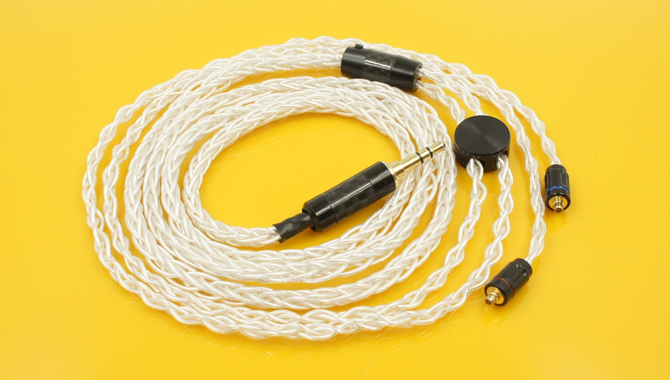
An IEM cable can be of copper, silver, and gold made, shielded by plastic shielding outside. This cable can transfer such electric signal that produces weighty, warm, and clear sound. Thus, IEM cable is a well famous cable used by renowned companies all over the world.
How To Straighten IEM Cables?
To keep the discussion simpler and more understandable, we will assume that your earbuds’ cable is an IEM cable. Now, your cable is twisted, knotted, and tangled.
It can happen because of our carelessness while using it. Sometimes, while putting the earbuds into the ears, we hold them wrong, then again, turn them right back.
Again sometimes, we turn over our smartphones while the earbuds are plugged into the device. These actions cause twists in the cable.
These twists cause further tension, resulting in a twisted and tangled cable. So, when we find that the IEM cable is curled and knotted, we need to straighten it.
If not, it can damage the inside copper wire, resulting in affecting the audio quality. And, of course, when we wind the IEM cable, we need to follow the proper procedure of winding the cable so that it does not get twisted and curled.
Let’s check out the straightening and winding process of the IEM cable right below.
Straightening Process
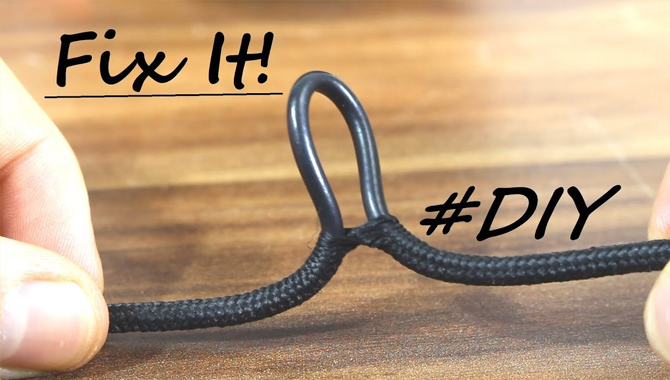
- First, you need to unknot the cable. To do it, hold the earbuds high in one hand and let the cable fall free. It will unknot some loose knots itself.
- Then, find the plug-in end of the cable. Now, run that end back through every knot. It will unknot the cable. If some knots are too tight that your finger cannot reach, or you cannot run back the end through the knots, then put a screwdriver into the knots and make some space. Careful, do not damage the cable doing so. Hope now your cable is free from all the knots.
- Now, there are no knots on the cable, but the cable is curled and twisted. It is time we start the straightening process.
- Now, hold your earbuds high in one hand and let the cable fall free. You have to run your fingers down along the cable to make it straight. Hold the cable with your thumb and index fingers, and run them down to the end. You can notice that the cable is spinning, meaning that it is untwisting and becoming straight.
- We know that your IEM cable is still not straight. Now, you have to move towards the next stage. You have to hang the cable with something so that the cable can fall free towards the ground. You can hand the earbuds with the cloth hanger or any hook. Keep the cable hanging for a week. After that, your cable will become straight as out of the packet. You can hang a lightweight object with the cable to make the process more effective. But remember, do not hang a heavy object. Doing so, you will end up damaging the cable.
Warming Cable
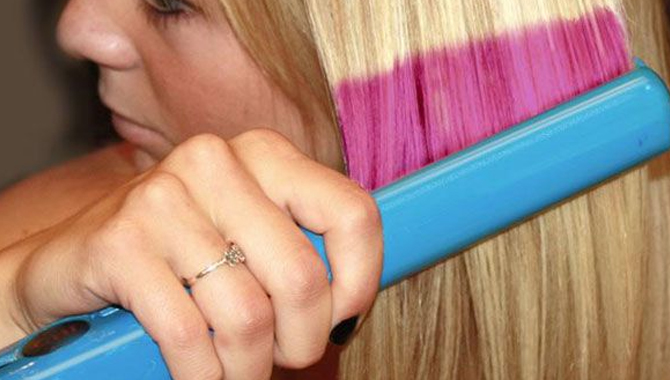
Warming the cable a little is a more effective and quick way of straightening an IEM cable. You can warm the cable with a cloth iron and a hairdryer.
Please note that the main thing here is to make the cable a little warm. Otherwise, you will end up melting the plastic shielding of the cable.
- You have to follow the cloth ironing process to do it. You need to warm up the cable a little bit and make it straight. To do it, put the cable into a cloth and lay it on a flat surface. Make the cable straight by holding it on both sides.
- Now, you have to iron the cloth, which is upon the cable. This way, you can make the cable a little warmer. As the cable was straight while you iron the cloth, the cable would remain straight after ironing. But remember, apply only a little heat. Otherwise, you would end up melting the plastic shielding of the cable.
- You can do this warming cable process by using a hairdryer too. To do it, you need to apply the warm blow out of the hairdryer to the cable. By doing this, make the cable a little warmer. Please note that apply the warm blow from a distance.
- Otherwise, the cable can get too much heat. After warming the cable, you need to straighten the cable with your fingers by holding the cable with your thumb and index fingers and roll them down along the cable all the way. Hopefully, your IEM cable is now straightened.
Winding Process
One of the major reasons behind a twisted and curled cable is that we wind it wrong. Many people wind the cable of earbuds round and round around their fingers, thus successfully making it a mess. We are telling you that they are wrong.
The proper process of winding a cable is the over-under process. If we can wind a cable properly by following the over-under process, we can avoid getting a twisted cable before we put it into a drawer, backpack, or pocket.
So, we are here to help you with learning the over-under process of cable winding.
- Hold the plug-in end of the cable with your left hand using the thumb and index fingers. Place the right hand according to how large a loop you want to make. Using the right hand, hold the cable with the thumb and index fingers as well. Hold the cable horizontally with both hands.
- Now, keeping the left hand still, make the right-hand fingers a forward spin holding the cable. It will make a loop. Bring the loop to the left hand and hold it with the left hand. We are calling it an over loop.
- Now, you have to create an under-loop. To do it, keep the left hand still, and make the right-hand fingers a backward spin holding the cable. It will make an under-loop. Bring the loop to the left and hold it with the left hand.
- So, now we have made two loops already while winding the cable. You have to do the same process, make one over loop followed by one under-loop for the rest of the cable. And here we are; your IEM cable is now winded following the proper process. If you unwind the cable, you will notice that there are no twists or curls on the cable.
- If you find it hard to understand the over-under process by reading, please watch a YouTube video. This process is so effective because this process does not force the cable to make a loop. Rather, it just helps the cable to make a loop itself the way it should be.
At A Glance
Many well-renowned earbuds, IEM, or headphones devices use the IEM cable to transfer electric signals and make the kind of sound we like to hear. But an IEM cable can get twisted and curled quite easily if we use it carelessly, leading to defective sound quality.
The IEM cable becomes twisted sometimes because we do not wind it properly. The over-under winding process can solve this problem and helps to keep the IEM cable straight.
We can use the warm-cable process or the running-finger process mentioned above in this article to straighten an IEM cable. I hope now you know how to straighten IEM cables.
FAQs
1.What Is The Best Way To Straighten An IEM Cable?
Ans: There is no one-size-fits-all answer to this question – everyone’s ears are different and will require a slightly different method of straightening an IEM cable. However, some people successfully use a hair dryer set on low heat. Others may use a small metal object (such as a paper clip) to bend the wires gently. Experiment until you find a method that works for you.
2.Which Tools Do You Need To Straighten An IEM Cable?
Ans: There is no need to purchase special tools – anything you might have around the house, like a hair dryer or metal paper clip, can be used to straighten an IEM cable. Ensure you don’t over-straighten the cord – overly-stretched wires may eventually break.
3.How Long Should You Straighten An IEM Cable For The Best Results?
Ans: Typically, it is best to straighten an IEM cable for about 20 minutes. It will ensure that the wires are completely stretched and reformed into a neat coil. However, each person’s ears may need slightly different attention – so experiment until you’ve found the method and time duration that works best for you.
4.How Can You Tell If Your IEM Cable Needs To Be Straightened?
Ans: Experience any of the following symptoms while listening to your music. It may be time to straighten your IEM cable: sound distortion, poor audio reproduction, x-interference (static), or an overall loss in bass response. In short, if you notice any problems with your headphones that cannot satisfactorily resolve adjust the volume and equalizer settings. A flat/poor-sounding audio signal most likely a result of improperly straighten IEM cables.
5.What Are The Risks When Attempting To Straighten An IEM Cable?
Ans: There are a few potential risks when attempting to straighten an IEM cable: damaging the cord, breaking the wire inside the line, or causing audio degradation. If you’re unsure whether your cable needs to straighten, it is always best to consult with a qualified technician.
6.How Do You Safely Unterminated An IEM Cable To Straighten It?
Ans: The safest way to unterminated an IEM cable is by using a small pair of needle nose pliers. After making sure that the cable is completely detached from the headphones, use the pliers to gently bend one end of the cable inwards until it snaps off – this should ensure that you do not damage any wires inside the cord.