Quick Summary:
Choosing a microphone for streaming doesn’t have to be complex. This guide breaks down the best microphones for streaming, comparing types, features, and prices to help beginners find their perfect audio setup and elevate their stream quality with confidence and ease.
Hey there, Streamers and Creators! Ever tuned into a game or a chat and thought, “Wow, their voice sounds amazing!”? Then you’ve probably experienced the difference a good microphone makes. When you’re just starting out, the world of microphones can seem a little overwhelming. XLR? USB? Condenser? Dynamic? Don’t worry, I’m here to help you cut through the noise. We’ll explore the essential insights for our microphone for streaming comparison, making sure you can pick the right mic to sound crystal clear without breaking the bank. By the end of this guide, you’ll be ready to choose a microphone that makes your voice shine.
Why Your Microphone Matters for Streaming
For any streamer, your voice is your connection to your audience. It’s how you share your thoughts, react to the game, and build a community. A fuzzy, tinny, or distant voice can quickly make viewers click away, no matter how engaging your content is. Think of it as wearing a great outfit but forgetting to groom your hair – people notice the details!
A quality microphone captures your voice accurately. It means listeners can hear every word, every emotion, and every subtle nuance. This leads to a more immersive and enjoyable experience for your viewers. Plus, when you sound professional, it builds trust and credibility. It shows you care about your stream and your audience’s experience.
Investing in the right microphone isn’t just about sound quality; it’s about investing in your stream’s success. It’s one of the most impactful upgrades you can make early on. Let’s dive into what makes a microphone great for streaming and compare some popular options.
Understanding Microphone Types for Streaming
When you start looking for a microphone for streaming, you’ll quickly encounter two main types: USB and XLR. Each has its own advantages and is suited for different setups and experience levels.
USB Microphones: The Beginner’s Best Friend
USB microphones are incredibly popular among new streamers, and for good reason. They are designed for simplicity and plug-and-play functionality. You just plug them into your computer’s USB port, and you’re ready to go. There’s no need for extra equipment.
- Ease of Use: Super simple setup. Just plug and play.
- Portability: Great for setting up quickly or taking to different locations.
- Cost-Effective: Generally more affordable than XLR setups, making them ideal for beginners on a budget.
- All-in-One Solution: The microphone has the audio interface built-in.
The main drawback is that they can be a bit less flexible if you want to upgrade your audio chain later. However, many USB mics offer excellent sound quality that’s more than sufficient for most streamers.
XLR Microphones: For the Aspiring Audiophile
XLR microphones have been the standard in professional audio for decades. They offer superior sound quality and greater flexibility for building a high-end audio setup. However, they require a bit more equipment to get them working.
- Superior Sound Quality: Often provide a richer, more detailed sound.
- Flexibility: Can be used with various audio interfaces, mixers, and preamps, allowing for more sound customization and upgrades.
- Professional Standard: Used in professional studios and broadcasts.
- Durability: Tend to be built for longevity.
To use an XLR microphone, you’ll need an audio interface or a mixer to convert the analog signal from the microphone into a digital signal your computer can understand. This adds to the initial cost and complexity, but many see it as a worthwhile investment for dedicated streamers. You can learn more about the technical specifications of microphones on resources like the Audio Engineering Society (AES), which provides in-depth information on audio standards and practices.
Deciding on Microphone Polar Patterns
Beyond the connection type, microphones have different “polar patterns.” This refers to how sensitive the microphone is to sounds coming from different directions. For streaming, some patterns are much more useful than others.
Cardioid: The Streamer’s Choice
The cardioid pattern is the most common and arguably the best choice for most streamers. It picks up sound primarily from the front of the microphone, while rejecting sounds from the sides and rear.
- Focuses on Your Voice: Minimizes background noise like keyboard clicks, fan noise, or room echo.
- Great for Single Speakers: Ideal when only one person is speaking into the mic at a time.
- Reduces Room Acoustics: Helps to create a cleaner sound in less-than-ideal rooms.
This pattern is fantastic for isolating your voice and ensuring clarity, making your commentary stand out.
Other Patterns (and why they’re less common for streaming)
- Omnidirectional: Picks up sound equally from all directions. Great for capturing ambient sound or multiple speakers in a room, but terrible for isolating a single voice and picking up too much background noise for most streamers.
- Bidirectional (Figure-8): Picks up sound equally from the front and rear, while rejecting sound from the sides. Useful for interviews with two people facing each other, but not ideal for most solo streaming setups.
- Stereo: Captures sound from the left and right, creating a stereo image. More for recording music or ambient sounds, not typically needed for voice-centric streaming.
For a beginner streamer, sticking with cardioid is usually the safest and most effective bet.
Essential Features to Consider
When comparing microphones, look beyond just the type and pattern. Several features can significantly impact your experience and the final sound quality.
Frequency Response
This describes how well a microphone captures different sound frequencies (low, mid, and high). A flat frequency response means it captures all frequencies equally. For voice, a slight boost in the mid-range can help your voice cut through, while a gentle roll-off in the low end can reduce plosives (those “P” and “B” sounds that can cause a pop) and rumble.
Dynamic Range
This is the difference between the quietest and loudest sounds a microphone can capture without distortion. For streaming, you need a mic that can handle both your soft whispers and your enthusiastic shouts. Most modern microphones have a sufficient dynamic range for typical streaming use.
Sample Rate and Bit Depth (for digital audio)
These terms are important for USB microphones and digital audio interfaces. They relate to the quality of the digital audio captured. Higher sample rates (e.g., 48kHz, 96kHz) and bit depths (e.g., 16-bit, 24-bit) mean more detailed and clearer digital audio. For streaming, 48kHz/24-bit is generally considered excellent and more than enough.
Durability and Build Quality
Microphones can range from lightweight plastic to solid metal. A well-built microphone will last longer and feel more premium. Many desk mics come with a small stand, but you might consider a boom arm for better positioning and to reduce desk vibrations.
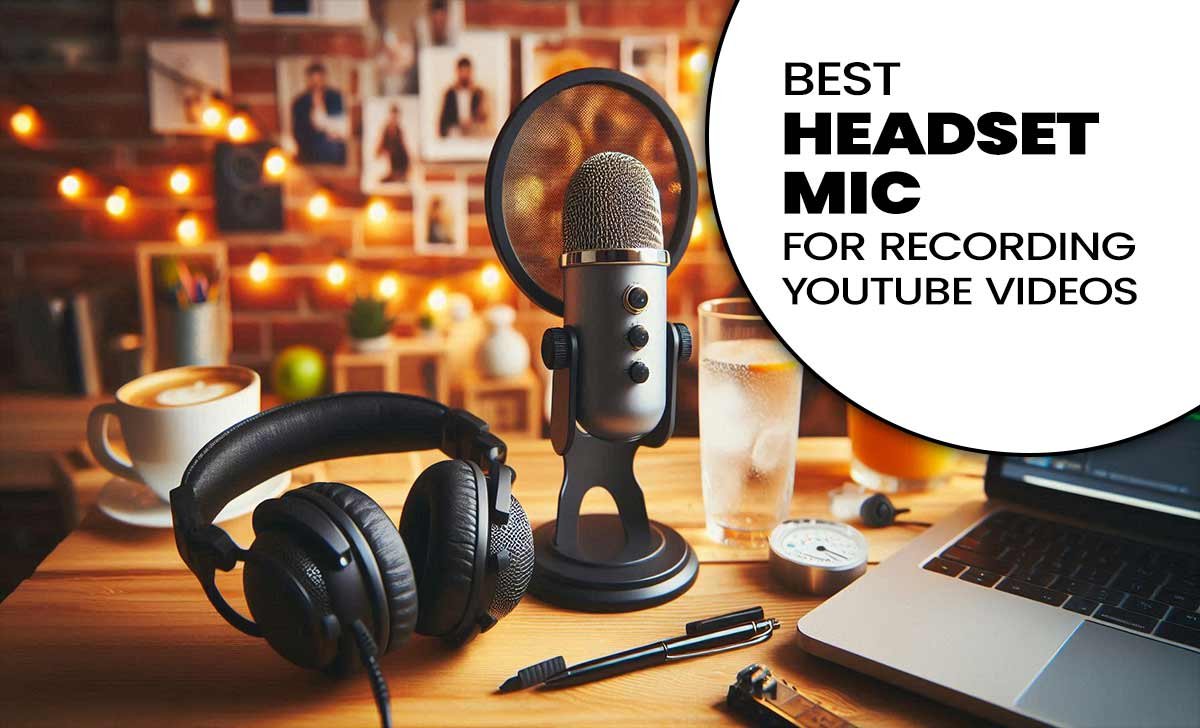
Top Microphone Recommendations for Streaming (Beginner-Friendly Focus)
Let’s look at some popular microphones that consistently receive high marks from streamers. We’ll focus on USB mics for their ease of use, but touch on an XLR option for those looking to start a more expandable setup.
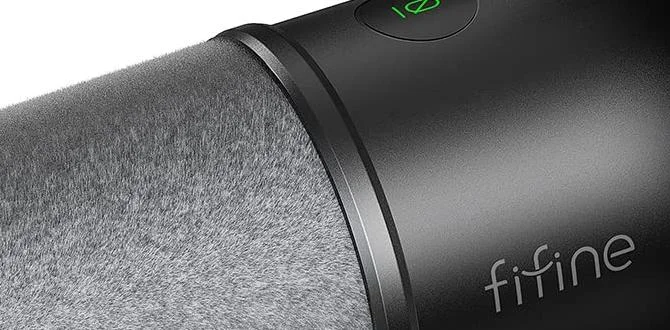
1. Blue Yeti
The Blue Yeti has been a staple in the streaming and podcasting community for years, and for good reason. It’s a versatile USB condenser microphone that offers multiple polar patterns (cardioid, bidirectional, omnidirectional, and stereo) and excellent sound quality straight out of the box.
- Type: USB Condenser
- Polar Patterns: Cardioid, Bidirectional, Omnidirectional, Stereo
- Frequency Response: 20Hz – 20kHz
- Pros: Incredible versatility with multiple patterns, plug-and-play, good sound, built-in headphone jack for zero-latency monitoring.
- Cons: Can pick up a lot of room noise if not used carefully due to its high sensitivity; the built-in stand can be wobbly.
- Ideal For: Beginners, content creators who might find themselves in different recording scenarios, those who want flexibility without extra gear.
2. Rode NT-USB+
Rode is a respected name in audio gear, and the NT-USB+ is their fantastic USB offering. It delivers a warm, clear, and professional sound that’s perfect for voice.
- Type: USB Condenser
- Polar Patterns: Cardioid
- Frequency Response: 20Hz – 20kHz
- Pros: Excellent studio-quality sound, very low noise floor, durable metal construction, easy to use, includes a pop filter.
- Cons: More expensive than some entry-level USB mics; only one polar pattern.
- Ideal For: Streamers prioritizing pure voice clarity and a professional sound without wanting to jump into XLR yet.
3. HyperX QuadCast S
The QuadCast S is designed with gamers and streamers in mind, boasting features like customizable RGB lighting and multiple polar patterns. It sounds great and looks even better on camera.
- Type: USB Condenser
- Polar Patterns: Cardioid, Bidirectional, Omnidirectional, Stereo
- Frequency Response: 20Hz – 20kHz
- Pros: Excellent sound quality, tap-to-mute functionality, built-in shock mount, easy setup, cool RGB lighting.
- Cons: Can be pricier due to features and aesthetics; some users find the EQ needs tweaking for optimal vocal presence.
- Ideal For: Gamers and streamers who want a stylish, feature-rich mic that performs well and looks good on stream.
4. Audio-Technica AT2020+ (USB Version)
This is the USB version of a popular entry-level studio condenser mic. It offers a very clean and natural sound that’s a step up for many beginners.
- Type: USB Condenser
- Polar Patterns: Cardioid
- Frequency Response: 20Hz – 20kHz
- Pros: Professional sound quality for the price, robust build, excellent clarity, zero-latency headphone output.
- Cons: Basic design, no fancy features, can be sensitive to background noise.
- Ideal For: Budget-conscious streamers who want a no-frills, high-quality audio capture.
5. Shure SM58 (with an Audio Interface) – The XLR Contender
While this is an XLR microphone, it’s worth mentioning as a robust, reliable option if you’re considering an XLR setup. The Shure SM58 is legendary for its durability and clear vocal reproduction. It’s a dynamic mic, which means it’s less sensitive to background noise than condensers.
To use this, you’ll need an audio interface like the Focusrite Scarlett Solo or Audient EVO 4. These interfaces provide phantom power (if needed, though the SM58 doesn’t require it) and the necessary connection to your PC.
- Type: XLR Dynamic
- Polar Patterns: Cardioid
- Frequency Response: 50Hz – 15kHz (designed for vocals)
- Pros: Extremely durable, excellent at rejecting background noise, classic vocal sound, reliable for live performance and broadcast.
- Cons: Requires an audio interface, sound can be less detailed than high-end condensers, limited frequency response compared to condensers.
- Ideal For: Streamers looking for ultimate durability and noise rejection, or those who plan to expand into a full XLR recording setup. For more on audio interfaces, check out this guide from Sweetwater, a reputable music equipment retailer.
Microphone Comparison Table
Here’s a quick rundown to help you compare some of the popular choices.
| Microphone | Type | Polar Patterns | Key Feature | Price Range (USD) | Ease of Use |
|---|---|---|---|---|---|
| Blue Yeti | USB Condenser | 4 (Cardioid, Bi, Omni, Stereo) | Versatility, Plug & Play | $100 – $130 | Very High |
| Rode NT-USB+ | USB Condenser | Cardioid | Studio-Quality Sound | $150 – $170 | High |
| HyperX QuadCast S | USB Condenser | 4 (Cardioid, Bi, Omni, Stereo) | RGB Lighting, Tap-to-Mute | $120 – $150 | High |
| Audio-Technica AT2020+ (USB) | USB Condenser | Cardioid | Clear, Natural Vocal Tone | $100 – $120 | High |
| Shure SM58 (XLR) + Interface | XLR Dynamic | Cardioid | Durability, Noise Rejection | $100 – $250+ (Mic + Interface) | Medium (requires interface setup) |
Tips for Getting the Best Sound from Your New Mic
Once you’ve chosen your microphone, there are a few things you can do to ensure you get the best possible sound for your stream.
1. Microphone Placement is Key
Don’t just plop your mic anywhere. For cardioid mics, placing it directly in front of your mouth is ideal. A good starting point is about 6-12 inches away. Too close, and you risk plosives and clipping. Too far, and you’ll pick up too much room noise and sound distant.
- Experiment with angling. Sometimes a slight offset from directly in front of your mouth can reduce plosives.
- Using a boom arm allows for much more precise placement and helps keep the mic off your distracting desk.
2. Control Your Environment
Your room’s acoustics play a massive role. Hard surfaces like bare walls, windows, and desks reflect sound, causing echo and reverb.
- Soften Surfaces: Add curtains, rugs, upholstered furniture, or even blankets to absorb sound.
- Reduce Background Noise: Close windows and doors. Turn off loud fans or air conditioners if possible.
- Consider Acoustic Treatment: For a more advanced solution, you can add foam panels or bass traps. For a free option, draping a thick blanket behind your mic can help absorb reflections.
Even small changes can make a big difference in how professional your stream audio sounds. The National Public Radio (NPR) has excellent accessible advice on improving audio quality for spoken word, which applies well to streaming.
3. Use a Pop Filter or Windscreen
These accessories are crucial for taming plosives (those ‘P’ and ‘B’ sounds) and sibilance (hissing ‘S’ sounds). A pop filter is a screen that sits between you and the microphone, while a windscreen is a foam cover that fits over the microphone capsule.
4. Software Settings Matter
Your streaming software (like OBS Studio or Streamlabs) and your operating system have audio settings. Make sure your chosen microphone is selected as the input device.
- Gain: This is the microphone’s sensitivity. Set it so that your voice is clear and strong on the meter, but never peaking into the red (clipping/distortion).
- Noise Gate or Suppressor: Many streaming software programs offer filters to automatically cut out sound when you’re not speaking. Use these sparingly, as they can sometimes cut off the beginnings or ends of words if not set correctly.
- EQ (Equalization): If your mic or software allows, you can use EQ to subtly boost frequencies that make your voice sound clearer or warmer. Start with small adjustments.