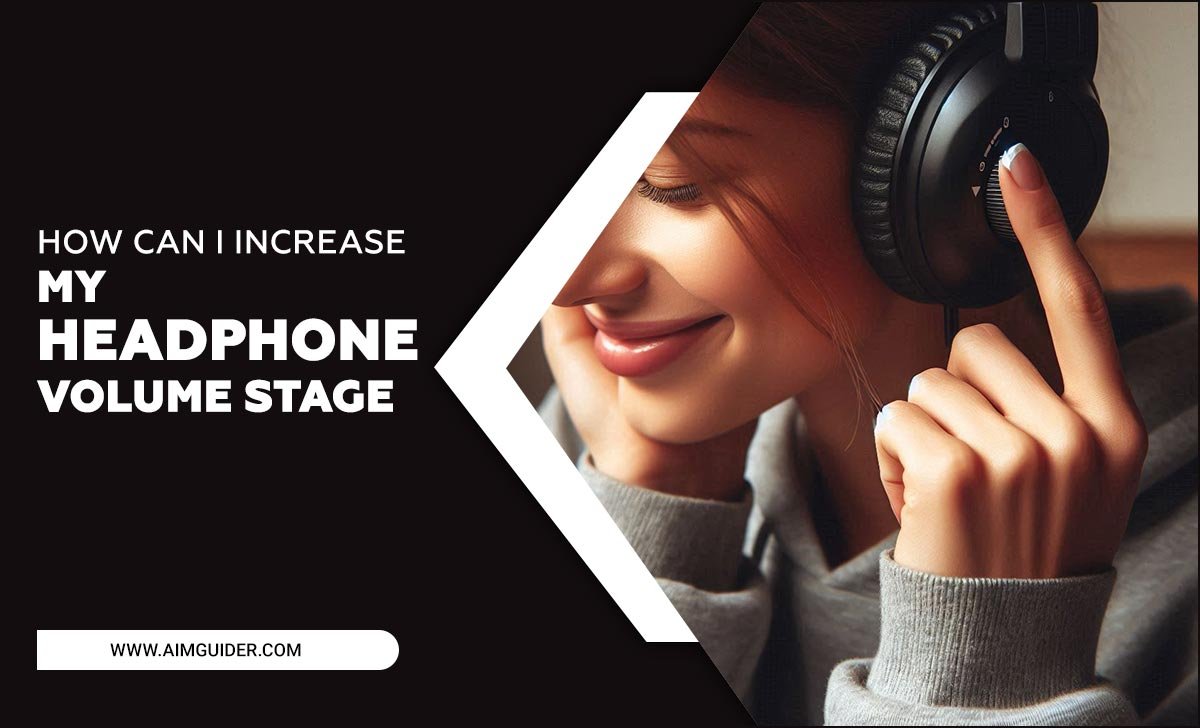
Quick Summary: For Mac beginners, the best microphone setup starts with a user-friendly USB mic. Look for plug-and-play simplicity, good audio quality for your needs (podcasting, calls, streaming), and compatibility with macOS. We’ll guide you through choosing, connecting, and testing your new mic for crystal-clear sound.
Getting the right microphone for your Mac can feel a bit tricky, especially when you’re just starting out. You want your voice to sound clear, whether for work calls, a new podcast, or just chatting with friends. The good news is, setting up a microphone with your Mac is easier than you might think! We’ll walk you through everything, from picking the perfect mic to getting it all hooked up and ready to go. No confusing tech talk, just simple steps to great sound.
Why a Good Microphone Matters for Your Mac
Your Mac is a powerful tool, but its built-in microphone can only do so much. If you’re serious about sounding professional or just want to enjoy better audio quality, an external microphone is a game-changer. Think about it: clear calls mean fewer misunderstandings, great podcast audio attracts more listeners, and awesome gaming commentary makes the experience more immersive for everyone.
Many beginners worry about complicated setups, but modern microphones, especially USB models, are designed for simplicity. They’re built to be recognized by your Mac instantly, meaning you often don’t need any special software. This guide is here to take the guesswork out of it.
Choosing Your First Mac Microphone: What to Look For
When you’re a beginner, the sheer number of microphone options can be overwhelming. Don’t worry! For Mac users starting out, the best path usually leads to a USB microphone. These are incredibly easy to use and offer a significant upgrade over your Mac’s internal mic. Here’s what to focus on:
Connectivity: USB is Your Best Friend
USB microphones plug directly into one of your Mac’s USB ports (or USB-C, with an adapter if needed). This is the easiest connection method because it’s powered by the USB port itself and sends audio data through the same cable. No extra audio interfaces or complex wiring required!
Type of Microphone: Condenser vs. Dynamic
For most beginner use cases like voiceovers, podcasting, and general recording, a condenser microphone is usually the preferred choice. They are more sensitive and capture a wider range of frequencies, resulting in a crisp and detailed sound.
Dynamic microphones are more rugged and less sensitive, making them ideal for loud environments or very loud sound sources (like screaming into a mic on stage). For a quiet home setup, focus on a condenser.
Polar Patterns: How the Mic “Listens”
This sounds technical, but it’s simple! The polar pattern describes where the microphone picks up sound the best:
- Cardioid: Best for picking up sound directly in front of the mic. It rejects sound from the sides and rear, which is perfect for isolating your voice and minimizing background noise. This is the most common and useful pattern for beginners.
- Omnidirectional: Picks up sound equally from all directions. Good for capturing a whole room or multiple people talking around a table, but not ideal for solo voice work.
- Bidirectional (or Figure-8): Picks up sound from the front and back, rejecting the sides. Useful for interviews where two people are facing each other with the mic in between, but again, not the primary choice for solo beginners.
Your Needs: What Will You Be Doing?
Consider how you’ll use the microphone most:
- Podcasting/Voiceovers: You’ll want good clarity and warmth. A cardioid pattern is essential.
- Video Conferencing/Calls: A clear, present vocal sound is key. Many mics come with features like mute buttons, which are super handy.
- Streaming/Gaming: You need to cut through background noise and sound energetic. Again, cardioid is your friend.
- Instrument Recording (beginner level): Condenser mics are typically better for capturing nuance, but this can get more complex. For now, focus on voice.
Top Picks for Beginner Mac Microphones (Examples)
While specific models change, here are types of microphones that are consistently great for Mac beginners. These are widely available and known for their plug-and-play ease:
| Microphone Type | Best For | Key Features for Beginners | Example Brands/Models (Check current reviews!) |
|---|---|---|---|
| USB Condenser (Desktop) | Podcasting, Voiceovers, Streaming, Calls | Cardioid pattern, direct headphone monitoring, easy setup, good sound quality. | Blue Yeti, Rode NT-USB+, Audio-Technica AT2020USB+. |
| USB Lavalier (Clip-on) | Interviews, Vlogging, Presentations (when you need to move) | Discreet, good for quieter environments, easy to clip on. | Rode SmartLav+, but often requires an adapter for Mac. |
| USB Headset Microphone | Calls, Gaming, Basic Streaming | All-in-one solution, typically very user-friendly, includes headset convenience. | Logitech H390, various gaming headsets from SteelSeries, HyperX. |
Essential Setup: Connecting Your Microphone to Your Mac
Once you’ve chosen your microphone, the setup is usually a breeze. For most USB microphones, it’s as simple as plug-and-play.
- Unpack and Connect: Take your microphone out of the box. If it has a stand, assemble it. Connect the USB cable to your microphone.
- Plug into Your Mac: Connect the other end of the USB cable to an available USB port on your Mac. If you have a newer MacBook with only USB-C ports, you’ll need a USB-C to USB-A adapter or a USB-C hub. Apple offers a range of adapters for connecting older peripherals to newer Macs.
- Mac Recognizes the Mic: Your Mac should automatically detect the new hardware. You might see a brief notification.
- Set as Input Device: This is the crucial step. You need to tell your Mac to use the new microphone instead of the built-in one.
- Go to System Settings (or System Preferences on older macOS versions).
- Click on Sound.
- Select the Input tab.
- You should see your new microphone listed. Click on it to select it.
- Adjust Input Volume: While in the Sound settings, you’ll see an “Input volume” slider. Speak into your microphone at a normal talking level. Watch the input level meter. Adjust the slider so the meter peaks in the green/yellow range without hitting the red. This ensures a good, clean signal without being too quiet or too distorted.
Testing Your Microphone
Before diving into your project, it’s always a good idea to test that everything is working correctly. Here are a few ways:
Option 1: Using QuickTime Player (Built-in to Mac)
QuickTime Player is a fantastic free tool that comes with your Mac and is perfect for quick audio tests.
- Open QuickTime Player from your Applications folder.
- Go to File > New Audio Recording.
- A recording window will pop up. Make sure your new USB microphone is selected as the input device (if not, check your Mac’s System Settings > Sound > Input).
- Click the red record button and speak into your microphone.
- Click the stop button when you’re done.
- Play back the recording. Listen carefully for clarity, background noise, and volume.
This test is invaluable for hearing exactly what your microphone is capturing without any other software interfering.
Option 2: Using Voice Memos (Also Built-in)
Similar to QuickTime, Voice Memos is another simple way to record and playback.
- Open the Voice Memos app (it’s usually in your Dock or Applications folder).
- Click the red record button.
- Speak into your microphone.
- Click the stop button.
- Play back the recording.
Option 3: In Your Application (Zoom, GarageBand, etc.)
Most communication apps and some recording software will have their own audio settings where you can select your microphone and test it.
- For Zoom: Open Zoom, go to Settings > Audio, and select your microphone from the “Microphone” dropdown menu. You can click “Test Mic” to record a short clip and play it back.
- For GarageBand: Create a new project, select “Voice” or “Microphone,” and ensure your USB mic is selected as the input source in the track settings.
Troubleshooting Common Beginner Issues
Even with plug-and-play, you might run into a hiccup. Here are solutions to common beginner problems:
- Mac Doesn’t Detect Microphone:
- Try a different USB port.
- If using an adapter or hub, try connecting directly if possible, or try a different adapter.
- Restart your Mac.
- Ensure the microphone is powered on (if it has a power switch or indicator light).
- “No Sound” or Very Quiet Sound:
- Check System Settings > Sound > Input and ensure your microphone is selected.
- Verify the input volume slider is not too low.
- If your mic has a physical volume knob, ensure it’s turned up.
- In your application (like Zoom), double-check that the correct microphone is selected in its audio settings.
- Sibilance (Harsh “S” Sounds) or Plosives (“P” and “B” pops):
- These are often caused by speaking too close to the microphone or by strong air currents.
- Try backing up a bit from the mic.
- A pop filter is a simple and inexpensive accessory that can be placed between you and the microphone to diffuse these bursts of air. They are highly recommended for vocals. Websites like Sweetwater offer great explanations of different types of pop filters.
- Background Noise:
- Ensure you’re in the quietest room possible. Turn off fans, AC units, or other noisy appliances.
- A cardioid polar pattern is designed to reduce side and rear noise. Make sure you’re speaking into the front of the mic and that the back is pointed away from noise sources.
- Some microphones have software or physical controls to adjust gain (sensitivity) which might reduce background noise if set too high.
Advanced Tips for Better Sound (When You’re Ready)
Once you’re comfortable with the basics, you might want to explore ways to improve your audio even further:
- Pop Filter: As mentioned, a pop filter is essential for clean vocal recordings. It acts like a shield against plosives and sibilance.
- Microphone Stand/Arm: Getting the mic off your desk and at the correct distance reduces desk vibrations and allows for better positioning. A boom arm that attaches to your desk is a popular, space-saving option.
- Shock Mount: This is an accessory that holds the microphone suspended and isolates it from vibrations transmitted through the microphone stand. It’s particularly useful for sensitive condenser mics.
- Acoustic Treatment: Even simple things like recording in a room with lots of soft furnishings (curtains, carpets, sofas) can reduce echo and reverb, making your voice sound clearer and more professional.
- Software EQ: Once you start recording in a DAW (Digital Audio Workstation) like GarageBand, you can use equalization (EQ) to fine-tune the tone of your voice, making it brighter, warmer, or cutting out unwanted frequencies.
Frequently Asked Questions About Mac Microphones for Beginners
Q1: Do I need special software to use a USB microphone with my Mac?
A1: For most basic functions like calls and simple recordings, no. USB microphones are plug-and-play and recognized by macOS automatically. You may need software for advanced features or detailed control, but it’s not typically required for initial setup.
Q2: How close should I be to the microphone?
A2: For most cardioid condenser microphones, speaking from about 4-8 inches (10-20 cm) away is a good starting point. This “sweet spot” varies, so test to find what sounds best for you and your mic. Speaking too close can cause distortion and plosives, while speaking too far away can pick up more room noise and sound thinner.
Q3: What’s the difference between microphone input volume and application volume?
A3: The microphone’s input volume (set in Mac’s System Settings > Sound > Input) controls how loud the raw audio signal is when it enters your Mac. The application volume controls how loud that processed audio is played back to you or others within a specific app (like Zoom or a music player).
Q4: My microphone is listed, but it makes no sound. What’s wrong?
A4: Double-check that your microphone is selected as the input device in System Settings > Sound. Also, ensure the input volume slider isn’t all the way down. Within the specific application you’re using (e.g., Zoom, GarageBand), make sure that application’s audio settings are also pointing to your chosen USB microphone and not the Mac’s internal mic.
Q5: Can I use a microphone designed for Windows with my Mac?
A5: Yes, generally. Most USB microphones are designed to be cross-compatible with both macOS and Windows. The only potential issue might be if the microphone requires specific driver software that is only available for Windows, but this is rare for beginner-friendly USB mics.
Q6: What does “latency” mean, and is it a problem for beginners?
A6: Latency is the slight delay between when sound enters your microphone and when you hear it back (especially when monitoring directly or recording in complex software). For basic calls and recordings, it’s usually negligible. If you’re a musician recording complex tracks, low-latency is crucial, and you might need an audio interface instead of just a USB mic, but for beginners, it’s rarely an issue.
Conclusion: Your Voice, Amplified!
Setting up a new microphone for your Mac is a fantastic step towards better audio experiences, whether for professional communication, creative projects, or simply enjoying richer sound.
By focusing on user-friendly USB microphones, understanding basic settings like input volume and device selection, and performing simple tests through built-in Mac tools like QuickTime Player or Voice Memos, you’re well on your way. Don’t be afraid to experiment with placement and volume to find that perfect sweet spot.
Remember, the goal is to make your voice heard clearly and confidently. With these straightforward steps, you’ve got the essential knowledge to get your microphone working perfectly with your Mac. Happy recording, calling, and creating!