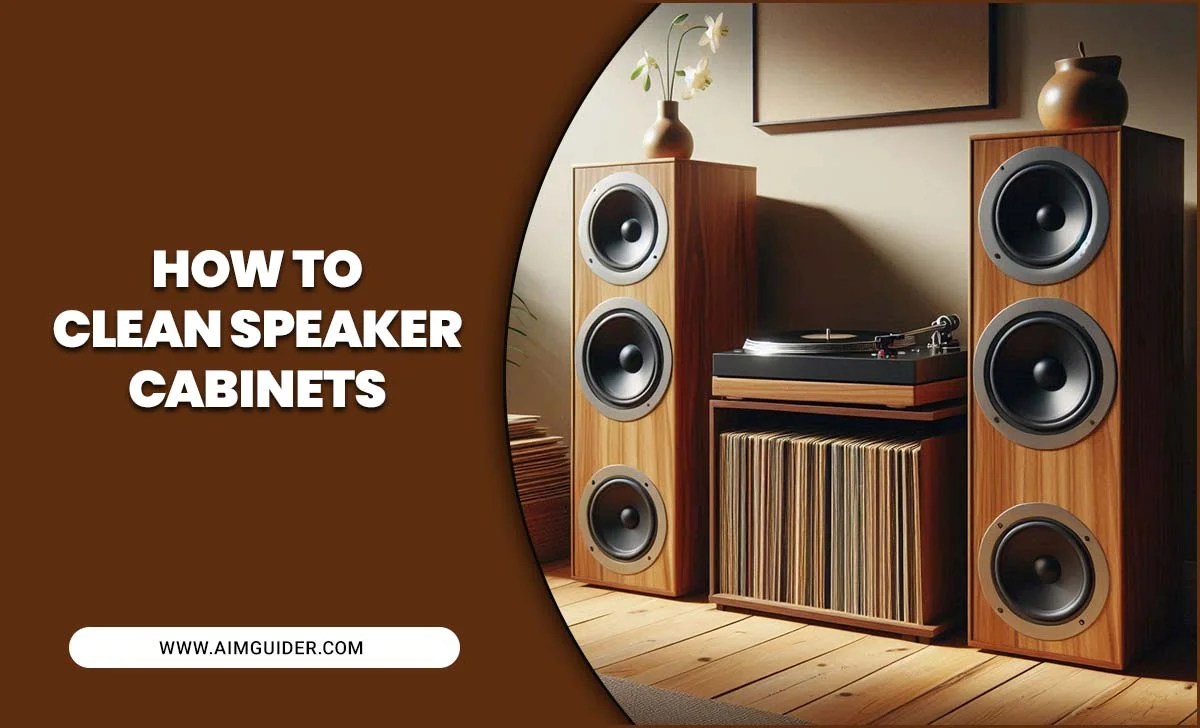
Modern or vintage, both speakers collect dirt and dust like the other belongings in your home. If you own a vintage speaker, you must know the proper maintenance.
Continuous dust accumulation will decrease the performance your speaker. Keeping the different parts of the speaker will ensure the best performance from your speaker. But, how to clean vintage speakers?
There are some easy steps I will discuss with you about how you can clean your vintage speakers. You need to follow the steps meticulously, or you may end up damaging your precious one.
There are many different parts in a speaker, and you must clean them in a different technique that will be suitable for them. You will need some materials to clean your vintage speakers. Without them, following the steps will not be sufficient for the perfect cleaning of your speakers.

Different Speaker Parts
Different parts of the speaker are made of different substances. You should use suitable material to clean these parts to ensure no damage.
- Wood cabinet- You can clean your speakers wood cabinet using Vinyl or Mild detergent in warm water and the Howard Orange Oil Wood Polish.
- The Exterior- Use a soft and clean cloth to clean the external surface or the exterior. Always do the cleanings gently.
- Speaker grills- Remove the speaker grills carefully. After removal, use a vacuum hose with an attached dust brush. The brush will loosen the dust from the surface, and the vacuum will remove them with air suction.
- Speaker cones- The most crucial part of cleaning a vintage speaker is cleaning the speaker cone. Use a very soft brush, and compressed air can clean the cone.
When the Damage Has Been Done
If damage has already happened to a vintage speaker, the best course of action is often to replace it. However, if there is still some minor cosmetic damage that you can fix with a bit of cleaning and care, then following these steps should help:
1) Remove loose dust or dirt using a dry cloth or vacuum cleaner.
2) Wipe the speakers with an alcohol-based solution (such as rubbing alcohol or vodka). Do not use water; this could cause permanent damage.
3) Let the speakers air dry completely before putting them back in use. 3. Top Tips for Cleaning Vintage Speakers:
1) Remember to use a cloth or vacuum cleaner instead of water when cleaning vintage speakers – this will help avoid any permanent damage.
2) Be patient – it can sometimes take some time for the alcohol to work its magic on all the dirt and dust, so be prepared to give them a few minutes of rest between cleanings.
3) Once the speakers are dry, ensure they are installed correctly and turned on halfway before closing the cabinet door.
Things You’ll Need
- Dish soap
- Rags
- Lysol or any strong disinfectant -Paint or any other type of cleaner
- Soft and clean cloths
- Sandpaper
- Hairdryer
- chemicals (sodium meta bi-sulfite or hydrogen peroxide)
How To Clean Vintage Speakers – Simple Ways
You need to know how your speaker cabinets are made of before starting the cleaning procedure. The size and type of the speaker will not matter in this case.
Generally, the speaker cabinets are made of different kinds of wood—the woods from pine, oak, maple, birch cherry, walnut etc. The wood is polished to give it a natural look and better aesthetics after making the speaker cabinet frame.
Sometimes, the frame is made glossy using varnish, wax, lacquer etc. Suppose you do not know what materials are used to make your speaker cabinet; contact the manufacturer. They will give you a better way to clean your speaker.
Knowing the speaker cabinet will help you choose the best solution for cleaning and finishing. Some artificial woods do not react well with cleaning liquids. These synthetic woods are more liquid absorbent than natural woods. So, if you know the wood type of your speaker, you will be able to choose the cleaning and finishing liquid easily.
Sometimes the manufacturers existing wax or finish gets stripped off due to choosing something harsh. The speaker will work fine after this but, it will not be aesthetic as it was before.
Remember not to use a cleaner on artificial, processed wood that is meant for natural wood. If your speaker is having a vinyl wrapped exterior, this might damage the vinyl wrapping. Do not use kitchen, bath or glass cleaners to clean your speaker cabinet; use the ideal one and will not damage your precious speaker.
Clean And Finish The Surface Of Speaker Cabinet-
If your speaker cabinet is made from natural wood, I will suggest you use Murphy’s oil soap, Howard Orange Oil Wood polish, or you can also use wood furniture cleaners.
To clean only the external surface, mix a mild detergent in warm water, soak in a soft and clean piece of cloth and clean the surface with it. If there is a sticky stain or dirt, you can add a slight amount of baking soda to the existing detergent mixture. This will work like a charm.
Do not use paper towels to clean the cabinet because they leave tiny fibers after cleaning. If you do not have a soft cloth piece, you can use an old cotton t-shirt or a microfiber towel.
It would be best if you had a proper finishing to the surface after cleaning. You can use varnish to protect or oil to finish the surface. You should choose the best varnish or cleaning oil according to your speaker cabinet’s material type.
If the cabinet is made from natural wood, finishing oils will be better. You need to use a varnish if your cabinet is of processed wood like plywood or MDF. There is a recent advancement that is the blend of oil and varnish.
You can use this blend on both natural and processed wood. There might be the presence of some places on the cabinet where you can not clean or finish with your hand. In this case, use a Q-tip cotton swab.
Warnings About Replacing Vintage Speakers:
If you are somewhat unable to repair those damaged speakers, then it may be best to replace them with new speakers. However, there are a few things you should keep in mind before making this decision:
1) It is essential to correctly measure the space in which you will need to install the new speakers. – make sure that they fit within the dimensions of your cabinet without too much extra room, or they may sound too loud and boisterous.
2) Make sure that you choose all the replacements carefully when shopping for vintage speaker replacements – not all models are equal, and some may have more issues than others.
3) It is also essential to be aware of the warranty that comes with new speakers – if something goes wrong within the first year, most companies will honor their warranty.
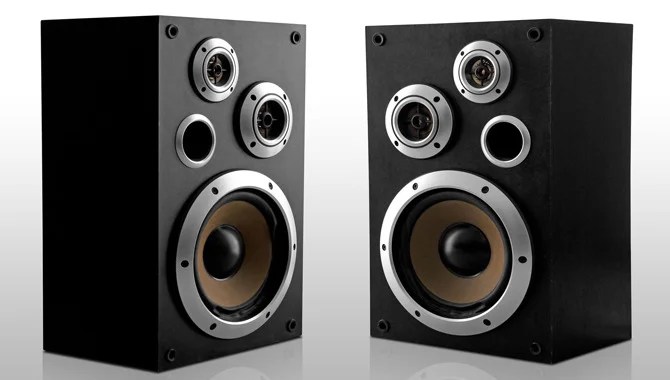
Clean The Speaker Grills-
 The primary function of a speaker grill Is covering the speaker driver and protect it from dirt and dust accumulation. Most of the speaker grills are made of delicate fabric, and some are of metal with tiny perforations.
Fabric grills are generally attached with the frame and might be popped off easily with a gentle pull. If you do not know how your speaker grill is attached, be careful while cleaning! Contact the manufacturing company for the best solution.
Starting from the top corner, lose the projection by your fingertip. After releasing the top, release the bottom corners. Remove the screws from the speaker frame if there is any and pry them off from your speaker. Be gentle while doing this task.
Keep the speaker grill on a flat surface and remove the dust by attaching a dust brush to a vacuum hose. If the dust brush is not available, use your finger to control the vacuum.
If the frame has sticky dirt, use warm water, soap and baking soda mixture to gently rub off the dirt with a cotton or microfiber cloth in a circular motion. After rinsing with clean water, leave it to dry.
If the speaker grill is metal or plastic, clean this with a sponge using the previous mixture. Rinse the grill with water and dry it with a cotton towel. After completion of cleaning and drying, place the grill back in the speaker using the screws.
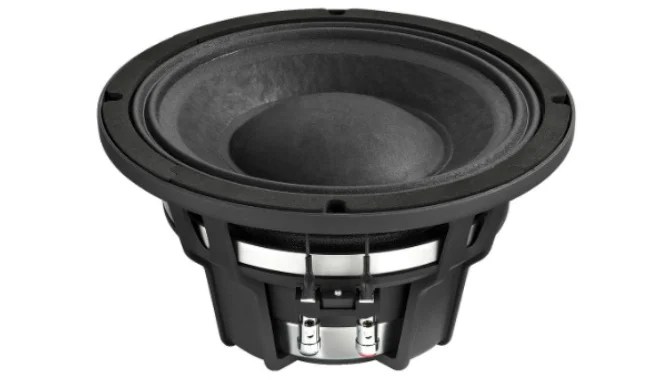
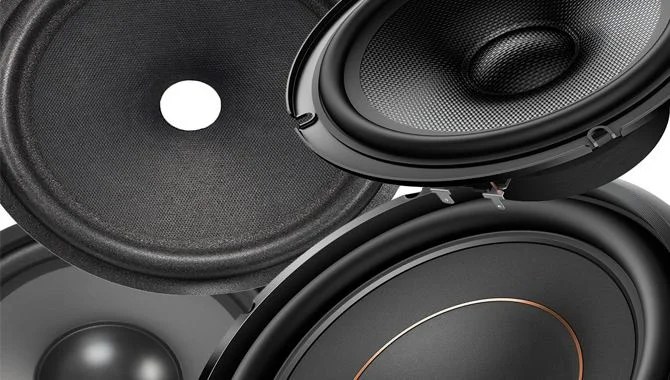
Clean The Speaker Cones

Cleaning the speaker cones are very difficult because they are very fragile and easily get damaged. Usually, speaker cones are made of metal, wood, polymer etc., but a slight bump can damage the speaker drivers.
Clean the speaker cone by using a compressed air can instead of soapy water or vacuum. Use a small, long soft bristle brush to clean this instead of cloth. I will suggest a camera lens cleaning brush, makeup brush and paintbrush for cone cleaning.
Use the brush to loosen the attached dust from the speaker cone. Never use harsh strokes on the cone and the gasket. Do this task very gently, or you might permanently damage your speaker.
After properly loosening the dust, it is time to remove them. Blow off the dust from your speaker cone by using the compressed air can. Blow the can from one side, not directly towards the cone.
Do not use any liquid cleaners to clean the speaker cone. The cone might absorb the liquid and cause damage. Contact the manufacturer or a professional speaker cleaner in case of a massive amount of dirt in the cone.
Clean The Speaker Terminals-
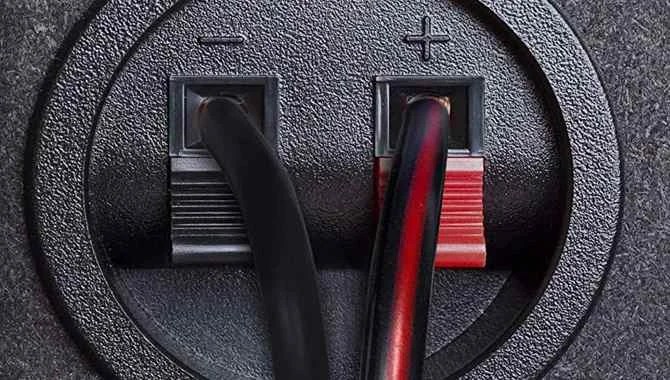
The terminals on a speaker are situated on the back, relatively strong, but they gradually accumulate dust.
- First, turn off the speaker’s power and unplug all the connected cables.
- Secondly, use a narrow-hosed vacuum to remove the dust from the connections and junctions. Do not use the compressed air cans because these might force the dust into the speaker.
- Thirdly, clean the dust from the inaccessible areas like small crevices, narrow spaces, spring clips etc., with a dry and clean Q-Tip.
- Finally, use Isopropyl Alcohol as a cleaning liquid if you want to clean the connection and terminals. Do not use rubbing alcohol as they leave a small amount of residue after evaporation.
- Never use cleaning solutions that contain water to clean the speaker terminals. The terminals might end up rusty.
Warnings
Remove all dust, debris, and oils before cleaning. If You don’t clean your speakers correctly, they may become damaged over time from moisture and dirt buildup. NEVER use harsh chemicals or abrasive cleaning supplies on vintage speakers!
This can damage the speaker and result in distorted sound. If you have to clean them using mild soap and water, rinse them off thoroughly before using any coating or protection.
Conclusion
Proper maintenance of your vintage speaker will give it a long life. It would be great if you cleaned your speakers on a regular basis to have the maximum performance. Do not damage the speakers while cleaning. Gently follow the steps to clean your speakers.
Never touch on your speaker cone directly with your hand. I hope if you are going to clean your vintage speakers, you know how to clean vintage speakers.
FAQs
Let us take a quick look at the answers to some frequently asked questions about vintage speaker cleaning-
1.How Do You Clean An Audio Speaker?
Ans: Wipe all the dust out from the speaker with a clean microfiber towel or soft cotton cloth. Wet the soft cotton cloth in a mixture of warm soapy water and again wipe the speaker. Do not use regular cleaners like glass, bath or kitchen cleaner to clean audio speaker.
2.How Do You Clean Vintage Speaker Covers? –
Ans: Remove the cover from the speaker and cover it using a thick baby powder layer. Leave it for an hour and then blow the powder coating off with compressed air. Do the blowing gently, and this will not damage the fabric.
3.Can Dust Damage Speakers?
Ans: Yes. Excessive dust accumulation can damage your speakers. Use dry cloths, dust pads etc., to protect your speakers from dust. Do not use any water-based liquid to clean your speaker cone.
4.How Do You Clean iPhone Speaker Holes?
Ans: Scrub the speaker using a soft bristle toothbrush. Use compressed can air to blow off the debris from speaker holes. Remove the trapped gunk from around the speaker using adhesive tape.
5.Is It Bad To Touch On The Speaker Cones?
Ans: Yes. It is not wise to touch the speaker cones. Speaker cones are exceptionally delicate, and you might damage the coil by rubbing against the magnet.